
Renovating a Kitchen Step-By-Step

It’s time! You have been wanting to remodel that old outdated kitchen for a while, or you have just bought your reno home and you are about to start your remodel! The problem is that you are kind of lost as to where to start or what to do.
Well you are in luck, because this blog post will take you step-by-step through the process of renovating your kitchen! This post will help you to break down the project into bite-sized chunks that will help you to tackle each step with confidence.
Whether you have no experience renovating at all, or you have a good bit of experience under your belt, this post will help you gain some confidence and knowledge about how to begin your project!
So without further ado, lets get at it!
Prep-work and Budget:

Obviously planning and preparation are the first and arguably most important parts of your renovation. Without proper strategies, budgets, and skills, you will find yourself in a mess of trouble.
Setting REalistic Expectations:
The first step in planning for a kitchen remodel is to set realistic expectations. You have to be realistic about what you can actually accomplish when it comes to budget, mental capacity, and skill level. You need to be very careful that you don’t just rush into something and then get in over your head. It can be very easy to get overwhelmed during a project like this.
This remodel does not need to be overwhelming though! Your remodel could be a very rewarding and exciting process as long as you get ahead of the issues and get yourself focused on the important things! Here are a couple of things you should consider to help you set realistic expectations for your renovation:
What can I afford?
What can I actually handle with my skill level, and what should I let a professional handle?
What do I have time for?
What sort of challenges or setbacks could I uncover as I go along, and how should I be ready to handle them?
Can I mentally handle this renovation, or is there too much going on to add one more thing right now?
You also should realize though that renovations rarely go as planned. If you go in expecting to come upon challenges as you work, then you will be much more capable of handling them efficiently. Water damage, framing issues, and termite damage are a couple of the things you could stumble across as you are doing your remodel. We would hope that you won’t find any of these issues in your remodel, but unfortunately they come up more often than most people think.
BUDGETING:
Budgeting is a big one when determining what you can handle and setting realistic expectations for your project. If you start a project and haven’t first sat down and decided whether or not you have enough money to complete the project, then you could be in a lot of trouble.
First, you obviously need to decide what your overall budget will be. How much money do you have to give to the project?
Next, when budgeting for your remodel, you need to consider a couple of different things that will help you to develop a solid budget. Here are a couple of the things that need to be thought through:
Supplies and tools:
Think through what tools you will need to rent or buy for the project, and do your research for as to how much it will cost you. Factor in saws, screws, trash bags, insulation, etc. Anything you can think of should be factored into this budget. You should also add an extra amount just for wiggle room in case prices go up, or you have happened to forget some of the tools you might need.
Hiring contractors:
If you have decided that some of the things you are working on are out of your comfort zone, then you will need to hire a contractor to do the work. Call up your local contractors and have them give you bids. After you have gotten bids for the job, you should add that to the budget.
Margin for error and/or problems
If you have watched anything on HGTV, you know that home remodels can be messy… Often there are unknown leaks in the plumbing or roof or even termite damage that could be uncovered in the process of the remodel. Knowing that these things are coming will be helpful to the process. Having plenty of wiggle room can also help you if prices go up, or the contractor has to go up on the price of the job.
NOTE:
If you are currently living in the home you may want to consider what you will do while your kitchen is out of service. Do you have somewhere set up in another room that you can set up a make-do kitchen? Or maybe you’ll just eat out for a couple of days or weeks while the process is under way.
Breaking Down Each Part of the Job:
When remodeling your kitchen, you want to make sure that each step is broken down and well thought out to help you develop a plan. So let us help you sit down and think each part of the remodel through and develop your strategy for remodeling:
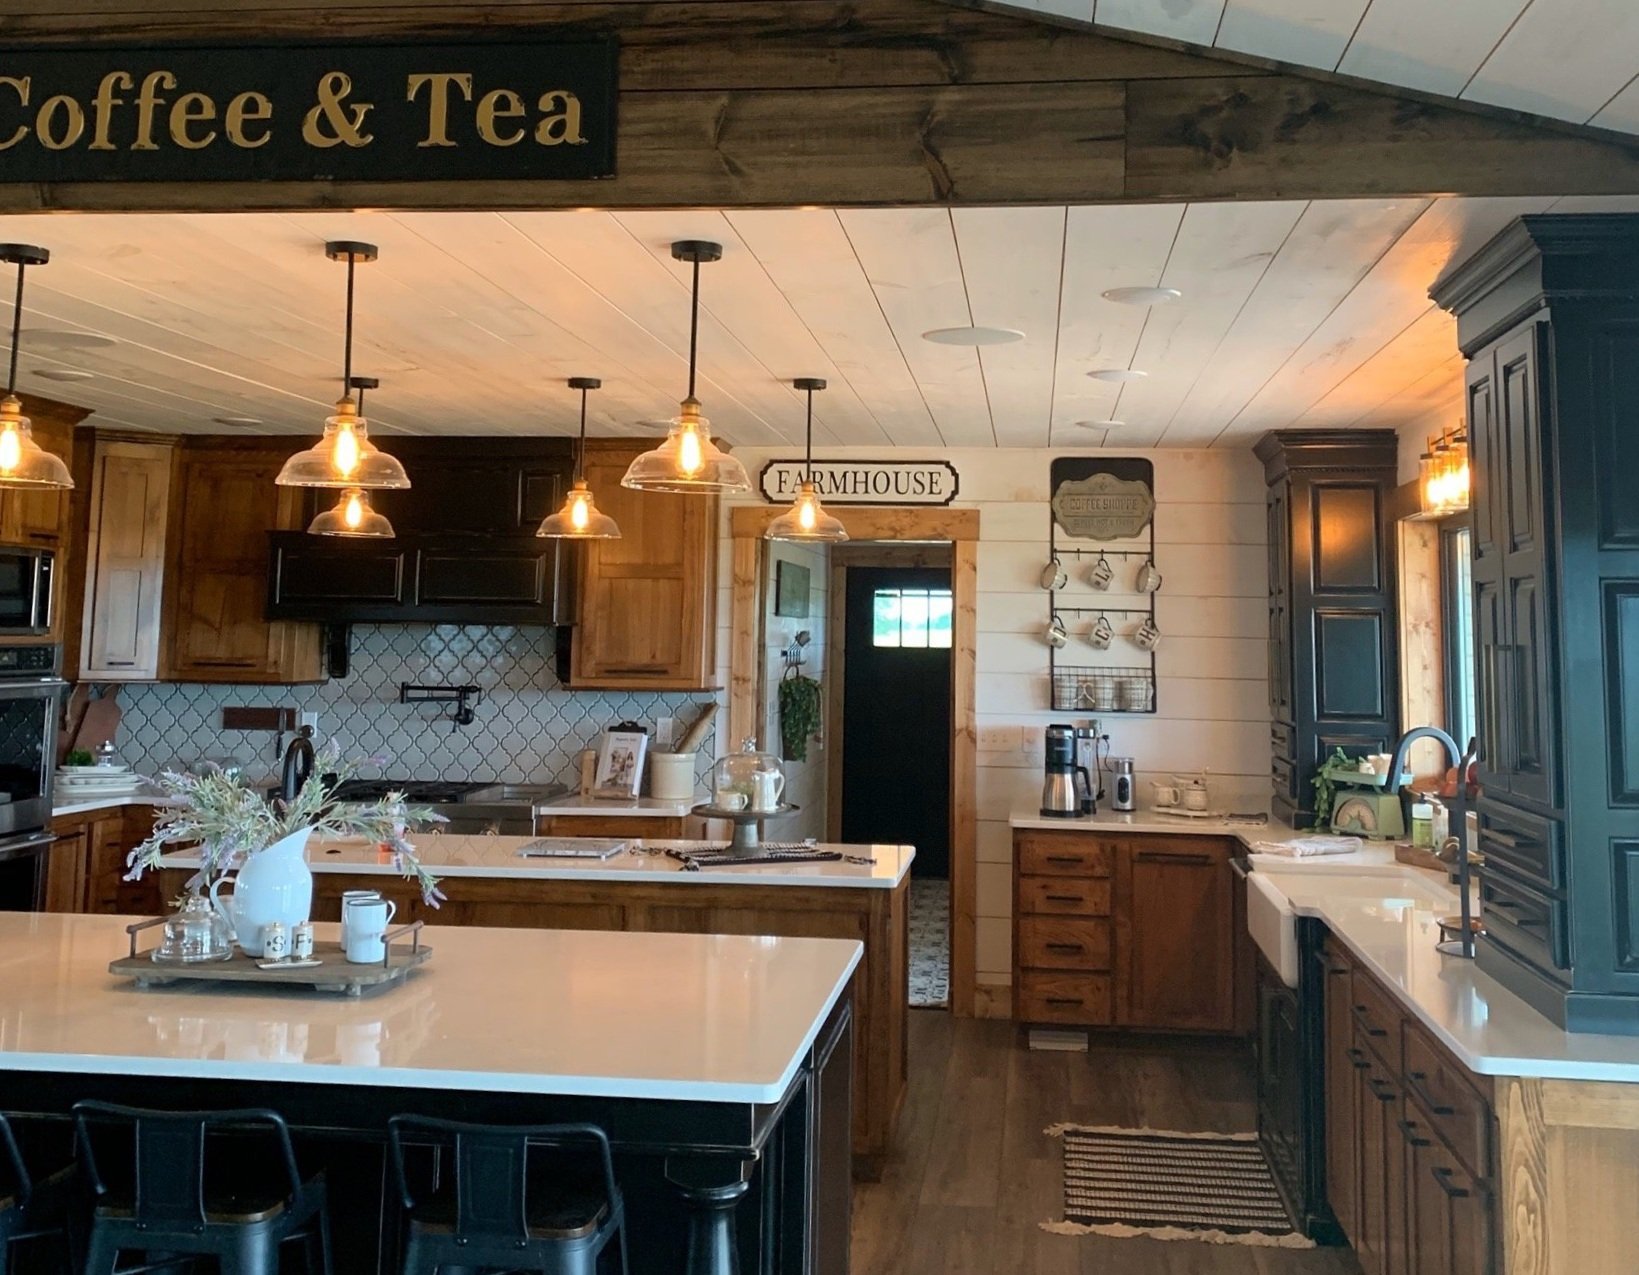
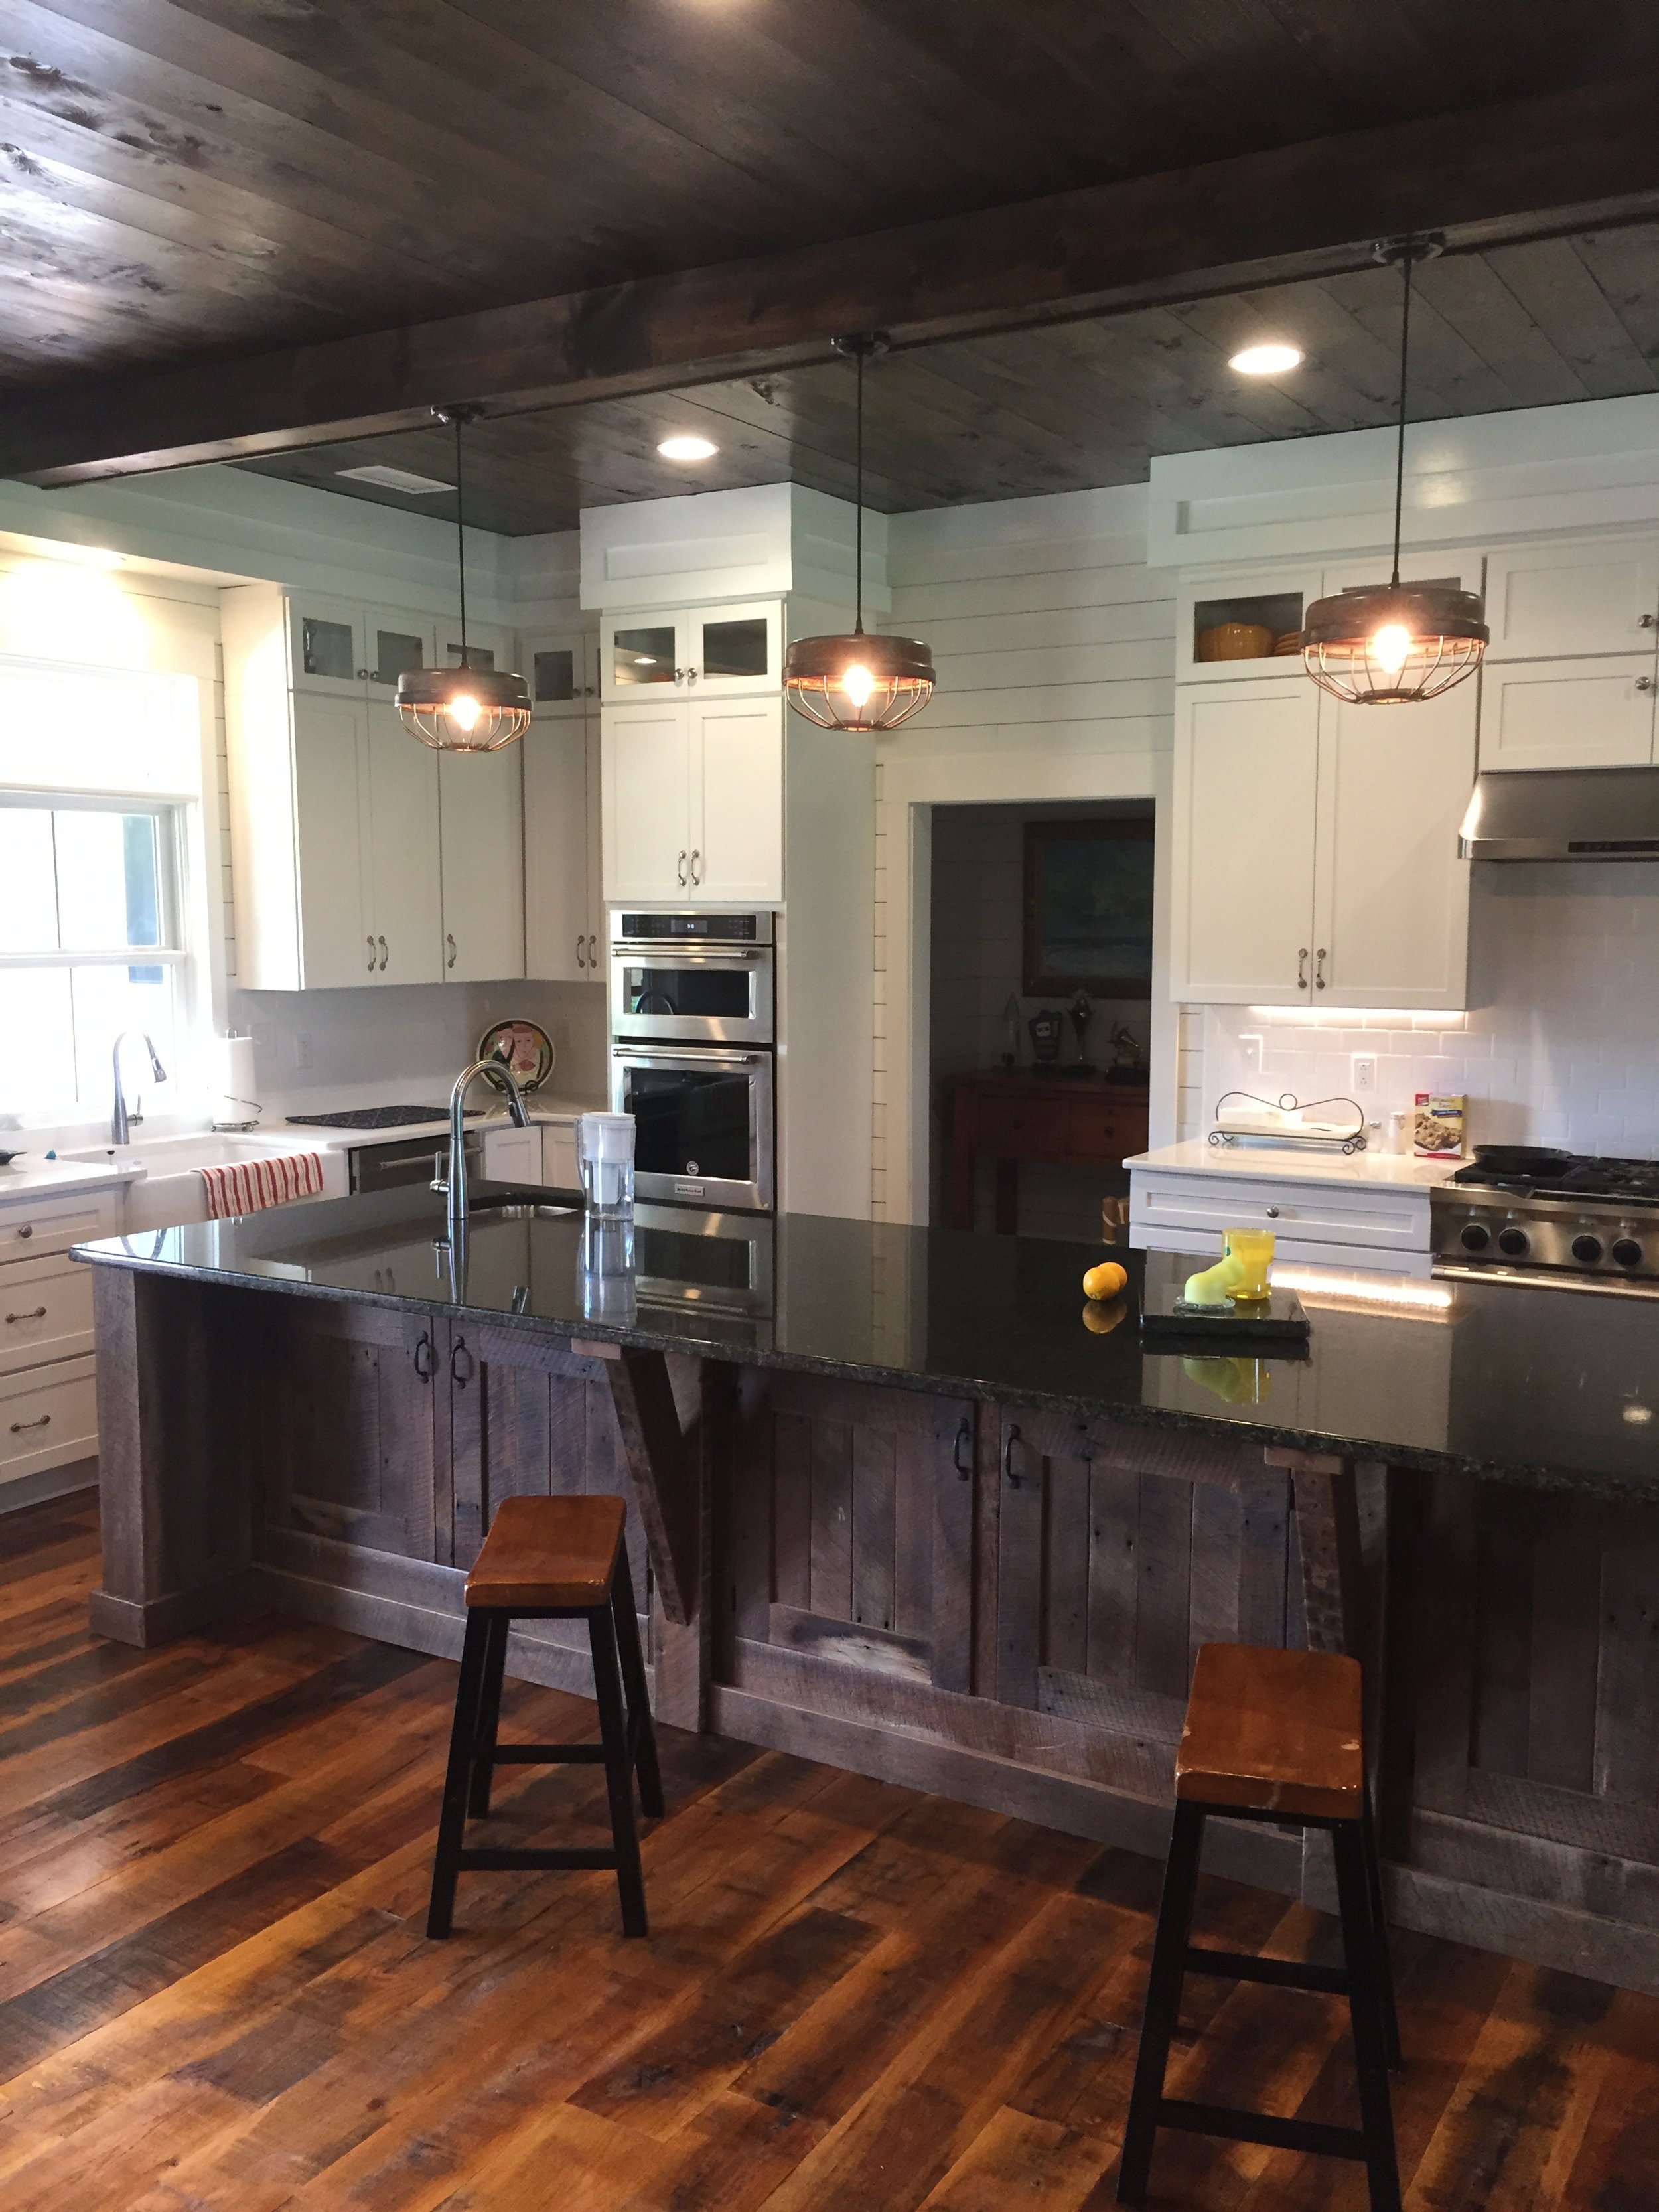
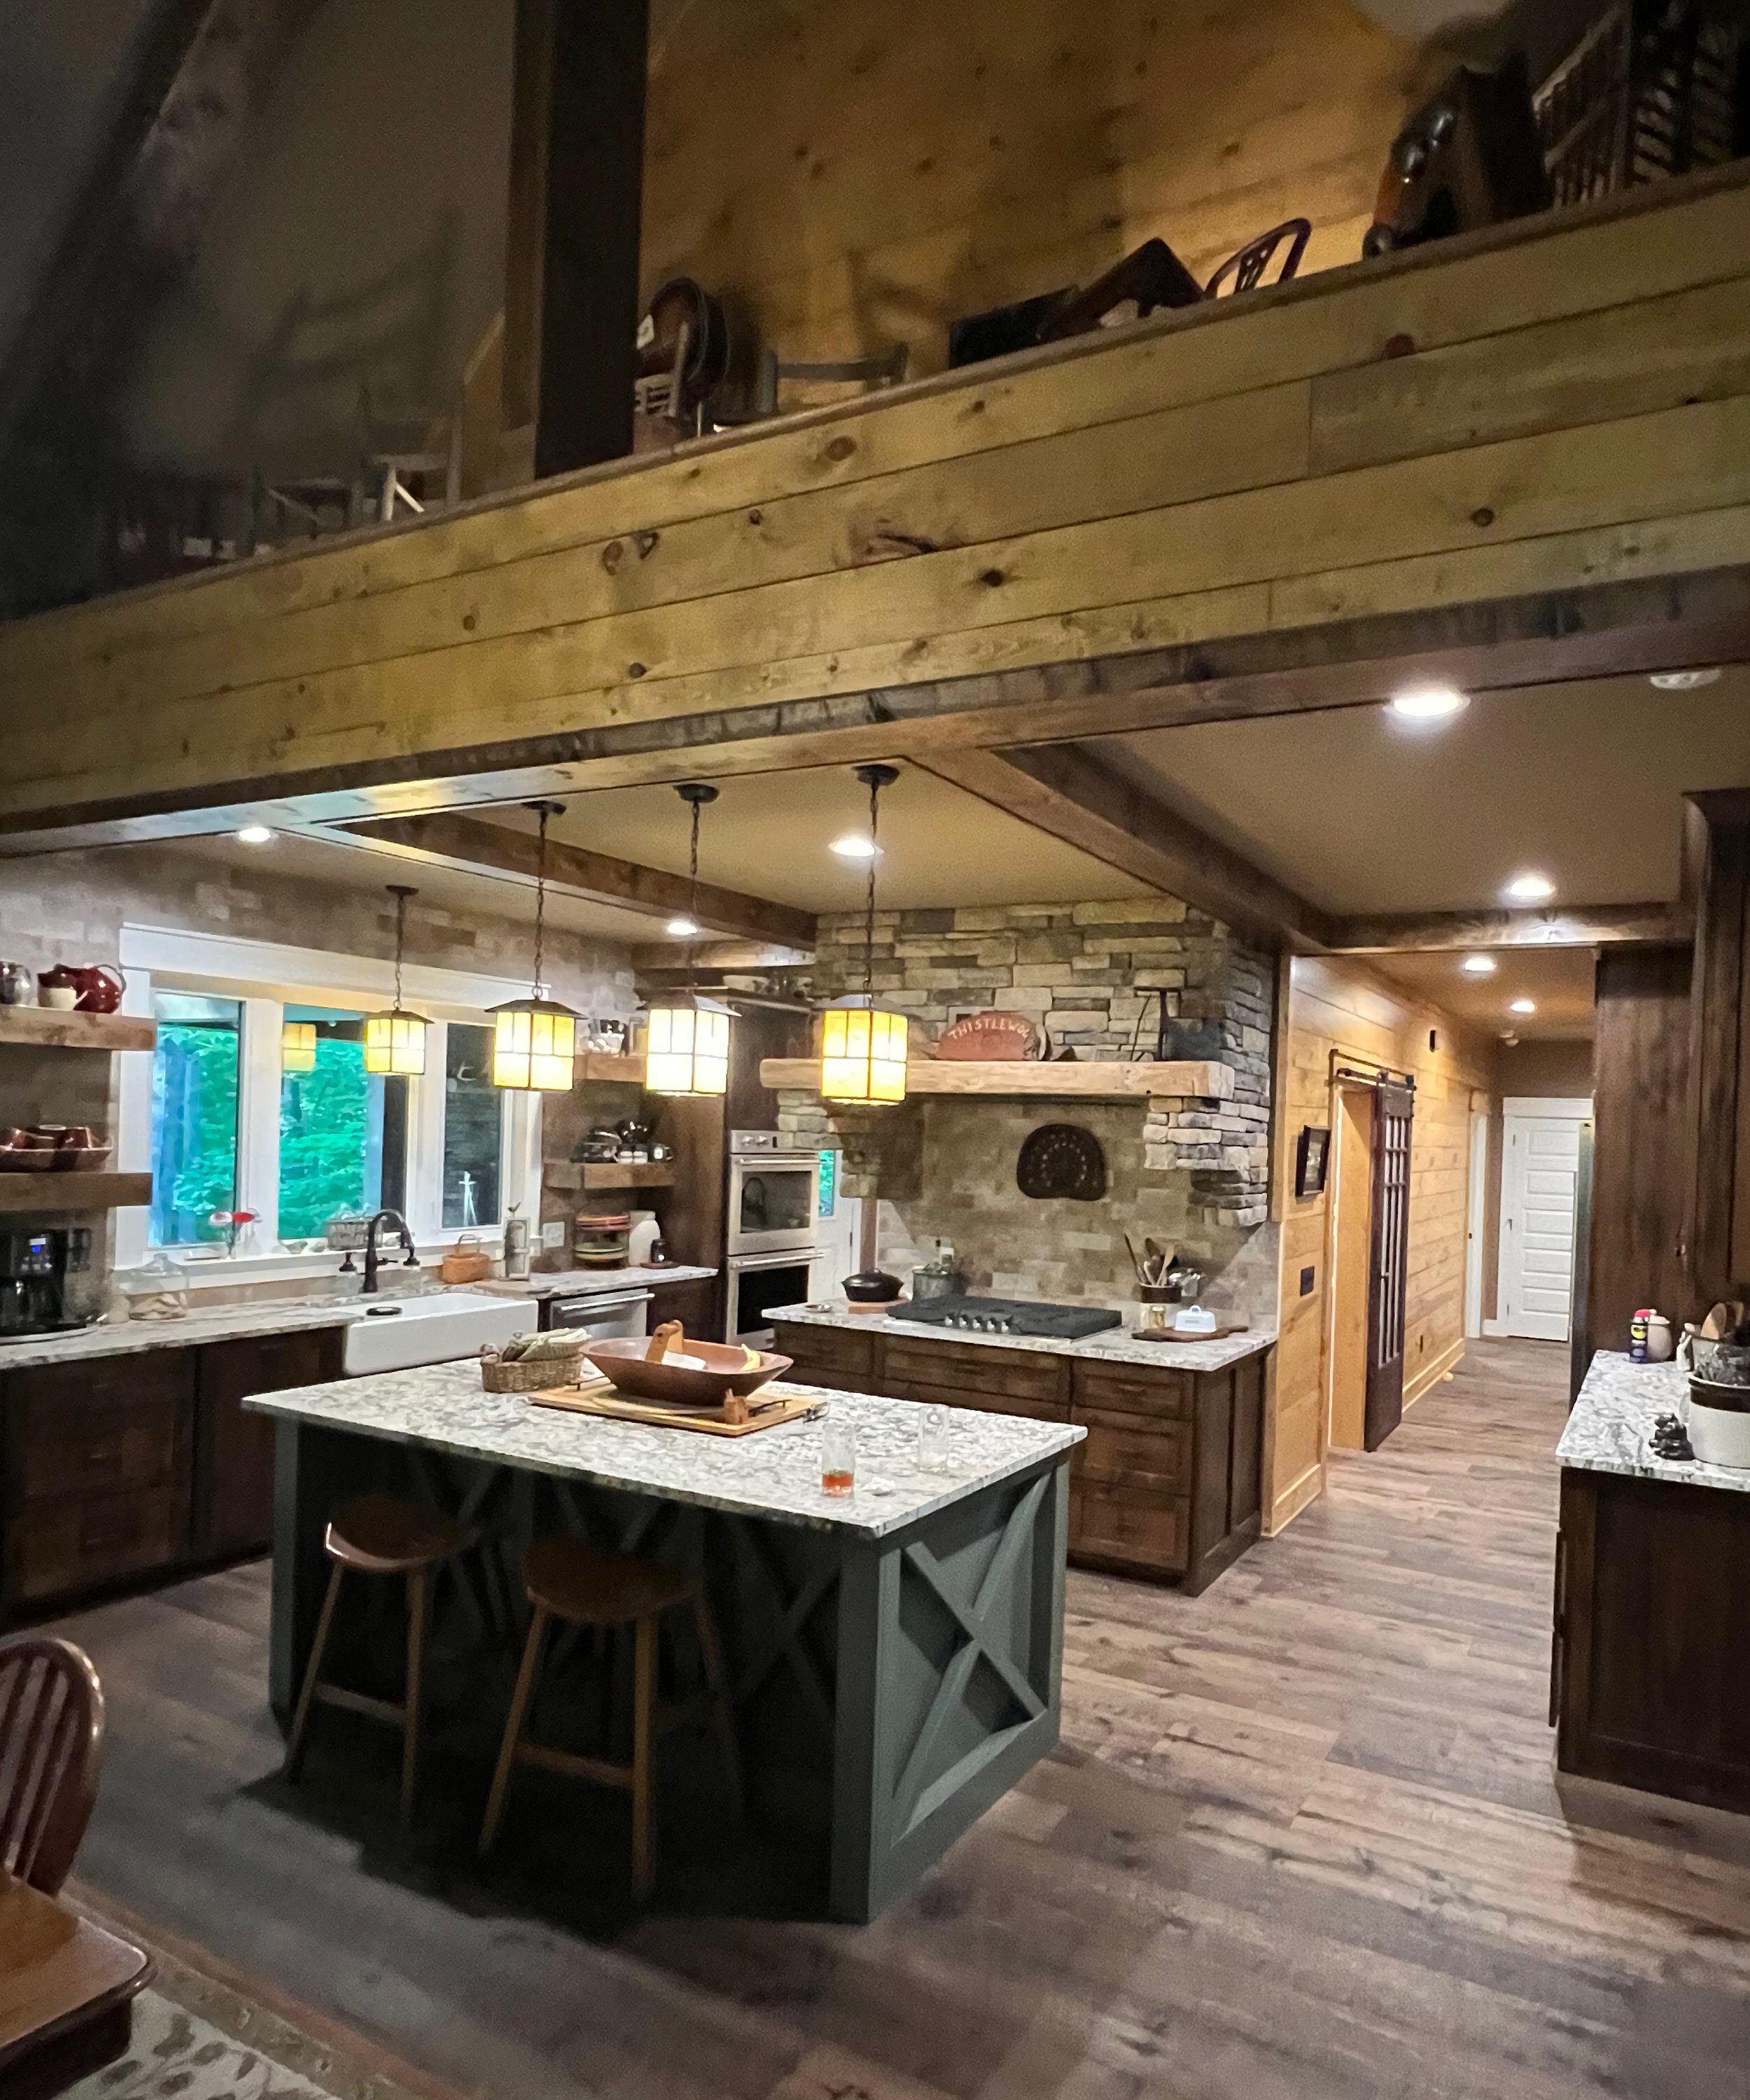
One of our favorite kitchen renovations brought in some wonderful textures, colors, lighting, and more. We love seeing all of the thought and hard work coming together!
STEP 1: DECIDE ON DESIGN, COLOR SCHEME, AND NEW LAYOUT
Once you know what you actually need for your home renovation, you should begin planning on all of the exciting things that you want to add or change with your project. Whether it’s a new color scheme, new fixtures, a different layout, new floors, or maybe something else, this is the time to figure all of that out.
Think about what the perfect kitchen would look like for you. What colors would you change, how would it be laid out, how would the lighting be different? Think these things through, but also be open to a little bit of change as your ideas will often be molded and transformed as you go. Maybe you want to add a larger pantry, or maybe you want to rip out the old pantry to make your kitchen feel more spacious.
Write down your ideas and try to get them drawn out on paper. Step through each part of the kitchen and decide what you want. Look at cabinet handles, microwaves, faucets, etc.
STEP 2: CHECK PERMITS
Depending on where you live and what you are planning to do with your remodel, you will need to check for permitting in your area. Small things like painting or changing the fixtures should not be a huge deal, but things like plumbing and electrical will probably need a permit to complete. If you are hiring a professional to do this part of the job, then they should be able to handle it. You don’t want the HOA to show up and fine you for not following local building codes and HOA standards.
STEP 3: DEMOLITION
For some this is the best part of their remodel, but for others it can be the scariest. Demolition can be an absolute blast, but as soon as you start there is no turning back.
A couple of things to consider before you begin swinging hammers and tearing out counters include:
What will you do with the trash that builds up from the remodel? There will be all kinds of trash piling up and you need to make sure you have a place to put it.
Watch for sensitive areas such as electrical or plumbing lines. You do not want to swing your hammer at what looks like a harmless patch of drywall and accidentally break through a water line behind the wall, consequently flooding the house.
After you have decided what can be taken out safely, you can begin doing so. When removing drywall, insulation, or anything similar, you should probably wear a mask to keep from breathing in the dust from the demo. You may also want to wear gloves to protect your hands during this part of the process.
If you plan to try and salvage some of the materials you are using like old lumber, hardware, etc. then you will need to approach those things with caution to make sure that you damage them as little as possible.
STEP 4: ELECTRICAL WORK
This part of your remodel should probably be done by a professional. For the extremely well experienced DIYer, this sort of work might be a little easier for you to do; however it should be approached with extreme caution. Not only is there a great risk of hurting yourself, but there is also a very real possibility of you wiring something poorly and your house catching fire. When dealing with something as deadly and serious as electricity, having someone there who knows what they are doing is a big deal.
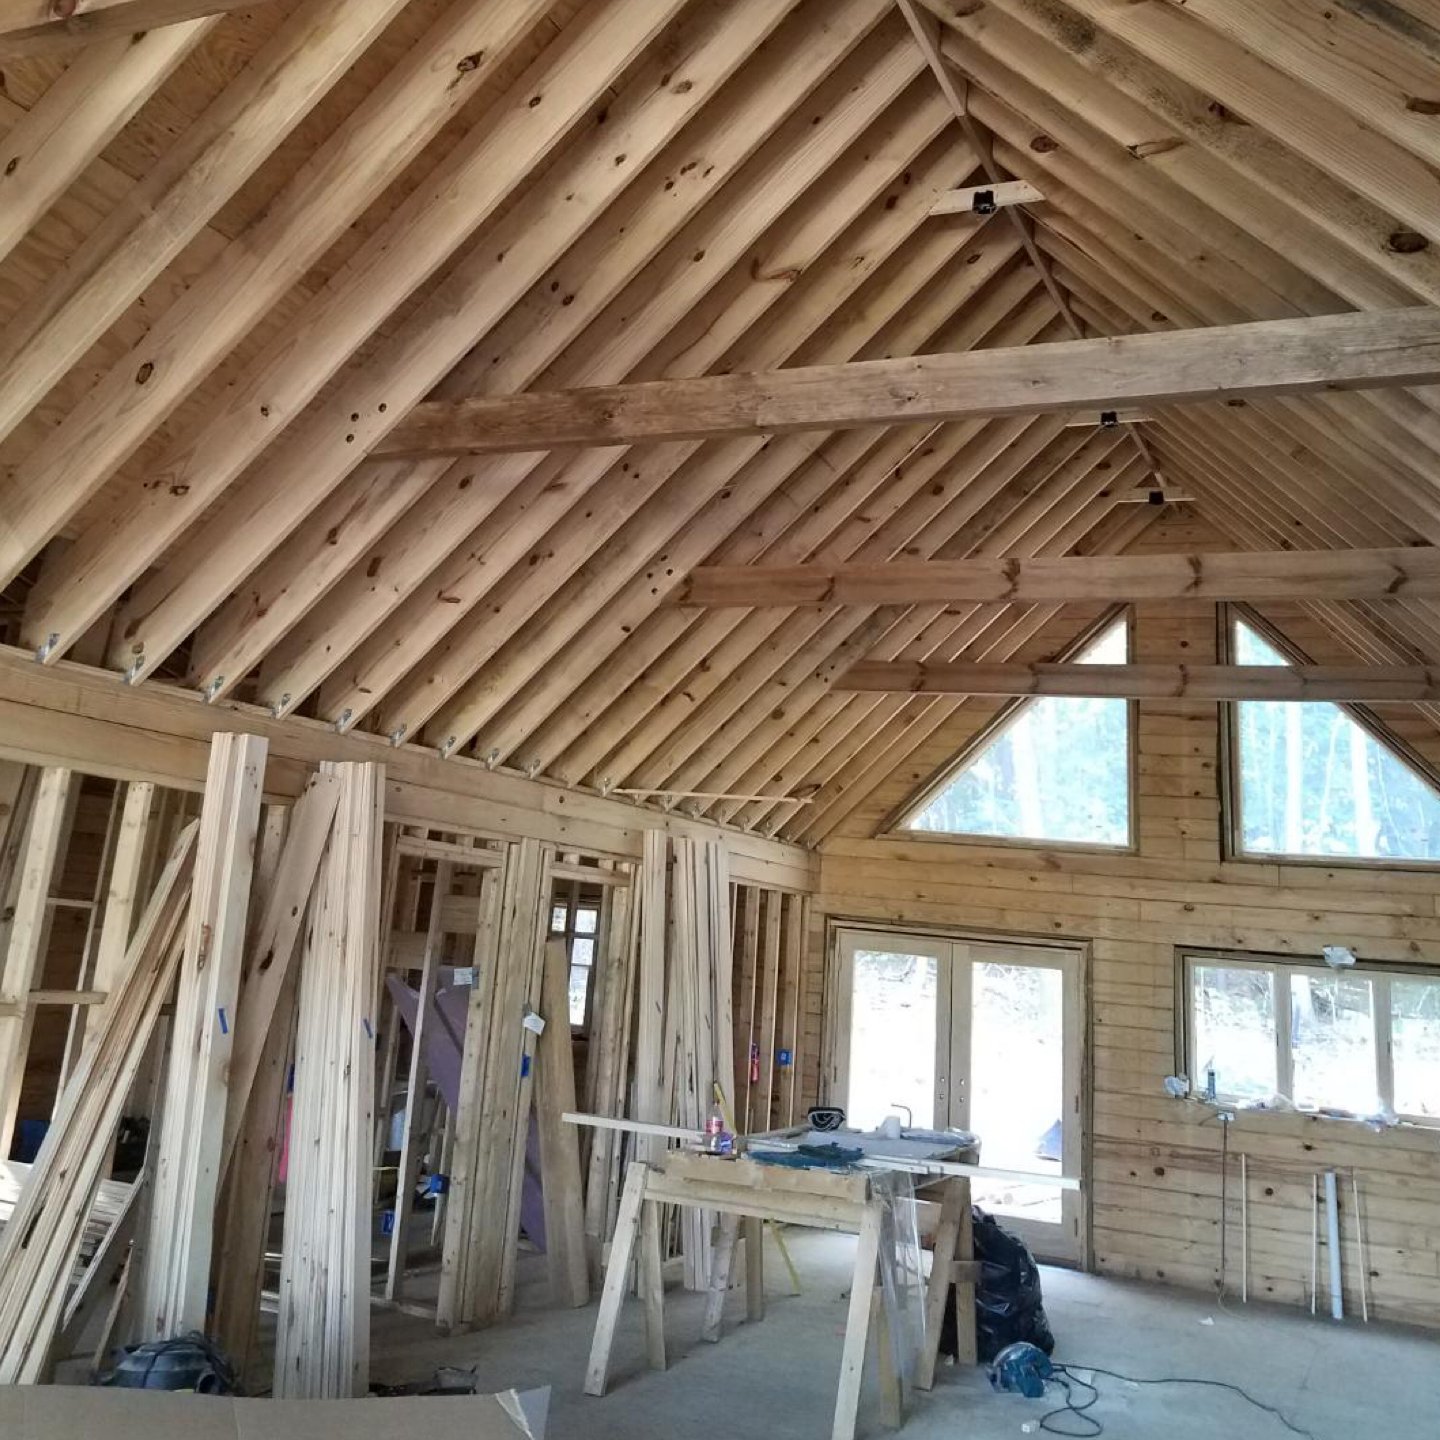
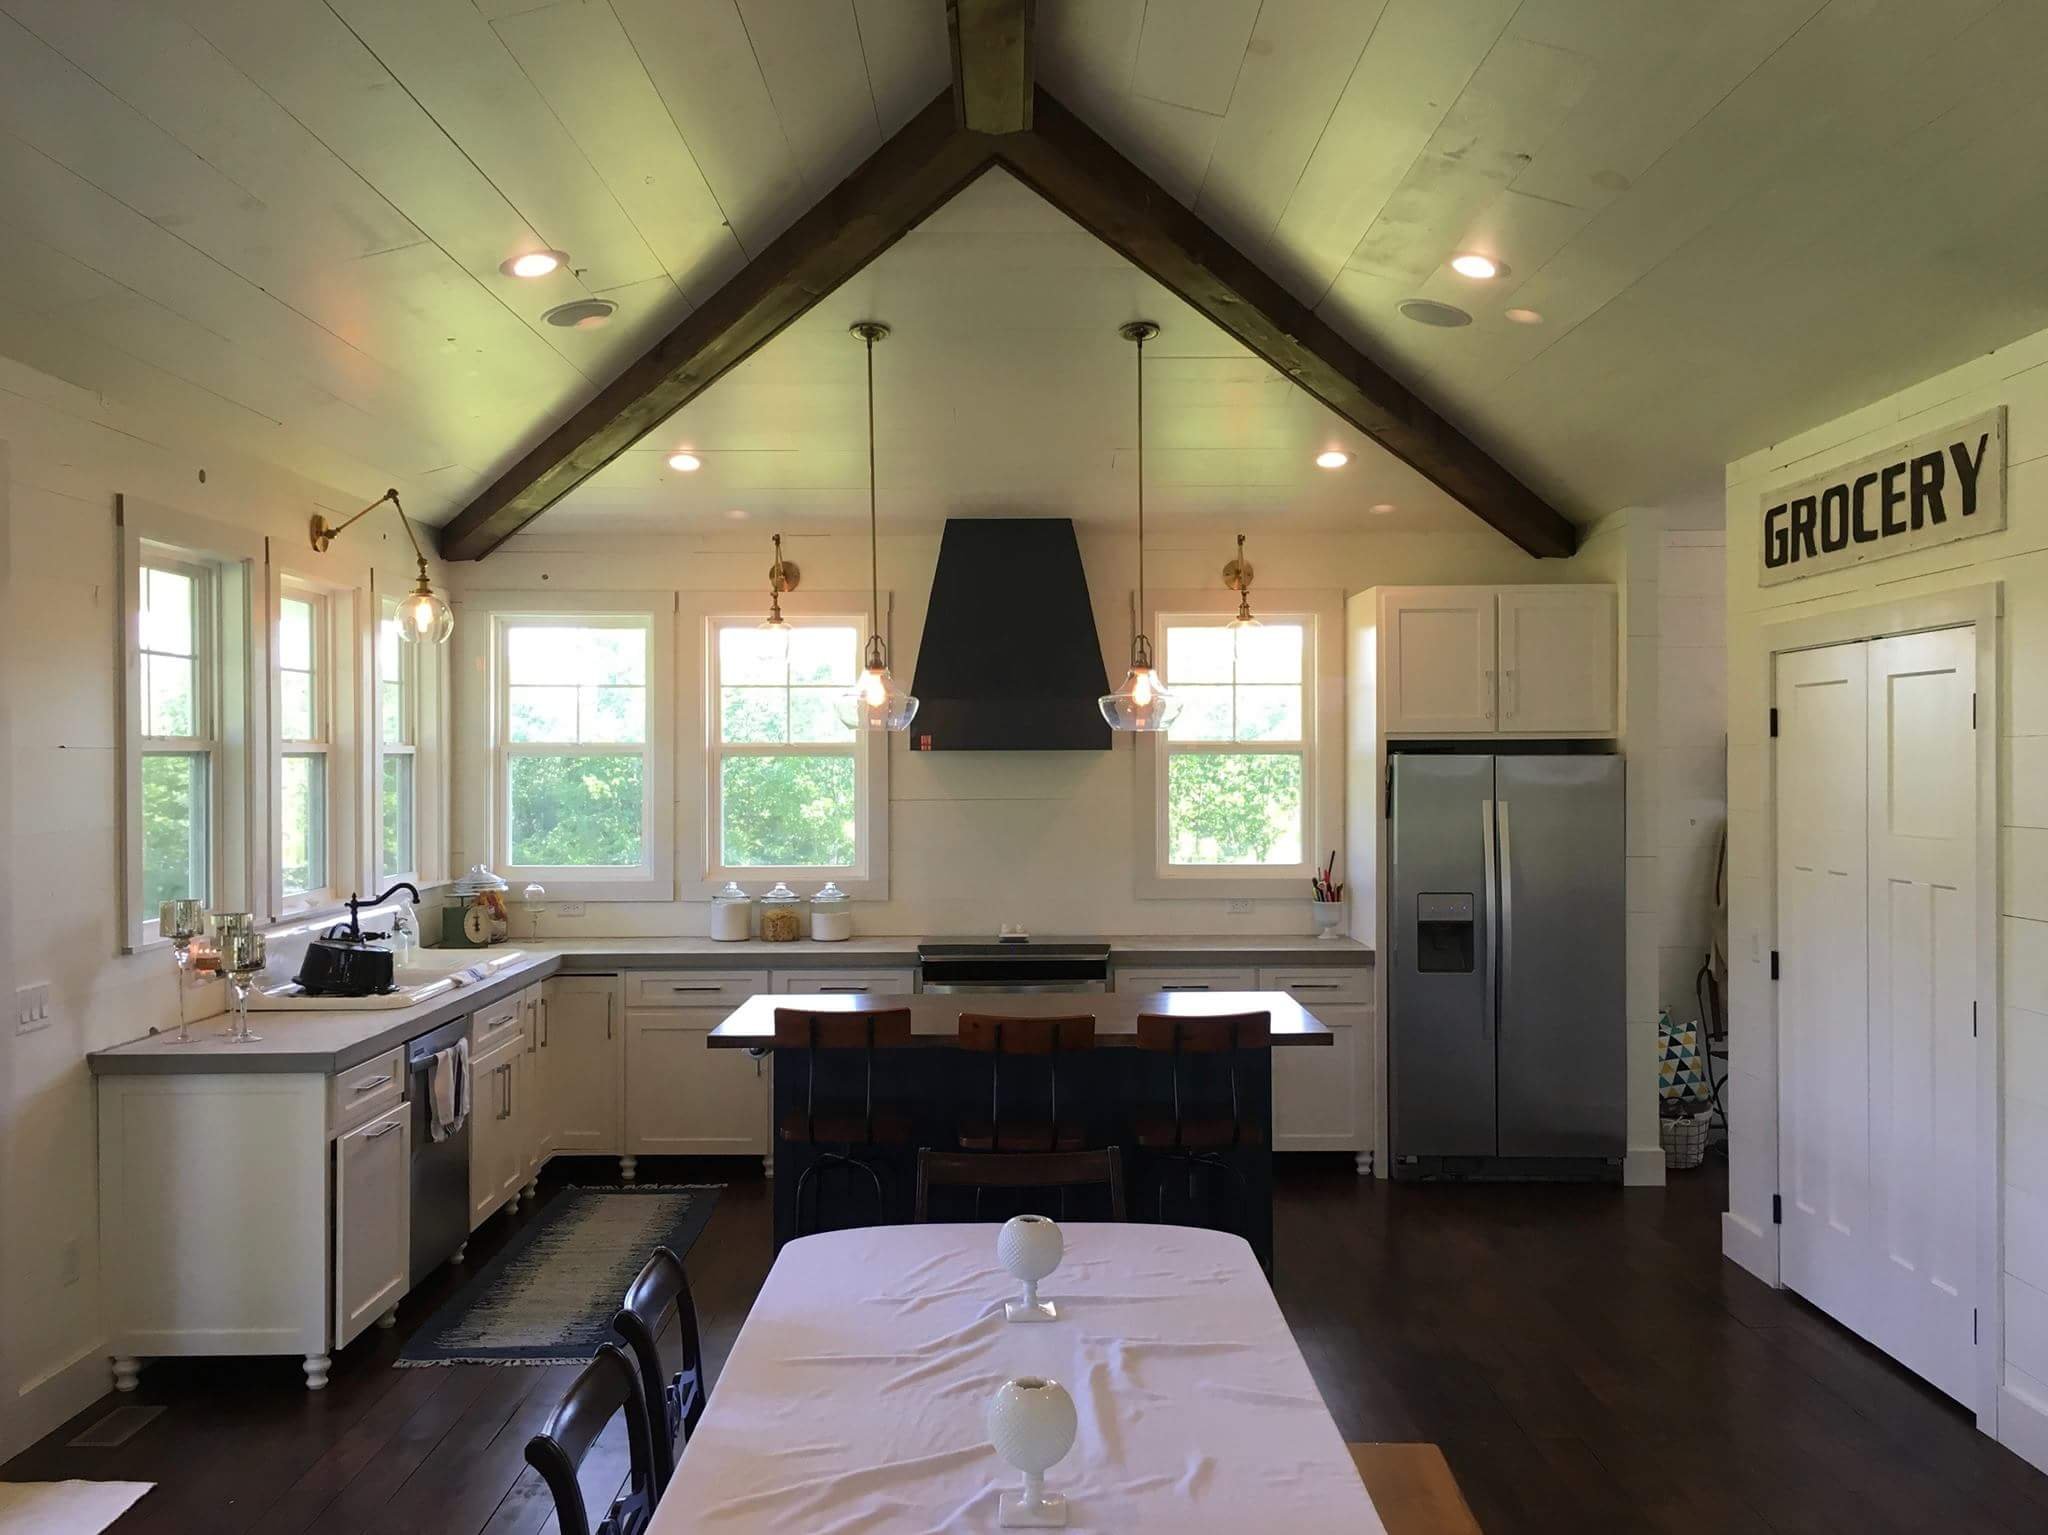
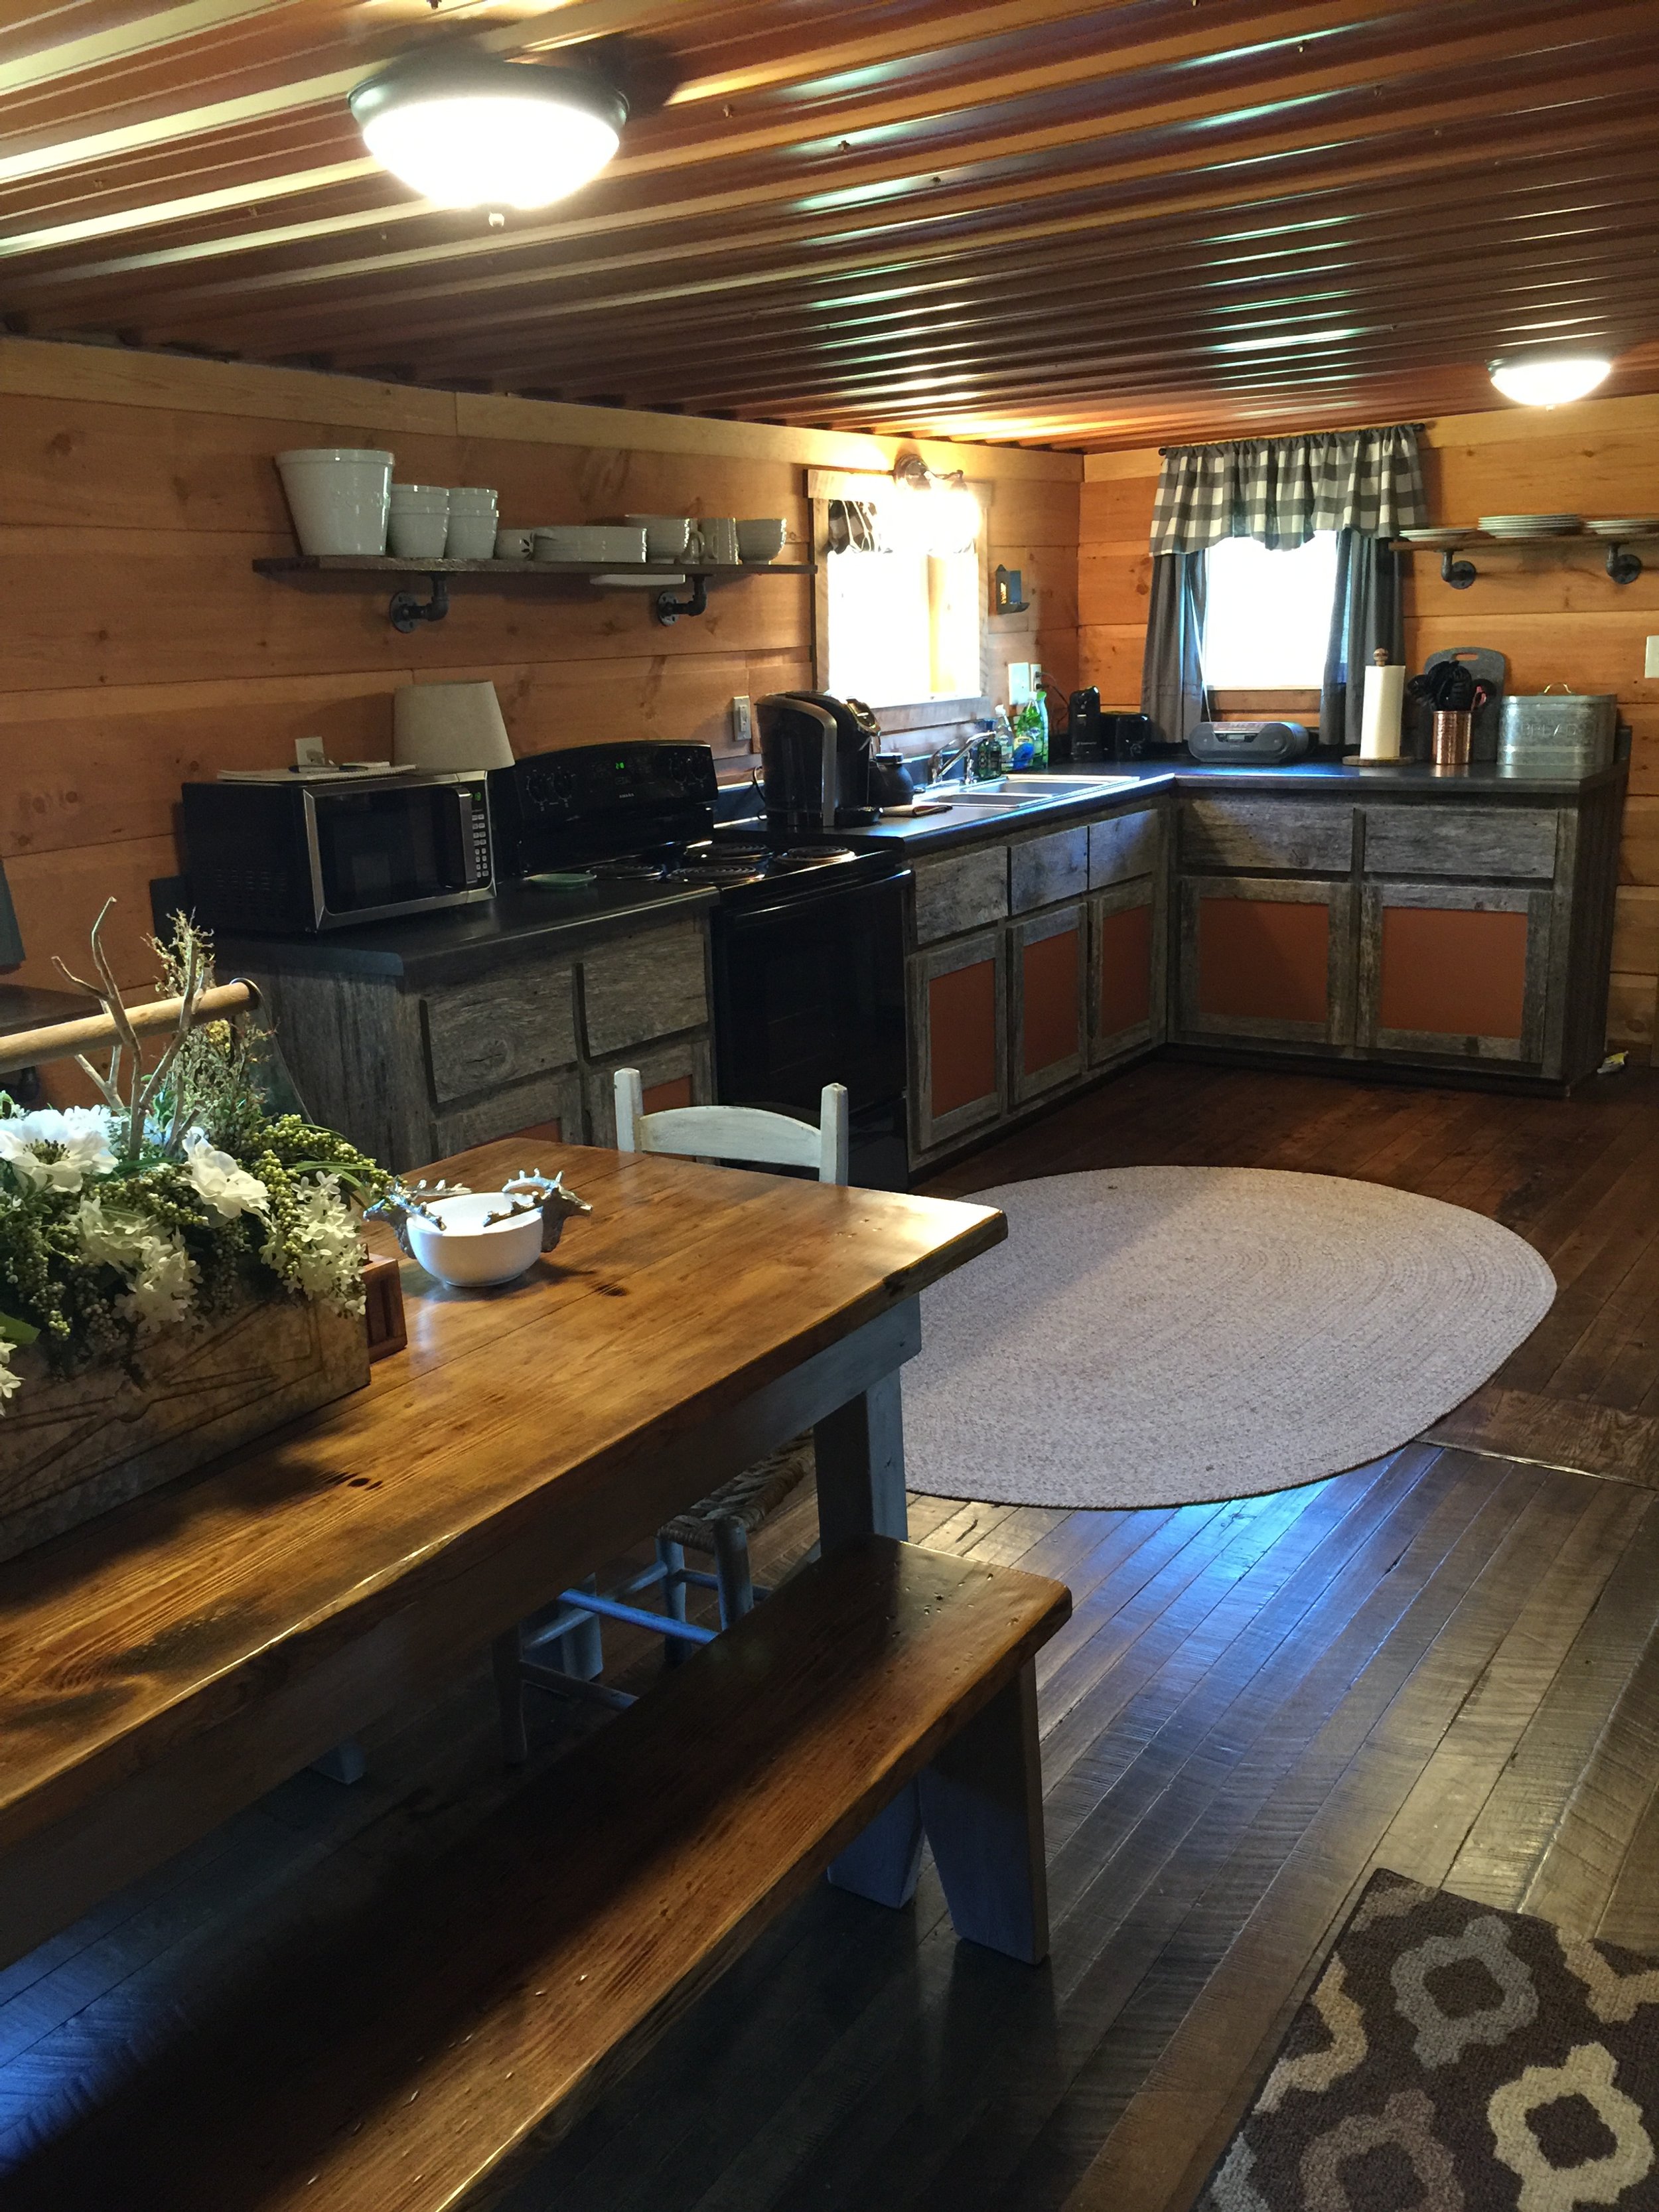
The plumbing and electric have been roughed into this new home build and the kitchen walls and ceiling are going in now!
STEP 5: PLUMBING
Plumbing parts of your house is a little bit more DIY friendly than electrical work, but it is still wise to use some caution. If something goes wrong, it could be very expensive to fix it. If you were to mess up a section of the plumbing, it could cause leaks behind your walls and under your floors leading to rotting and mold which would be AWFUL! You could also have sewage backups if you are not careful. For most, hiring a professional plumber to do the job will be their best option, but for the person looking for a DIY challenge, this can be a rewarding job.
First, you need to figure out what you would like to change or add. This is the time to replace the sink or tub or add or replace water lines, toilets, etc. A very important first step is to turn off the water to the house before beginning any work on the water or sewage lines. You do not want to begin trying to replace pipes in the house and then have the water lines explode in your face and flood the house.
STEP 6: FLOORING
At this point, you should have finished all of the work that needed to be done under the floors. After you have laid your subfloors, you should lay the flooring of your choice. Tile, wood flooring, stone, and laminate are all good options. Wood flooring can be a beautiful option that could provide an excellent contrast to the rest of the room, if done properly. Tile is another great option for your floors, and it can be very long lasting. Laminate is an excellent low cost flooring option if you are on a budget but would like the look of a hardwood floor. Laminate will not look quite like a real wood flooring option, but it can be a great way to lower the cost and keep you in your budget.

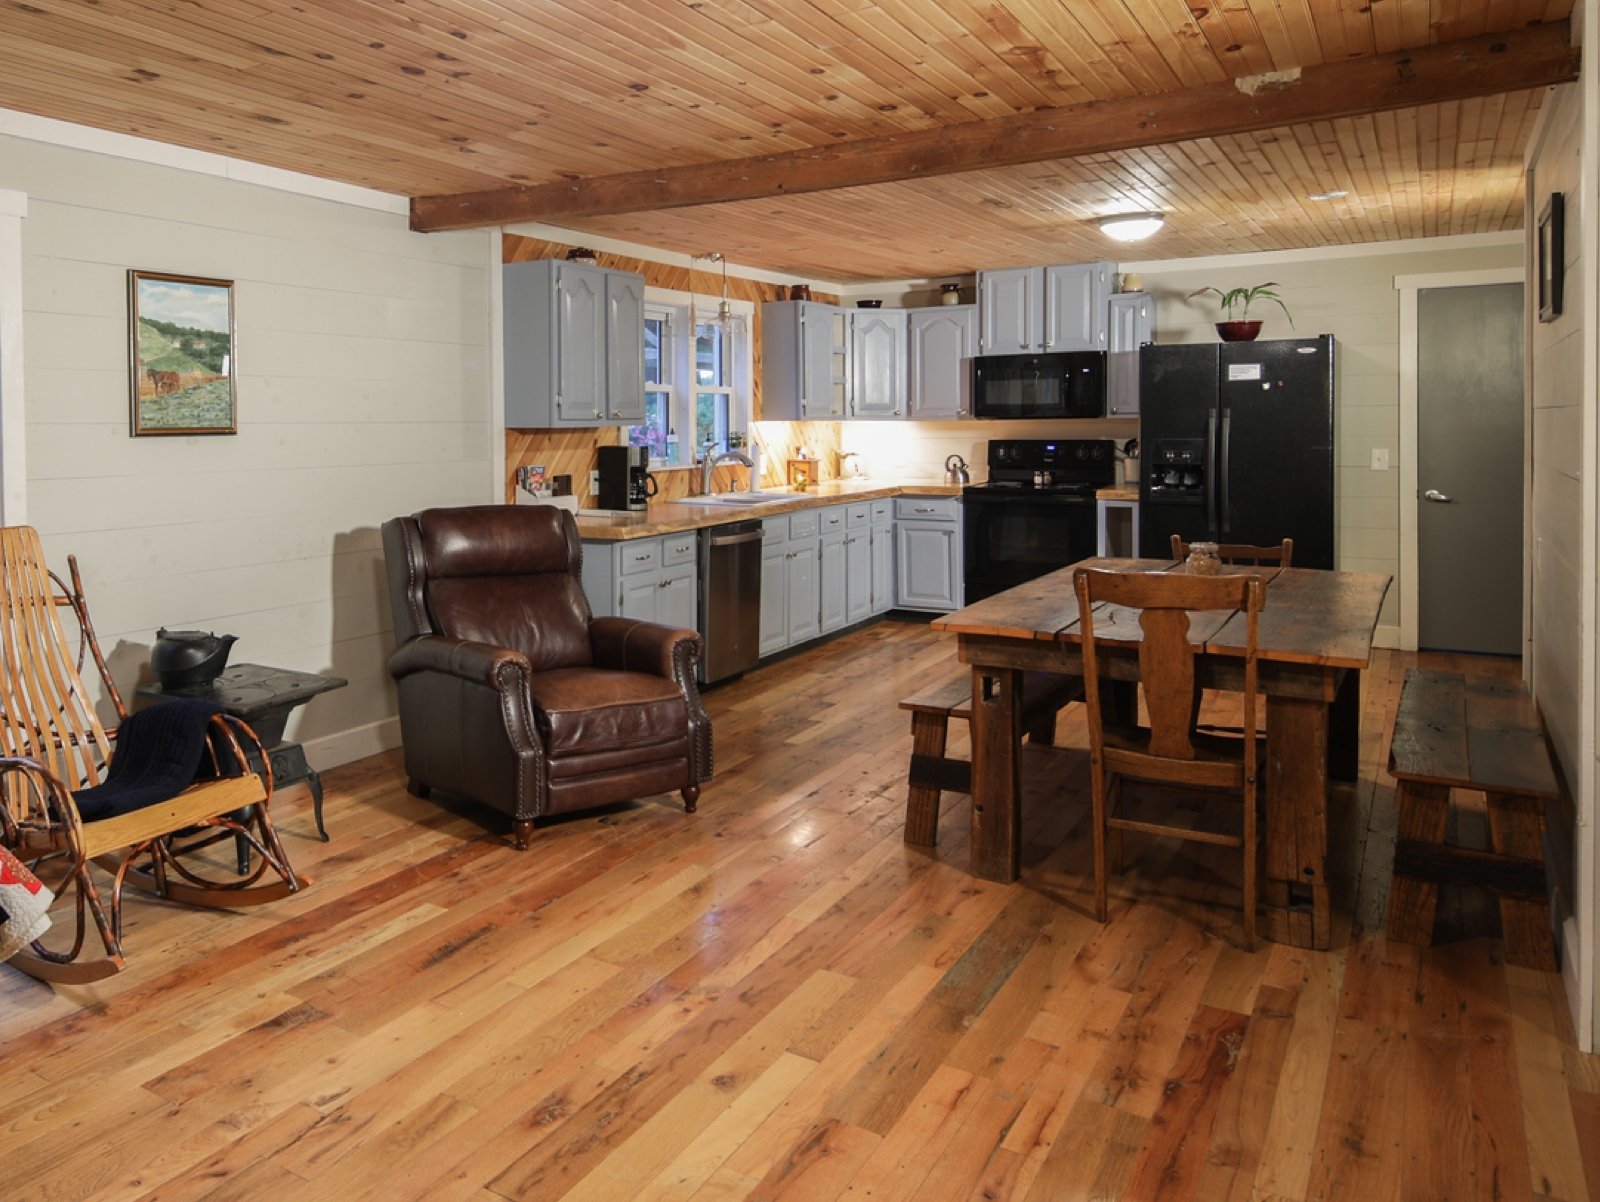
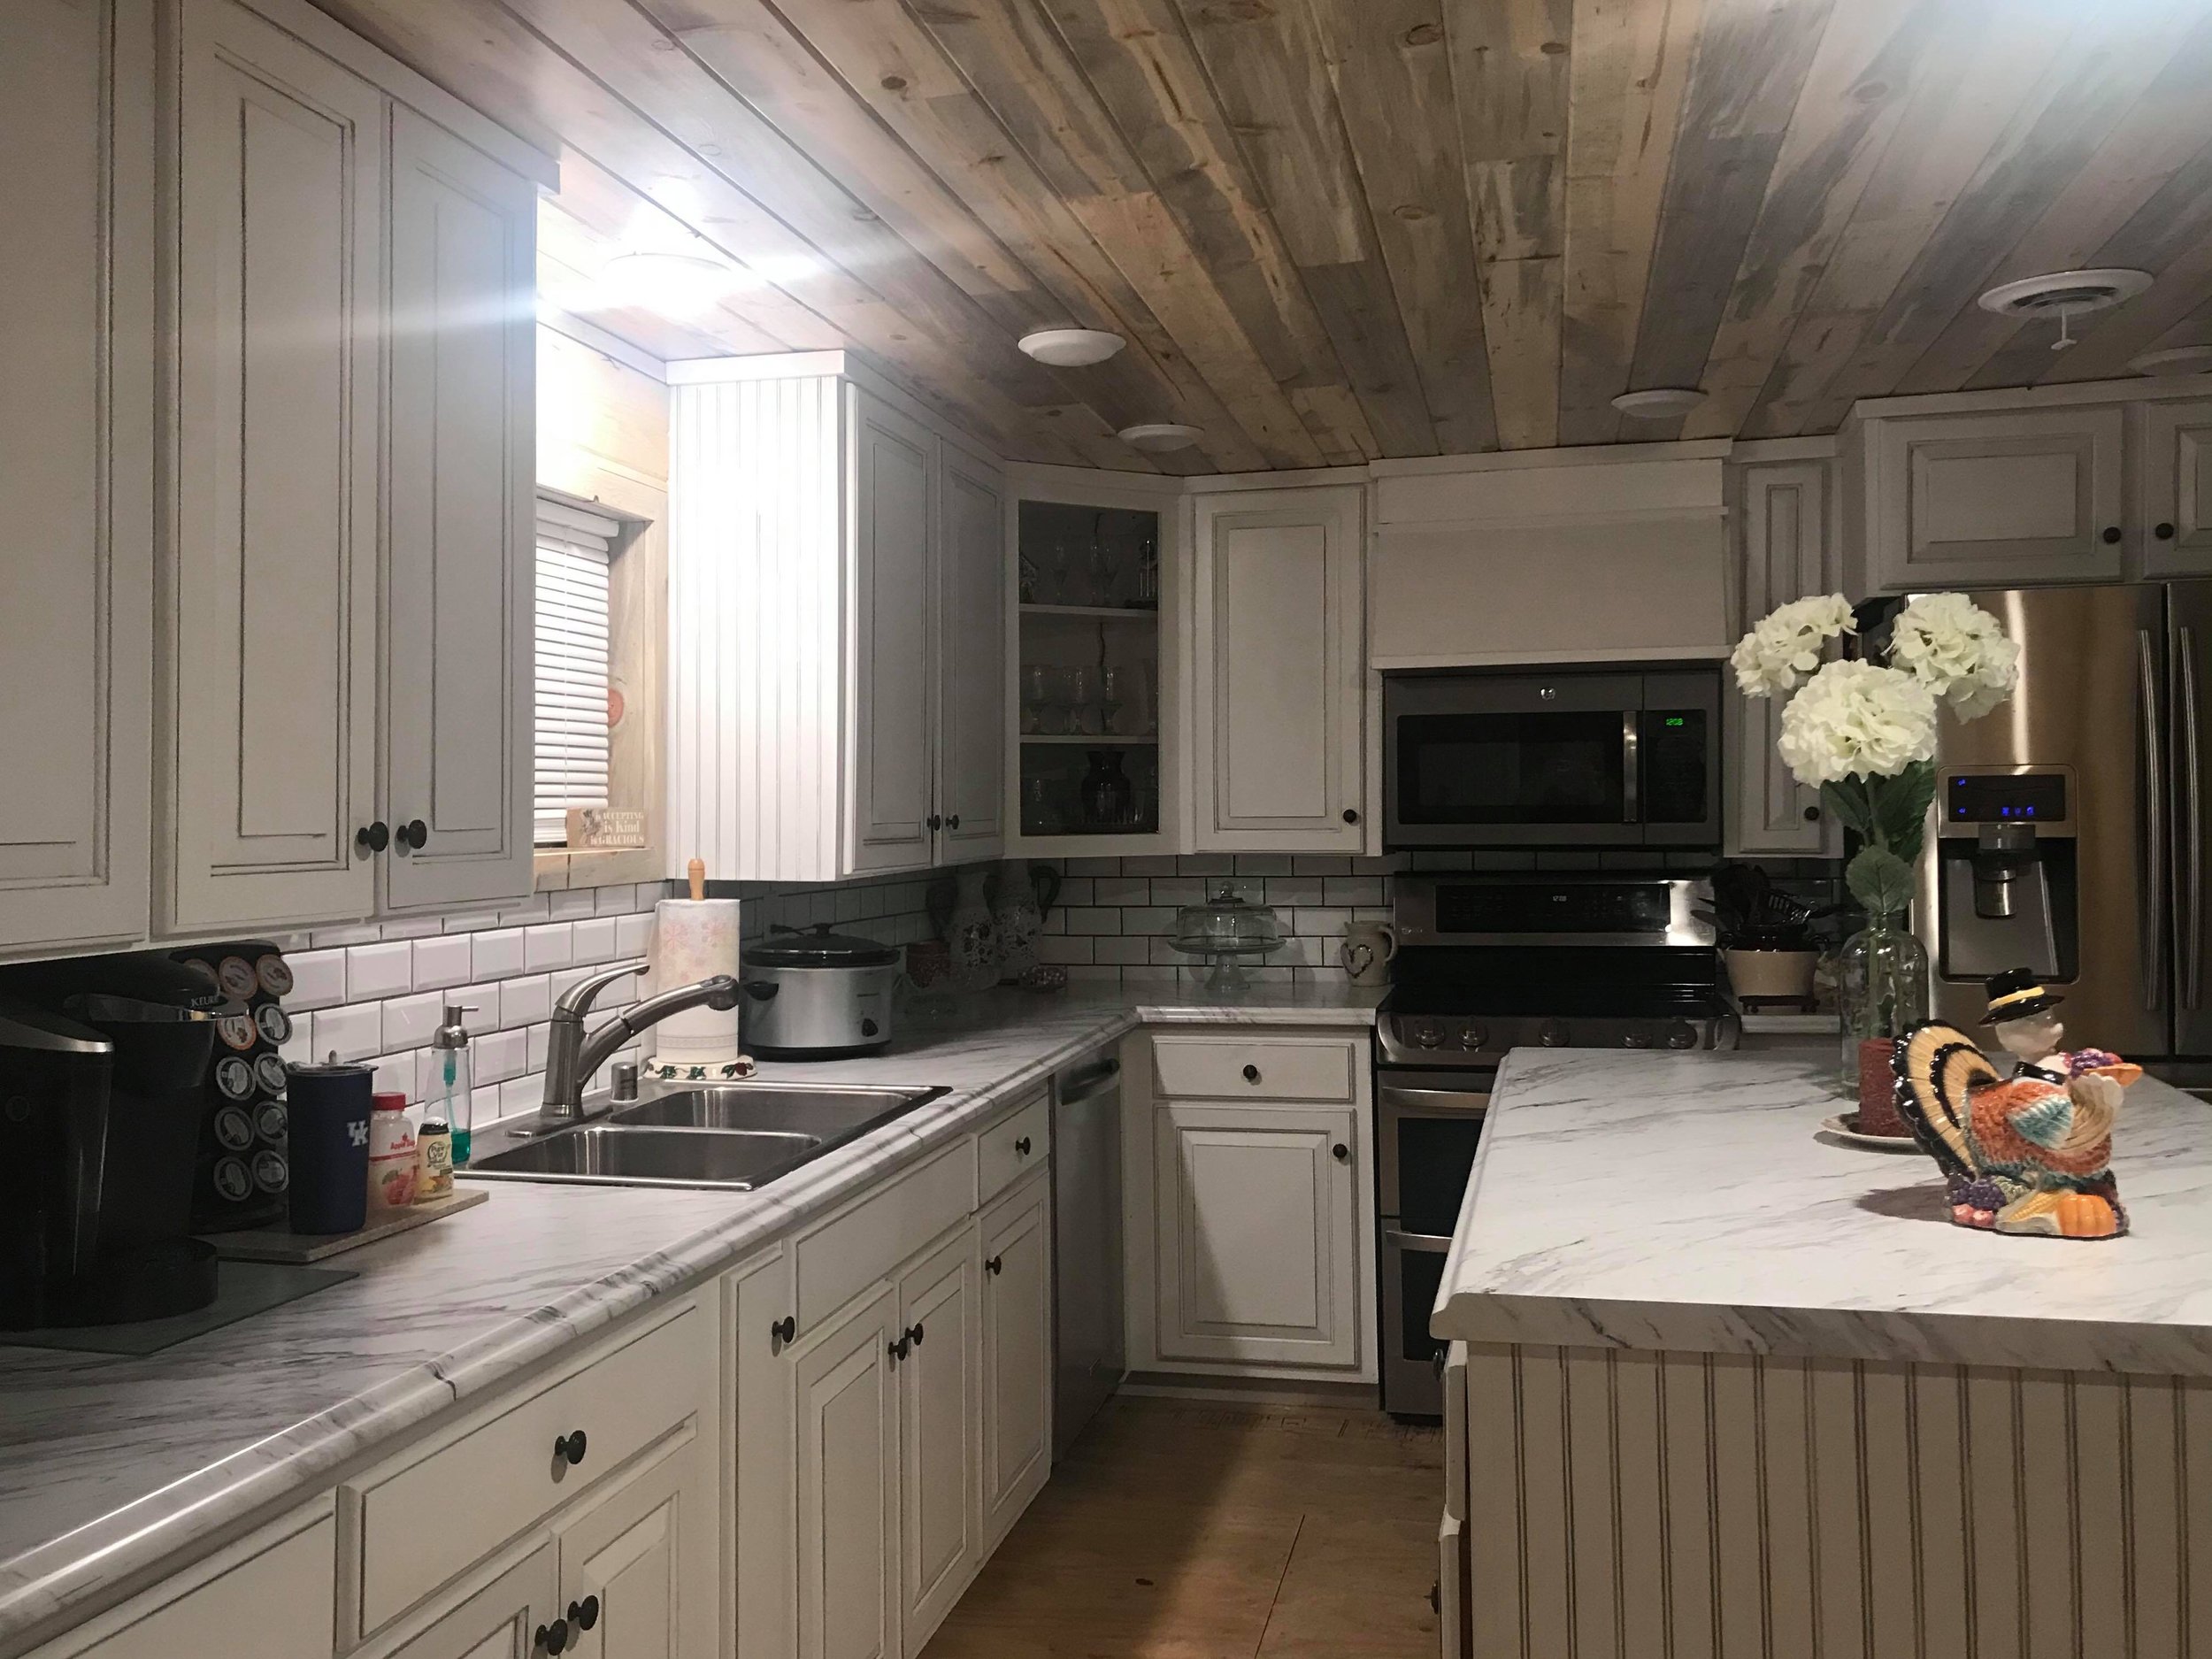
Ambrosia Maple flooring was installed and finished in this kitchen remodel!
STEP 7: WALLS AND PAINT
Let’s choose your wall types! Some people really prefer the look of drywall, while others really like the look of shiplap or tongue and groove. Tile can also be a great option in kitchens and bathrooms. One really cool look is when people combine multiple options. If all of the other walls are drywall, then maybe throw up an accent wall in shiplap or tile.
Color comes next. You should have already chosen your paints or stains if you are doing drywall or lumber to match the fit you want for your kitchen. Choose tiles specifically that will make your kitchen feel warm and comfortable. Accent walls are wonderful additions to almost any room in your house, so you should spend some time looking at that as well when thinking about colors.
Install any drywall, lumber, or tile on the walls, and then finish it with your paints or stains. (If you are using lumber you may want to paint or stain it before it goes onto the wall.)
STEP 8: Putting in Cabinets, Appliances, etc.

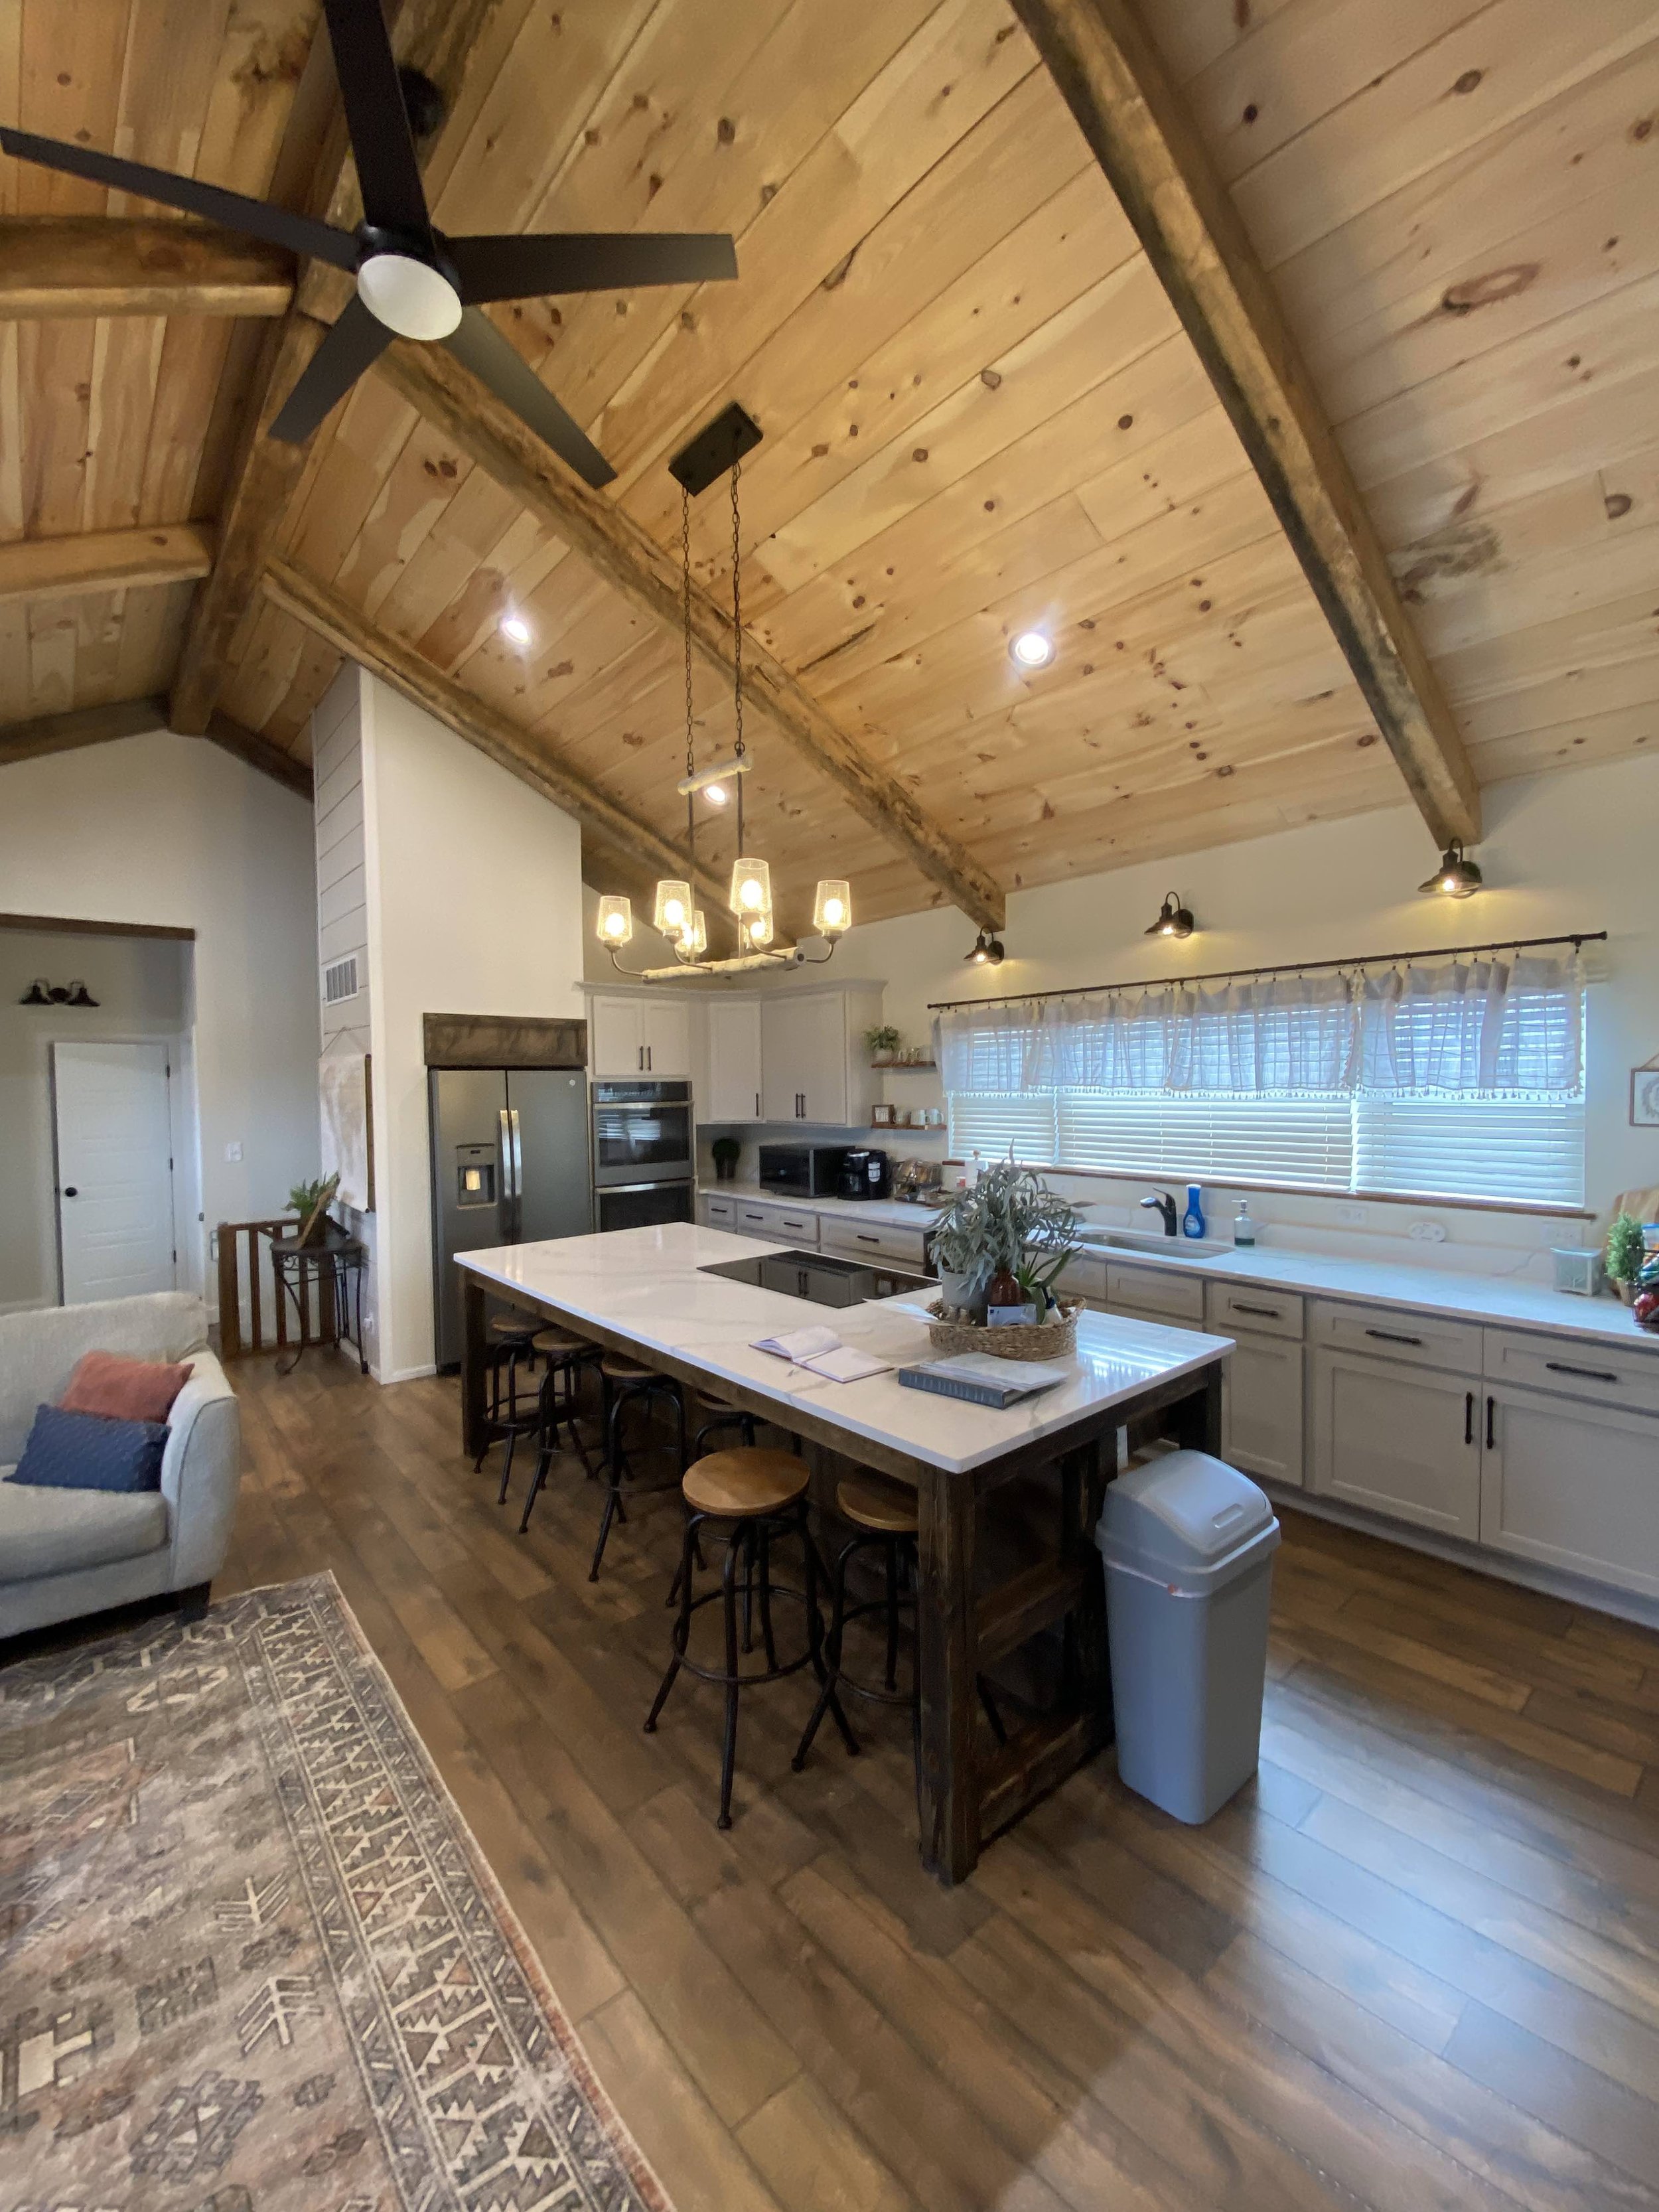
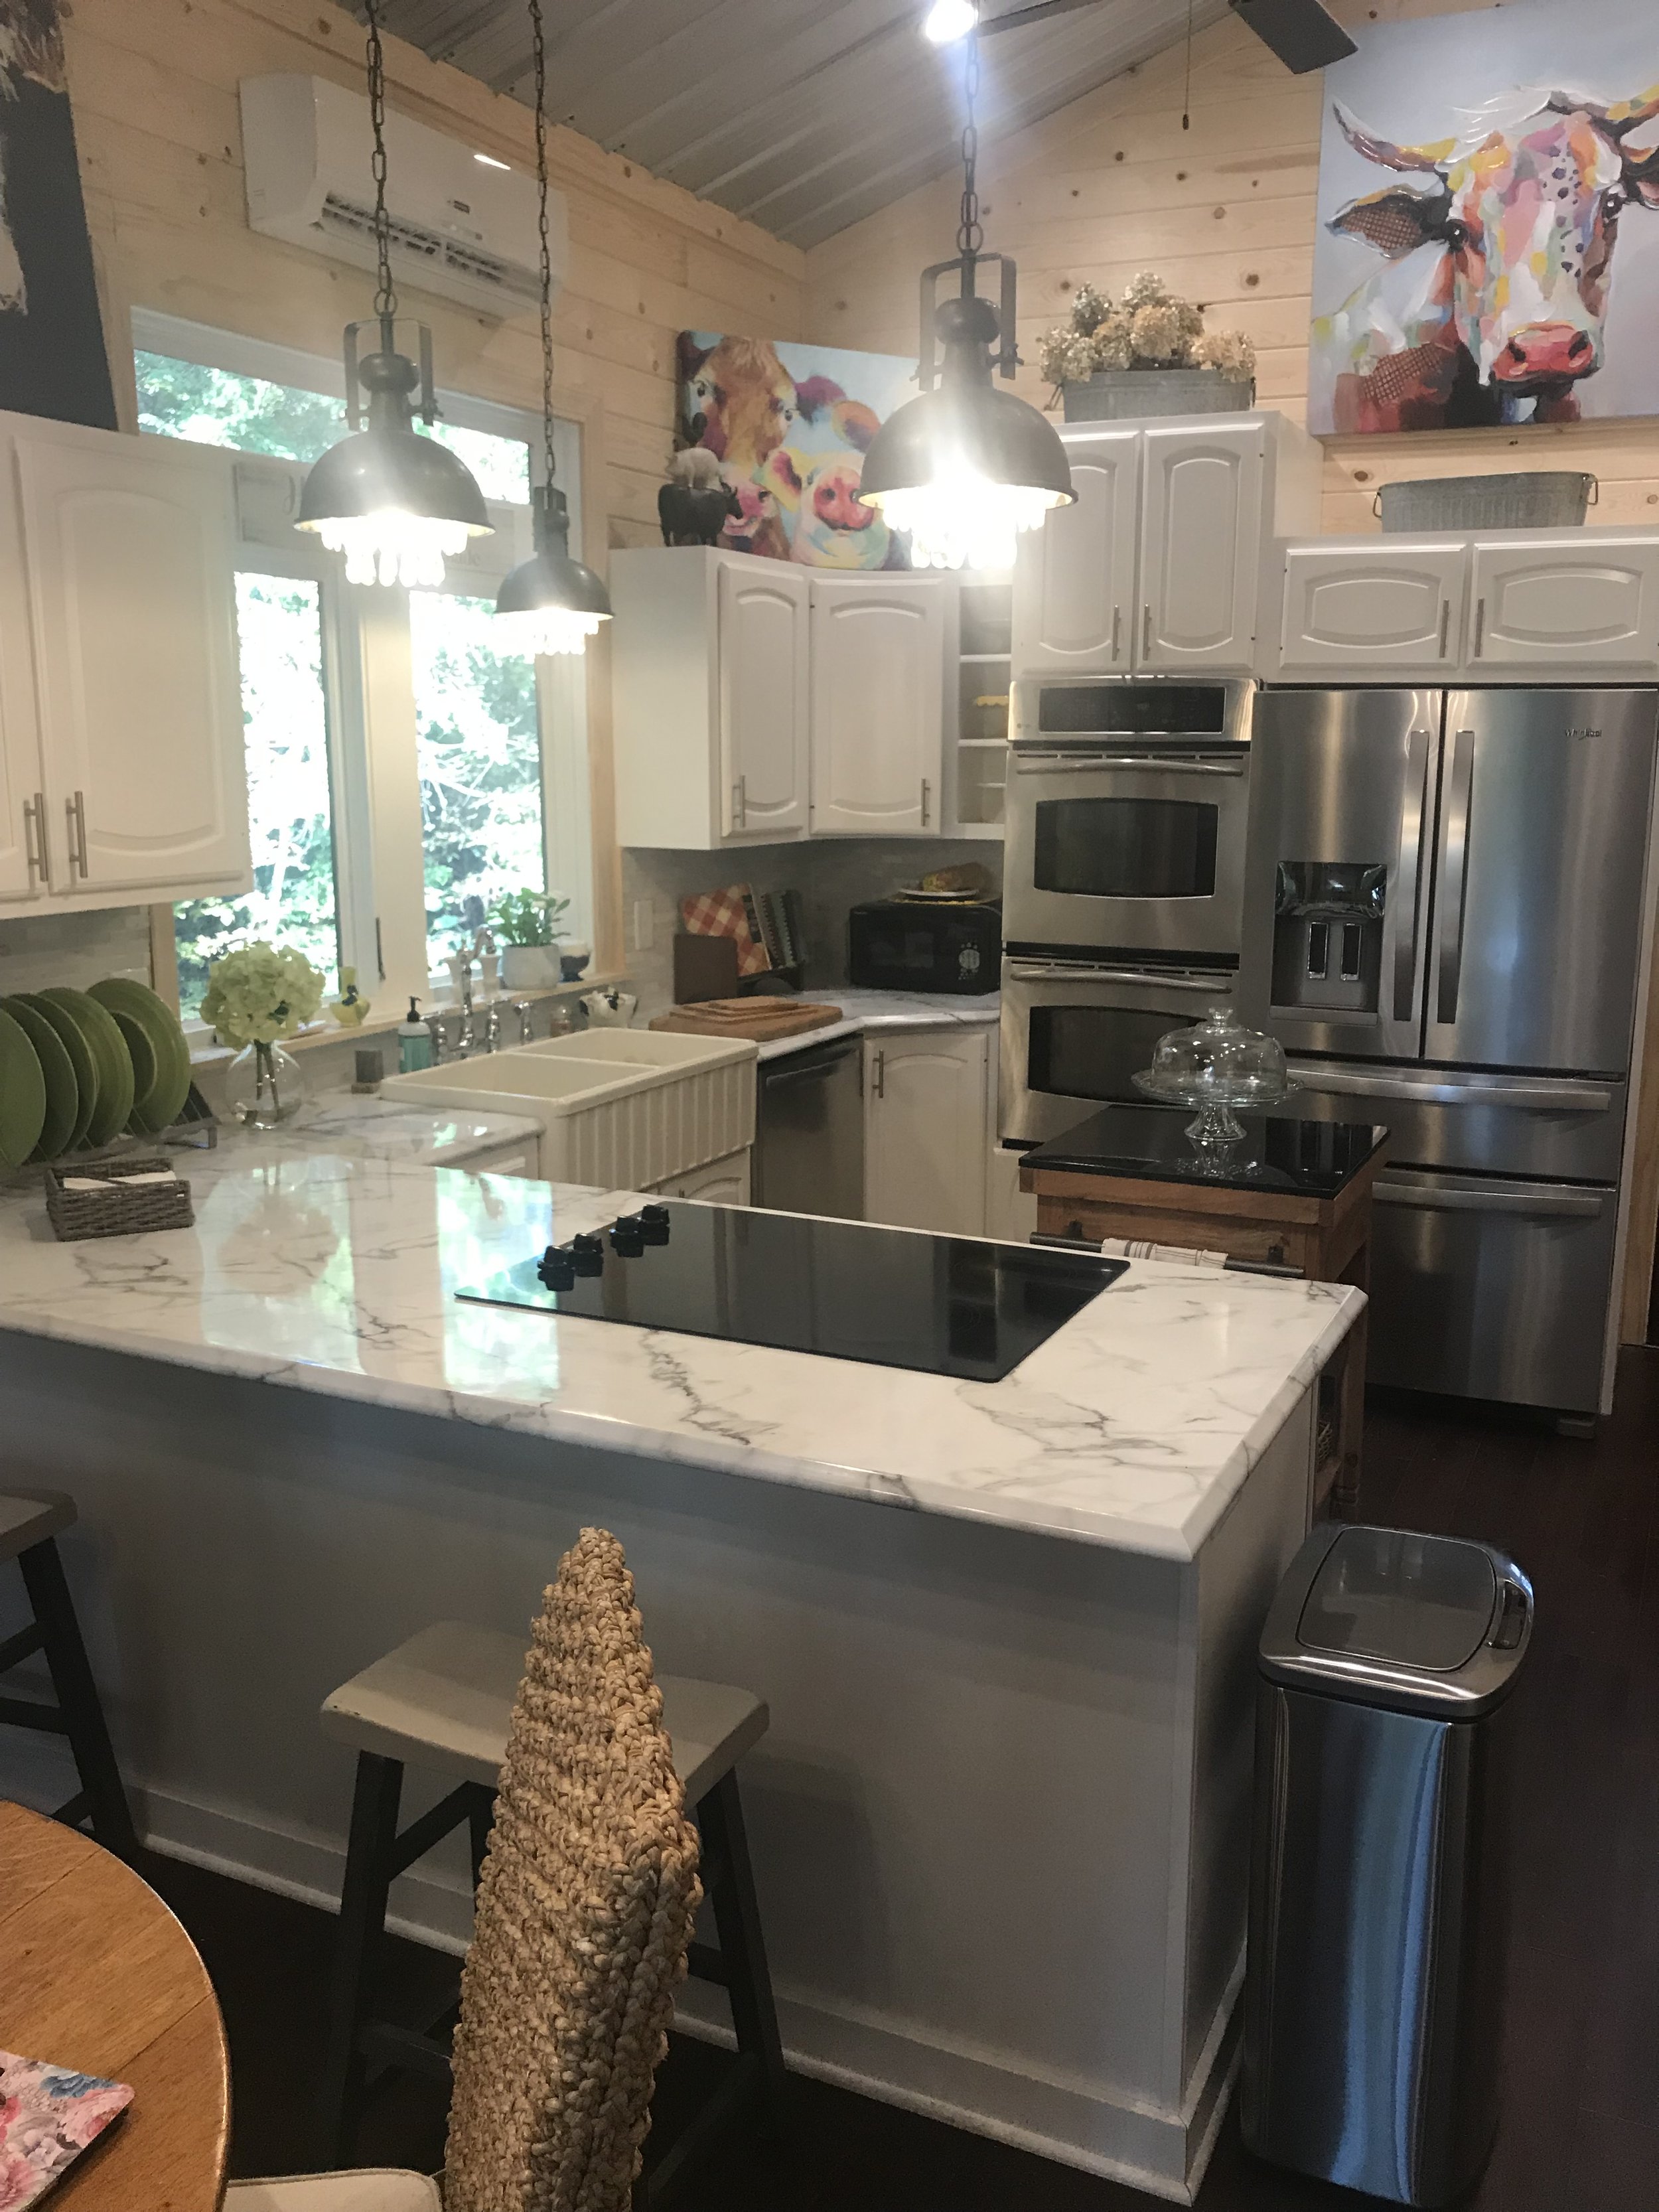
This kitchen received cabinets and is ready for more finishing touches!
You are so close to being done with your remodel! Now comes the fun part of getting to install your cabinets, appliances, and other finishing touches. Some things to consider adding are:
Cabinets
Dishwasher
Stove/Oven
Microwave
Bar and Stools
Pantry
STEP 9: CLEAN UP AND FINISHING TOUCHES
After you have finished the cabinets and appliances, then you are basically done. The second to last step is to add your décor and finish the space with your own personal touch. Begin cleaning up and touching up any scratched paint or messes around the remodel. Bring in your décor and finishing touches, and then make the last few adjustments you might want to make!
Conclusion:
Now you are ready! Hopefully, this post has made you more prepared for the remodel you are undertaking.
Now it’s your turn! Leave a comment down below and tell us what your favorite tip was from this post.
Are you going to spend more time prepping for problems, or are you going to add a little more to your budget in case of issues? Or maybe you just have a question?
Also, send us some of the pictures or your remodel and give us some details on what you are doing here! We would love to hear about your remodel and home building projects! Who knows, maybe your remodel pictures will be featured on an upcoming post!