
Installing Shiplap and Tongue and Groove: The Ultimate Guide
You’ve purchased your finishing lumber. You’ve unloaded it into the garage. Last weekend was spent meticulously staining each board, and now you think you’re ready to start installing it in your house… but where do you start???

This ultimate guide to installing finish lumber will give you everything you need to know to DIY your home! So, without further ado, let’s get started!
Table of contents:

Nailers, Tools,
and Board
Waste
Before you can begin to put up your shiplap, tongue and groove, or exterior siding, you must first figure out some things like what type of nail gun to use, length of nails, and board waste. Once you figure all this out you’ll be ready to dive into the installation.
Nailers and nails for INSTALLING Lumber:
The type of nailer you use will largely be determined by the type of wood you are installing. Below are options for multiple types of lumber.

Nailer for 1x Lumber:
A finish nailer or brad nailer is the easiest and most efficient tool to use when installing your new shiplap or tongue and groove. They can be purchased/rented relatively cheaply from your local hardware store, they’re lightweight, and are simple enough that even a 12 year old can use them!

We have only used pneumatic nailers, but many customers have recommended battery or CO2-powered ones for less arm-fatigue. Additionally, the lack of an air hose and compressor lends itself to a higher level of safety and sanity.
We recommend using 16- or 18-gauge finish or brad nails. 1-½” to 2” in length should be sufficient. Both gauges are strong enough to hold the lumber securely, but small enough to not leave a large hole on the face of the board. Go ahead and buy the bulk pack: you’re going to need it!
If your nailer has a depth setting, you should dial it to shoot the nail 1/16” below the face of the board. If it doesn’t have this feature, you should be able to adjust your air compressor regulator until the desired depth is achieved. Check out these links, if you’d like more information about how to choose and use the best finish nail or brad nailer.
Nailers and Screw Guns for Exterior Siding:
For exterior siding, we suggest that you use a framing nailer or screw driver. Exterior siding needs to be able to take a beating so you want to use very durable fasteners.
For fasteners, we recommend using a 2-5/8” exterior ring shank nail or coated deck screw. If you use nails, choose galvanized or stainless options, as the zinc-coated version will likely leave grey-green streaks running down your walls after only a few months of rain. Nails cost less, and are quick to use with a pneumatic nail gun, but screws will secure the lumber better as it contracts and expands with environmental changes like humidity.

Other Tools for installing lumber:
Jigsaw (for wall outlets, etc.)
Chop saw or circular saw (we have found the chop saw to be easiest when putting up your walls and ceilings, but a circular saw gets the job done as well)
Measuring tape
Level
Chalk line (This item is not completely necessary, but makes the process much easier.)
Hammer
Safety glasses (these are not mandatory, but are strongly encouraged because nails may kick back and you run the risk of shooting your eye out)
Stud finder (for when you are installing your lumber over drywall)
Pencil
Carpenter’s or Speed square
Framing nailer or Screw gun
Exterior grade nails or screws
Caulk
Board Waste:
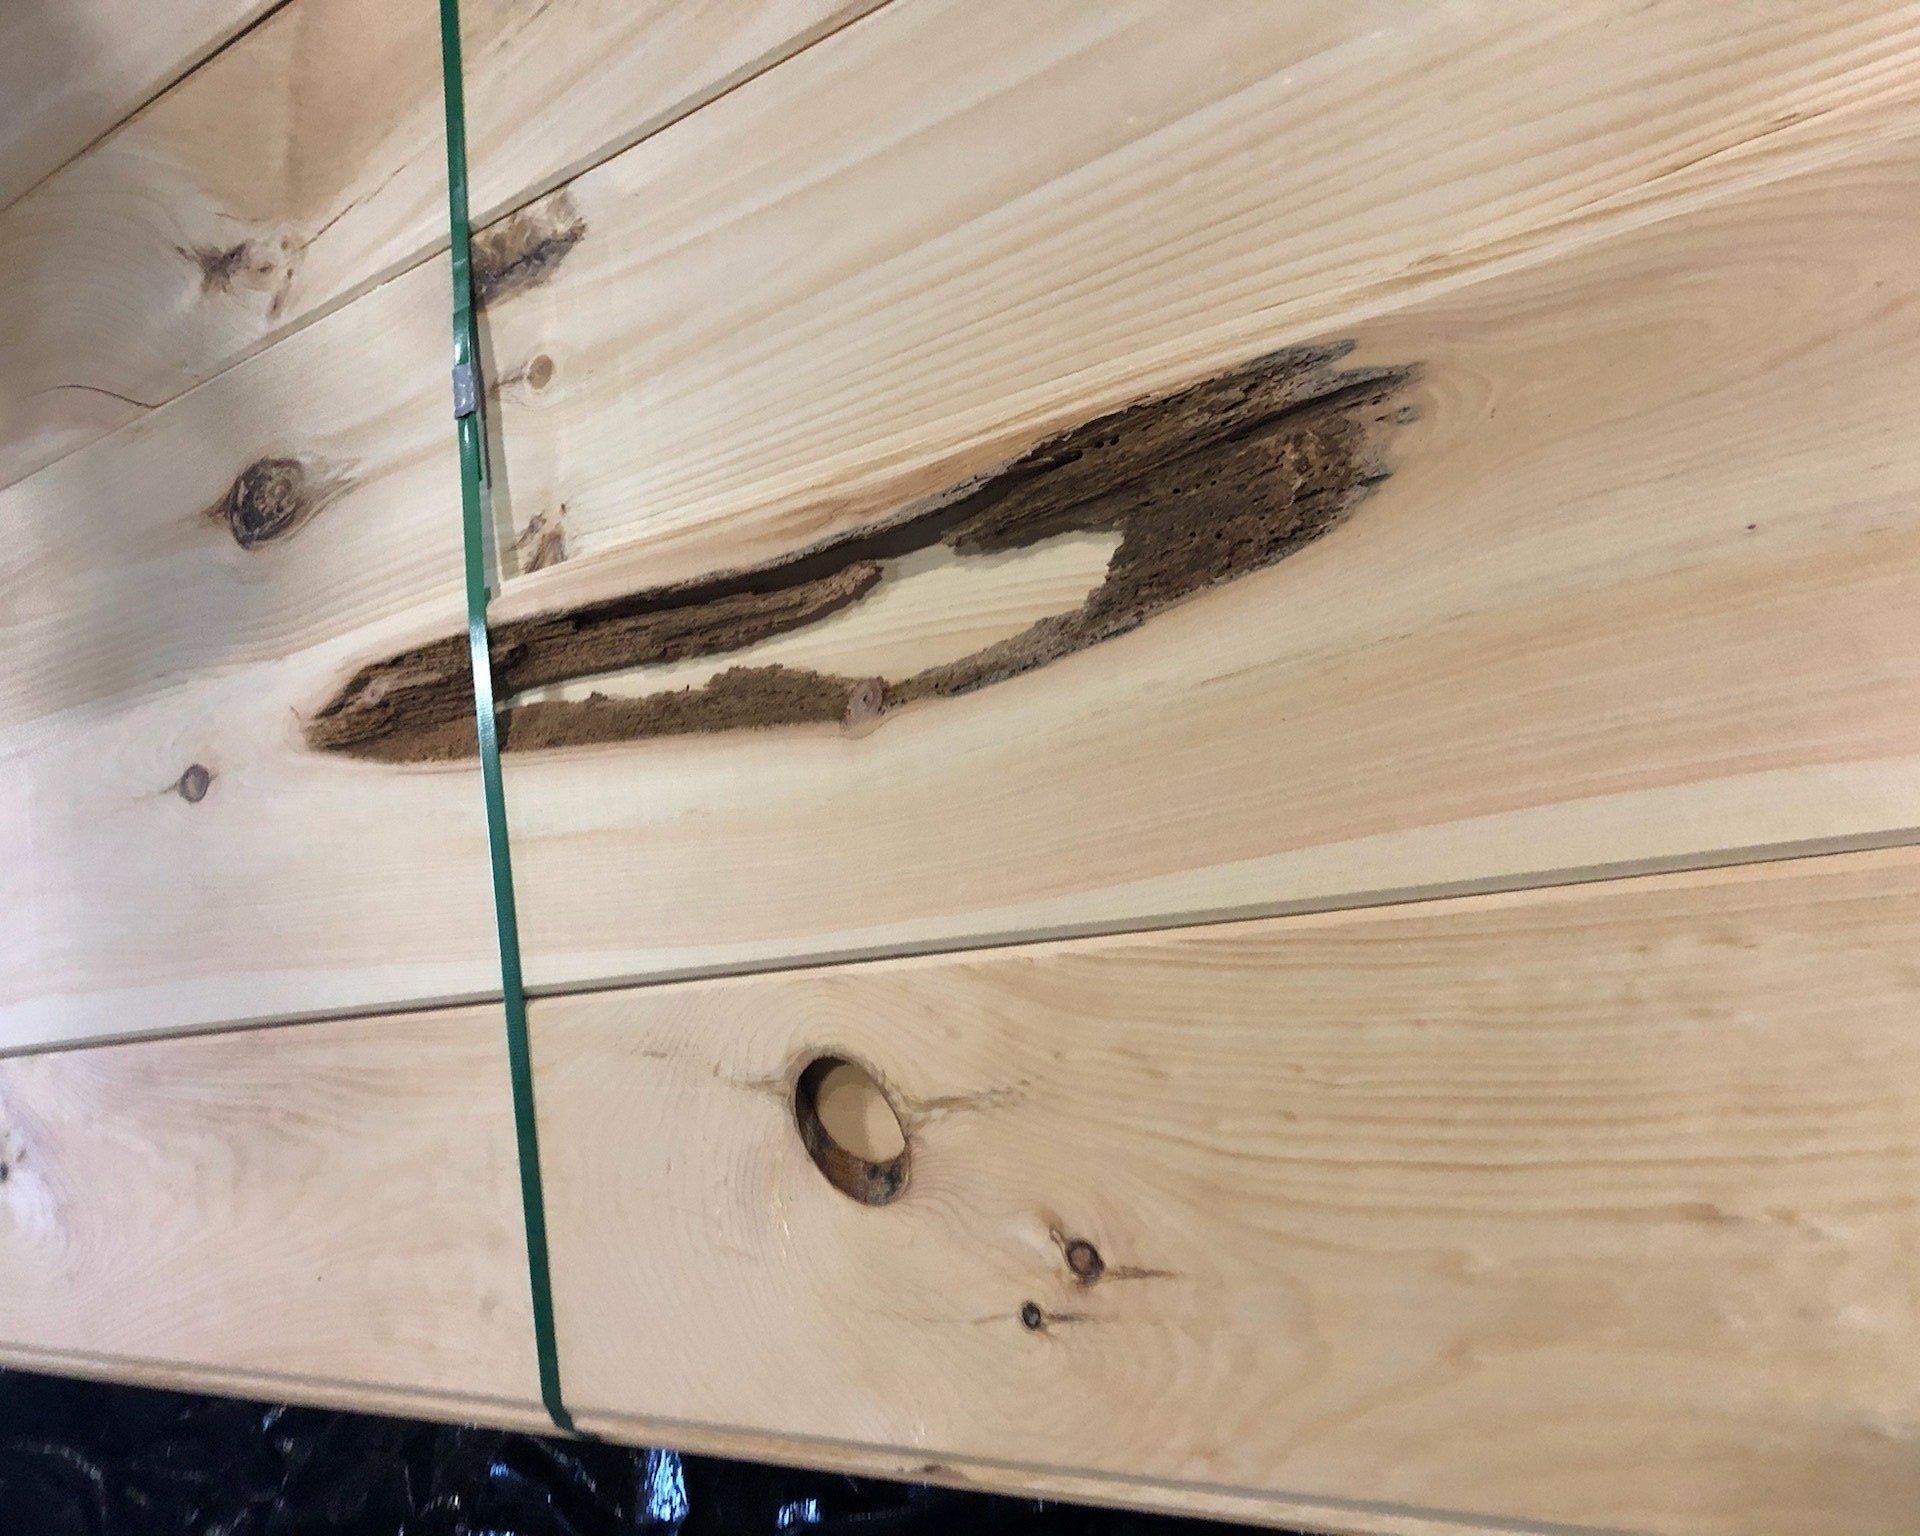
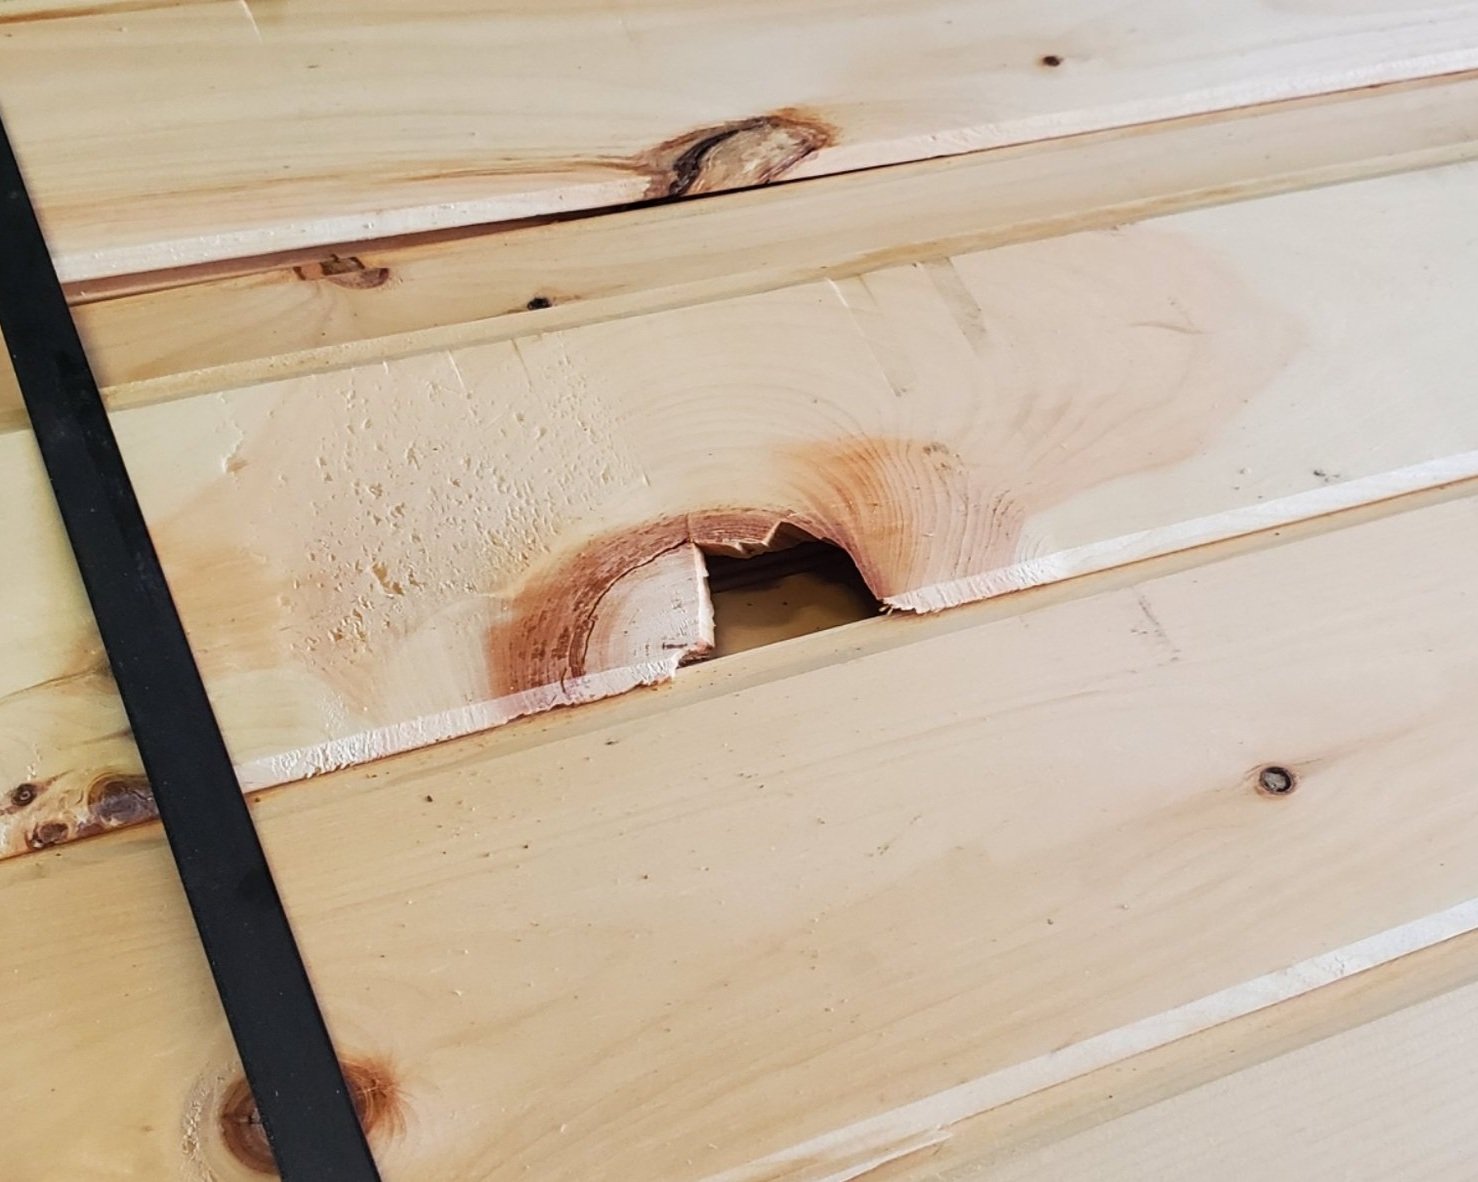
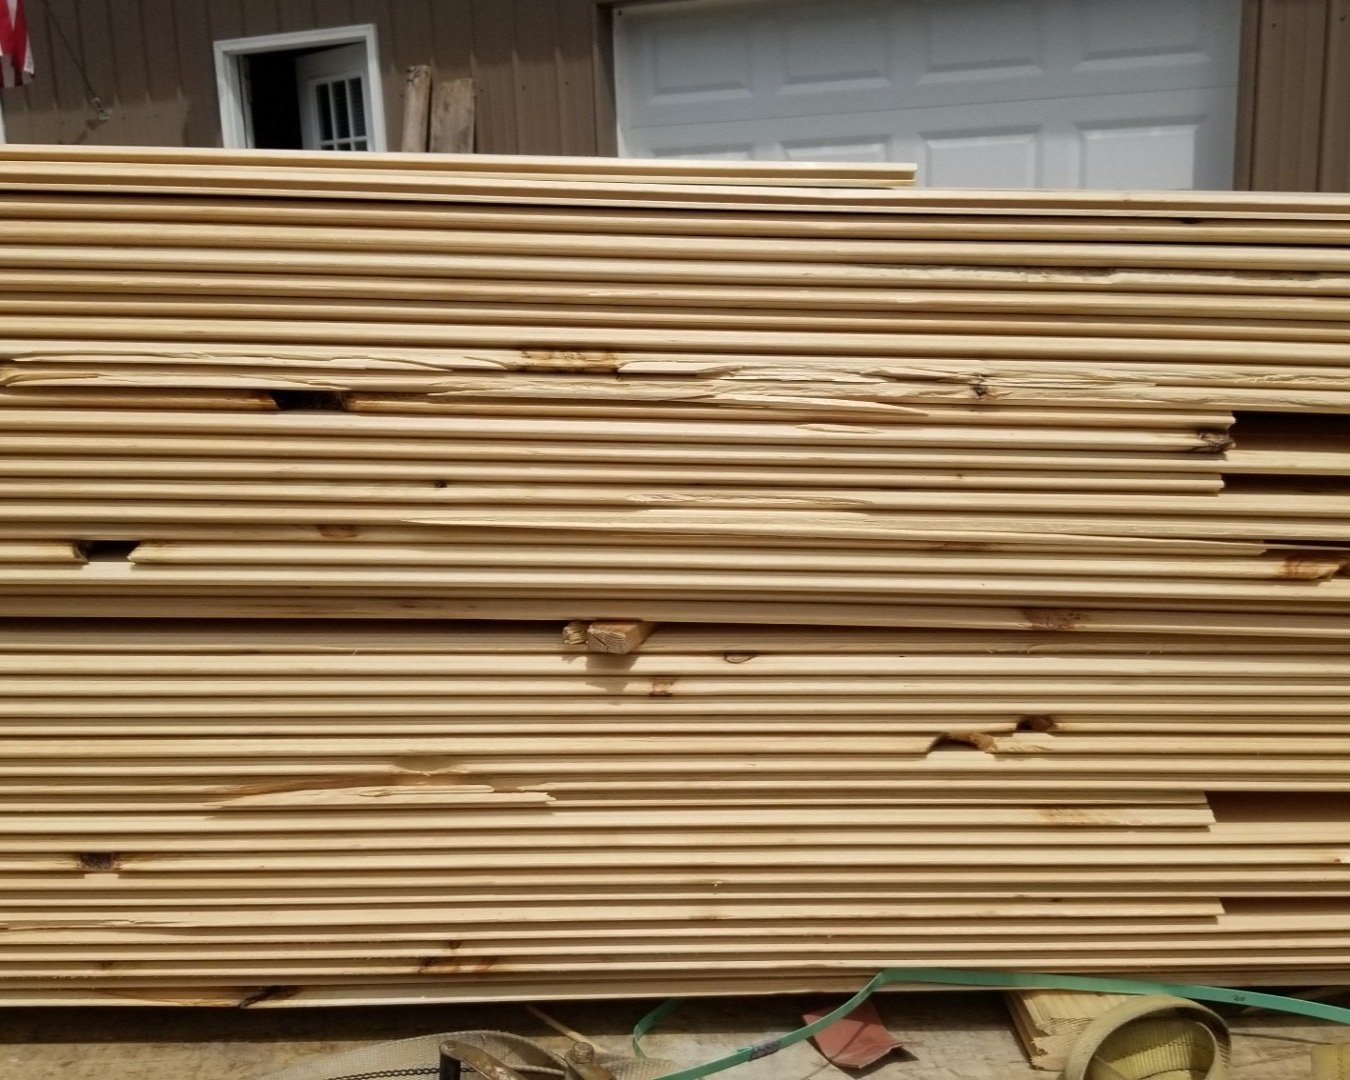
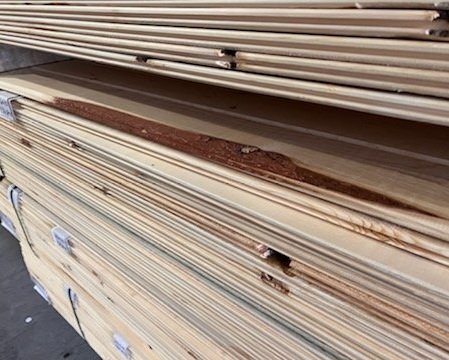
Missing knot holes are extremely common in lumber, especially in the lower grades. When dealing with missing knot holes there are a couple of different ways you can handle them, but it all really boils down to three things: you can either fill them, cut them out, or disguise them.
Cutting Out all Missing Knot Holes
If you are someone who simply cannot have missing knots in your lumber due to the nature of your project or personal preference, your best option might be to cut out every missing knot.
For our customers here at Kentucky Lumber, we often recommend including at least 10-15% extra square feet for board waste when you order our cabin grade lumber. However, if you plan to cut out every missing knot, you should consider adding even more to be safe.
Filling Knot Holes
There are multiple ways you can fill knot holes in your lumber. We have a lot of creative customers and they come up with some pretty cool ideas!
Sawdust: One way to make the knot hole look as natural as possible is to mix sawdust, from the same type of wood you are needing to fill the hole with, and wood glue together to get a color-matched filler. When this mixture is packed tightly into the hole and left to dry, it will have the perfect color to match the rest of the wood.
Epoxy: Some of our customers have used epoxy when filling their knot holes and then they painted over everything. They got some incredible results! When using epoxy to seal a hole in your floor, you want to begin by putting a piece of tape over the back of the knot hole to stop the resin from coming out the back. Then all you have to do is fill the hole with resin and let it sit until it is fully dried.
Coffee Grounds: We have seen some really unique things done with knot holes. One of our favorites was when a customer used coffee grounds and resin to create a black knot hole filler when he couldn’t find any premade to use. He mixed coffee grounds with a clear resin to create a killer solution to his problem! You can do the same thing when mixing sawdust with resin to create a lighter mixture.
Corn Cob: Another idea from one of our customers was to stick a corn cob in the knot hole and saw it off flush to the floor. He then filled in the rest of the hole with a clear resin. The natural look of the corn cob was a great way to fill in the knot hole!
Disguising knot holes
With missing knot holes it’s always easiest to just leave them as they are, but if you’re installing on an interior wall or ceiling, you will probably have insulation behind your shiplap or tongue and groove that could poke through. Our favorite way to handle this is to staple a piece of black felt paper to the back of the board. When you look at it, you will then see just a black spot that looks like a deep knot, thus disguising it from view. One of our offices has over 20 holes like this on the ceiling!
Ready to manage your board waste and install tongue and groove or shiplap and manage?
Installing Shiplap and Tongue and Groove On Your Walls:
Shiplap and tongue and groove are very simple to install and can create a wonderful look in your home. Our customers frequently have questions for us about the installation process, and we love to help them out by sharing tips and tricks we’ve learned from other customers in the past. The section below will give you those tips and tricks for you to use when installing your lumber directly to studs!
Installing Directly to studs:
Step One: Materials
When starting your shiplap wall, you first need to gather all of your supplies and begin prepping your wall for installation. This would include the list of materials listed in the Nailers, tools, and board waste section above.
Step Two: Measuring and Leveling
After you have gathered all of your materials, you can dive right into installing your lumber. First, you’ll measure and cut your bottom board. When measuring between studs you should always make your measurement come to the middle of the stud you are planning to end the board at.
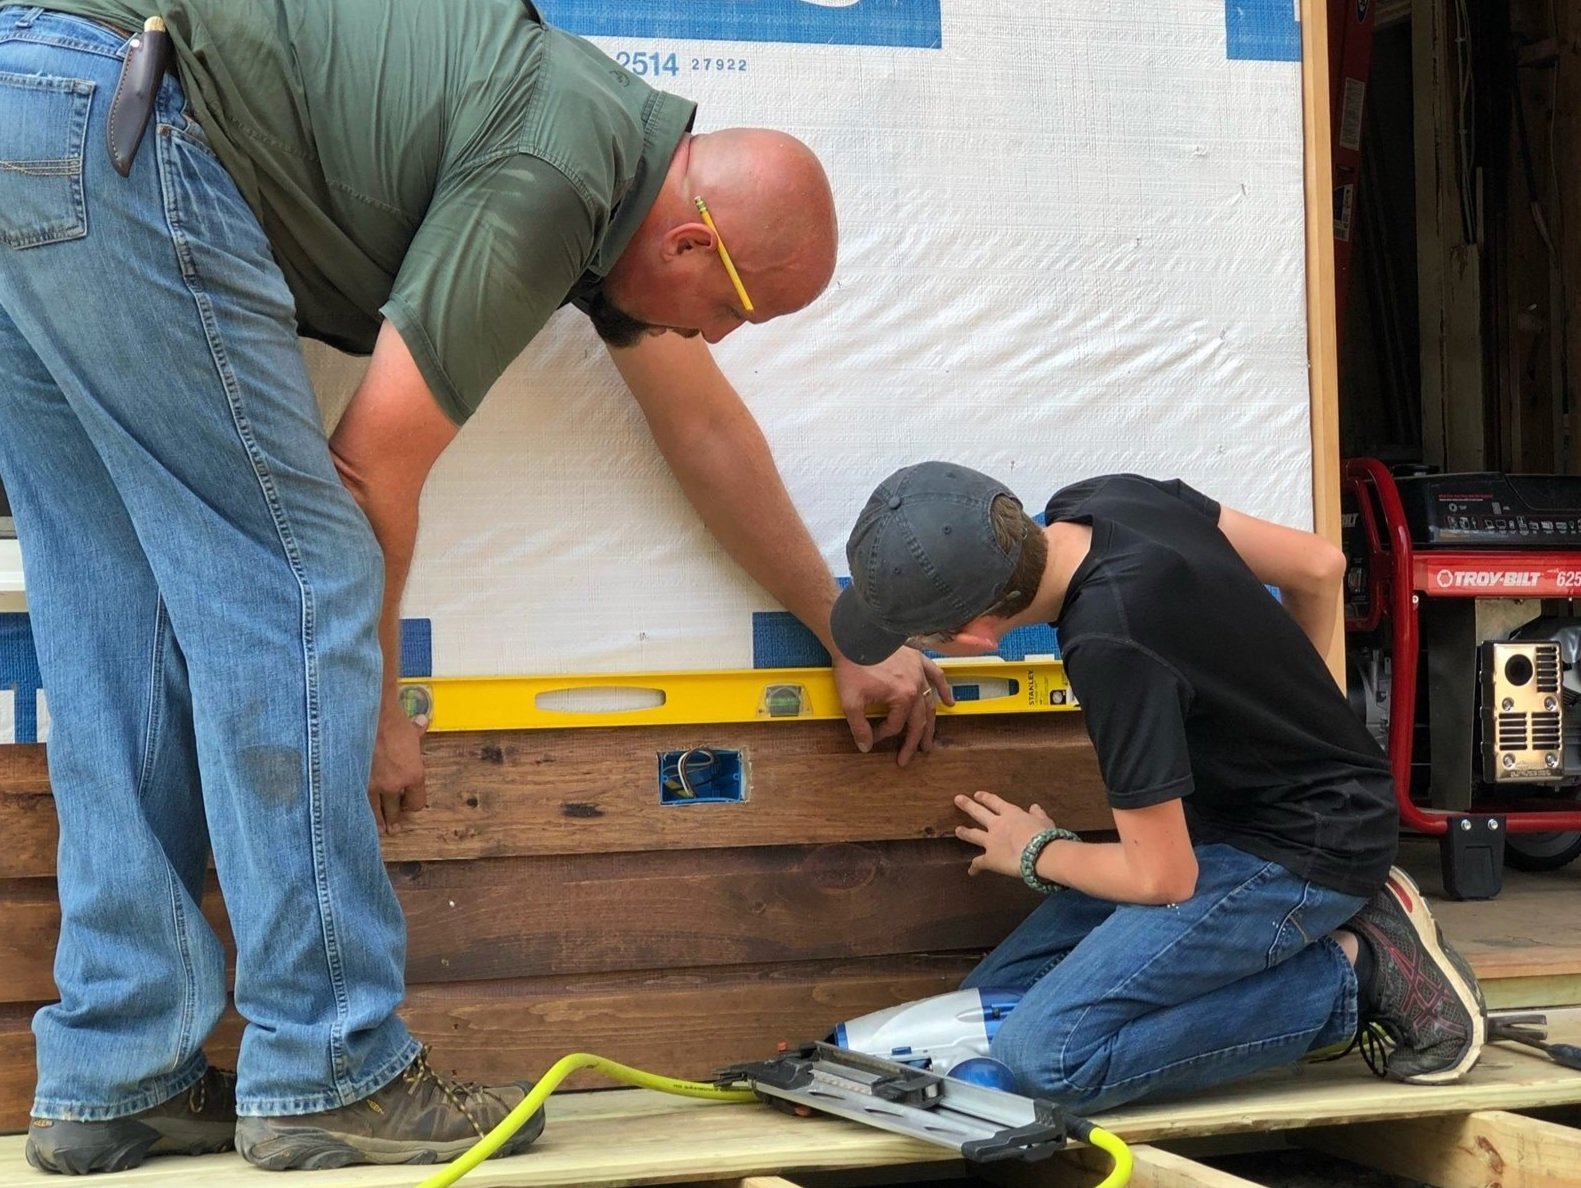
Next, take a level and make sure that your board is level with either the floor or the ceiling - depending on whether you are working down or up. A few of our customers have suggested starting from the ceiling and working down if the floor is unlevel. However, we recommend starting from the bottom if that is possible for you to do. This way you can use gravity to your favor and it adds to the ease of installation. Because shiplap brings clean lines to your space, any discrepancy that makes the shiplap crooked will be noticeable. Naturally, this means that you’ll want to make sure the boards are level even if it means coming off the floor or ceiling a little bit. The resulting gap can be covered by a piece of trim so you shouldn’t worry too much about it.
Step Three: Nailing
After the board is level, you can go ahead and attach it to the studs. We always recommend face nailing shiplap when installing it on your walls, ceiling, and as exterior siding. Face nailing means that you shoot your nail at a 90 degree angle to the board through the flat (or face) of the board. For 6” and 8” boards, we shoot three nails into every stud/rafter, and for 10” and 12” boards, we use 4 nails.
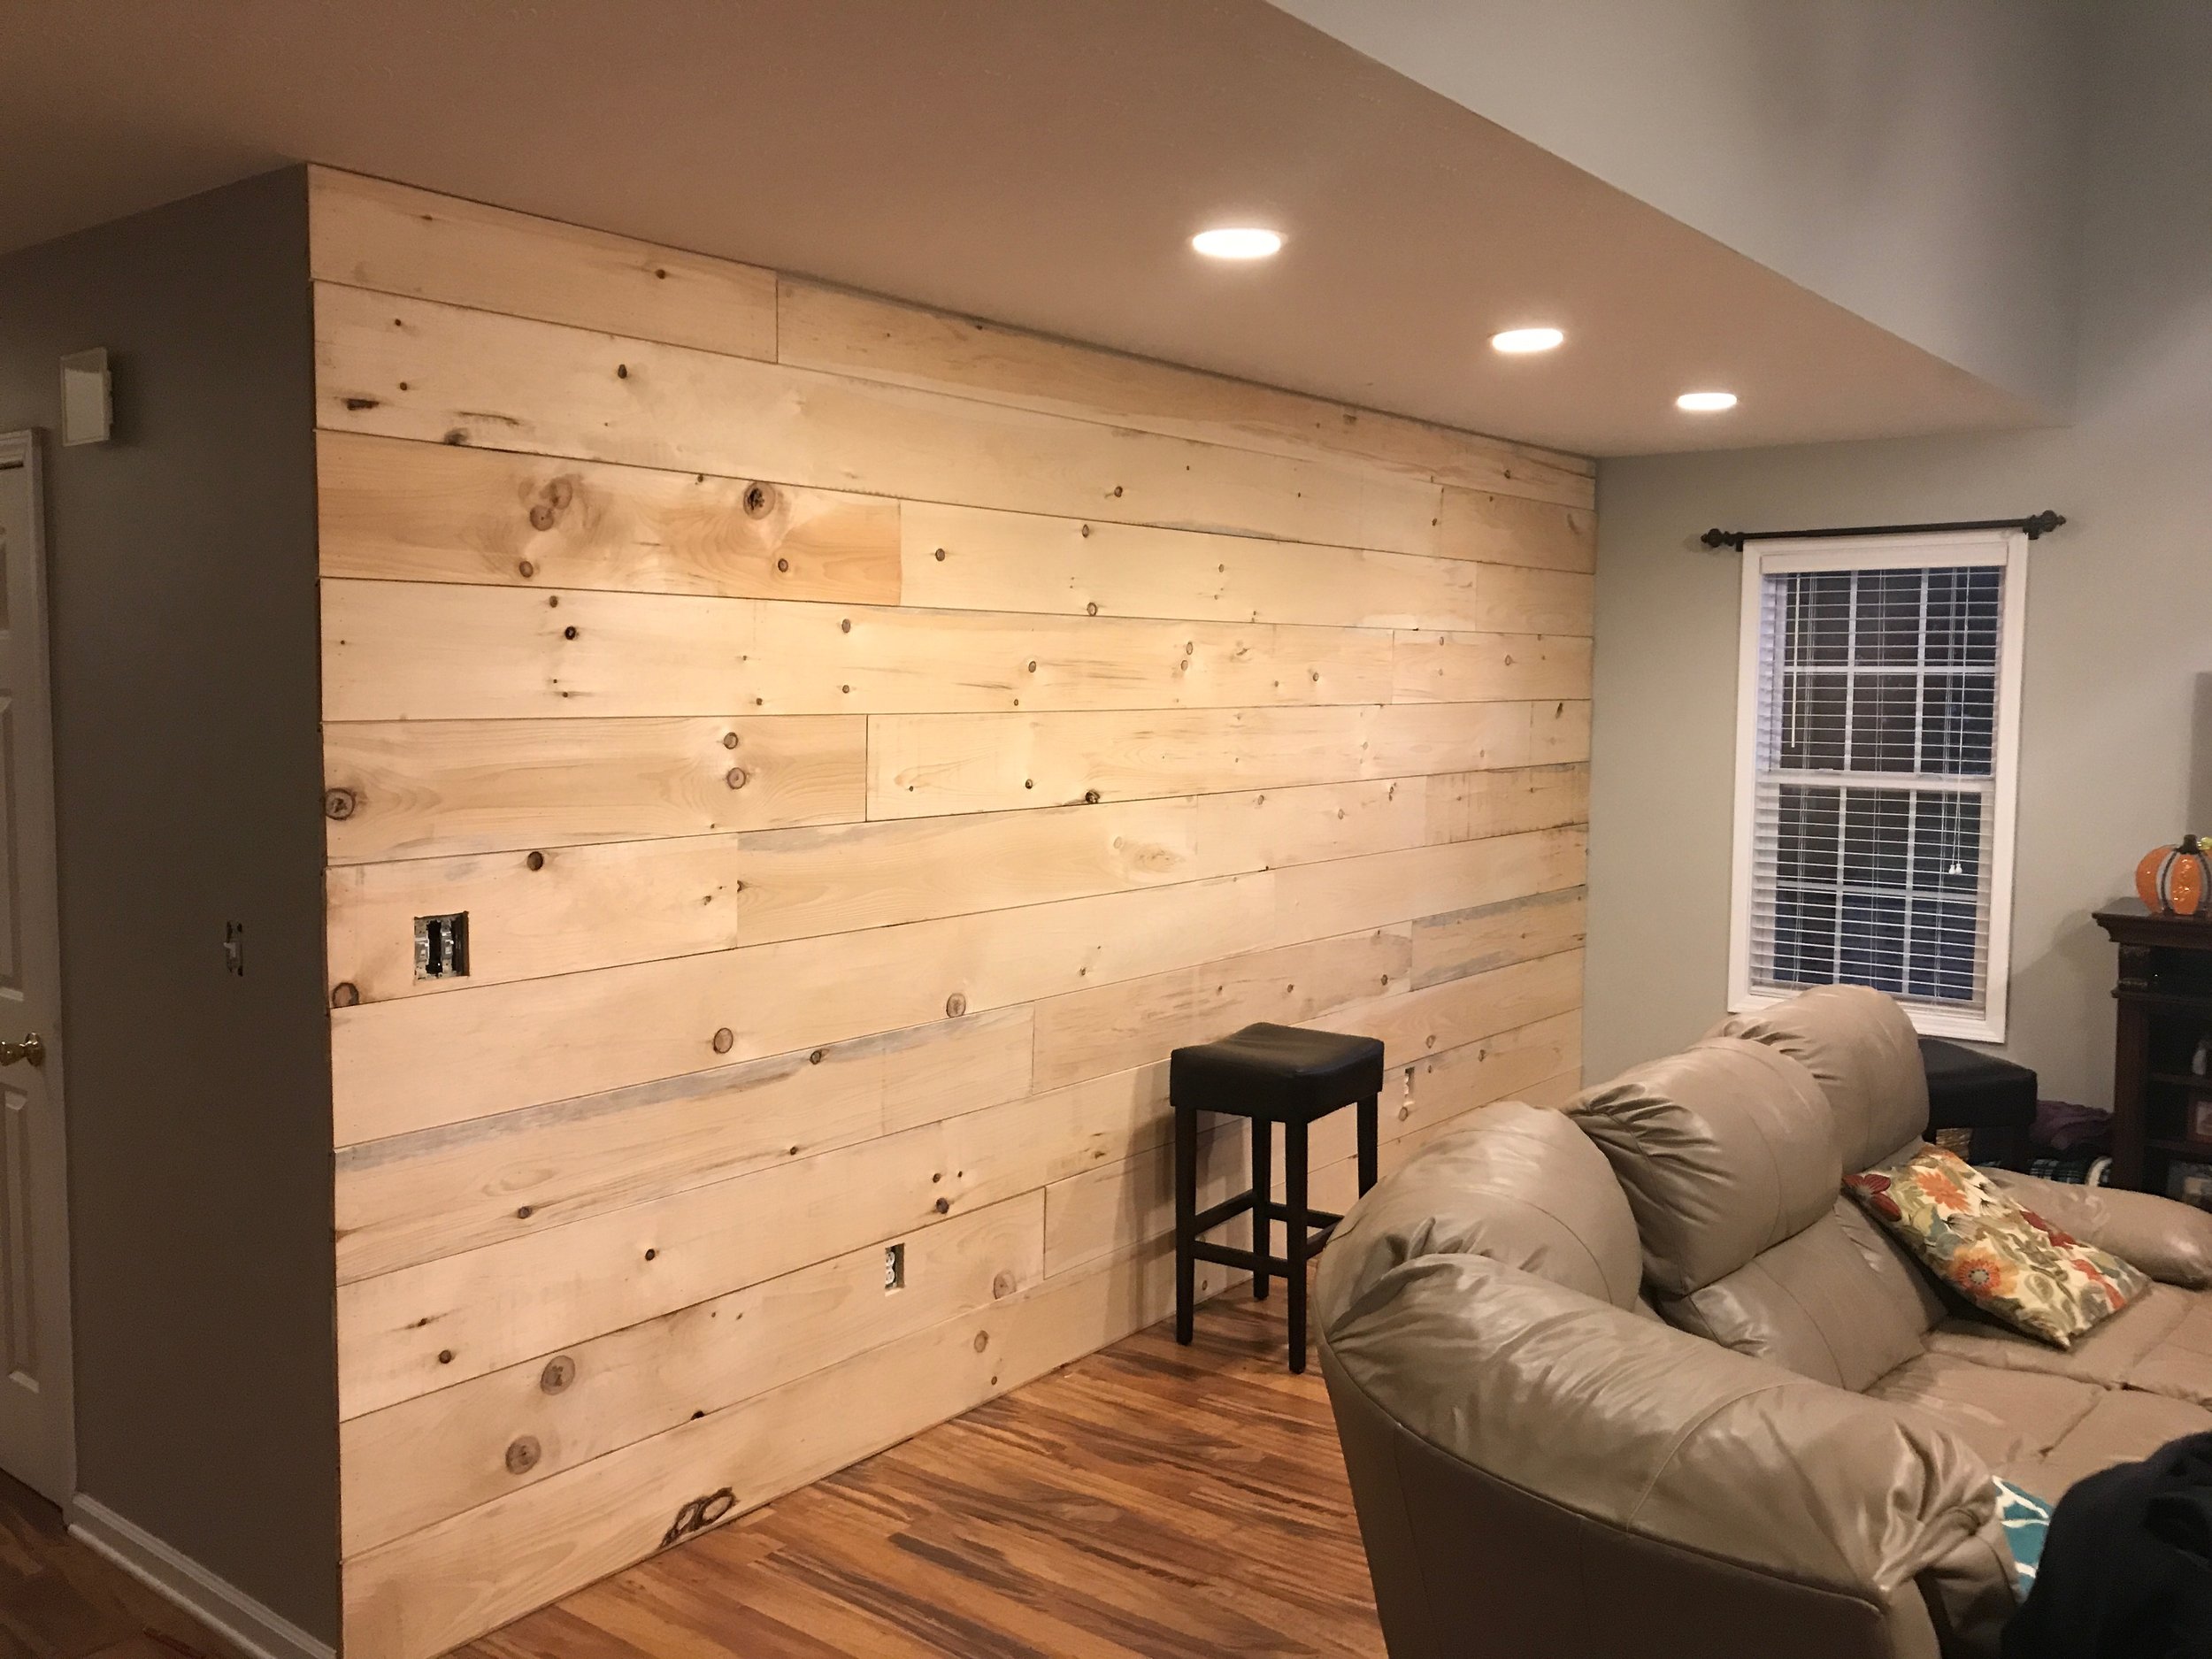
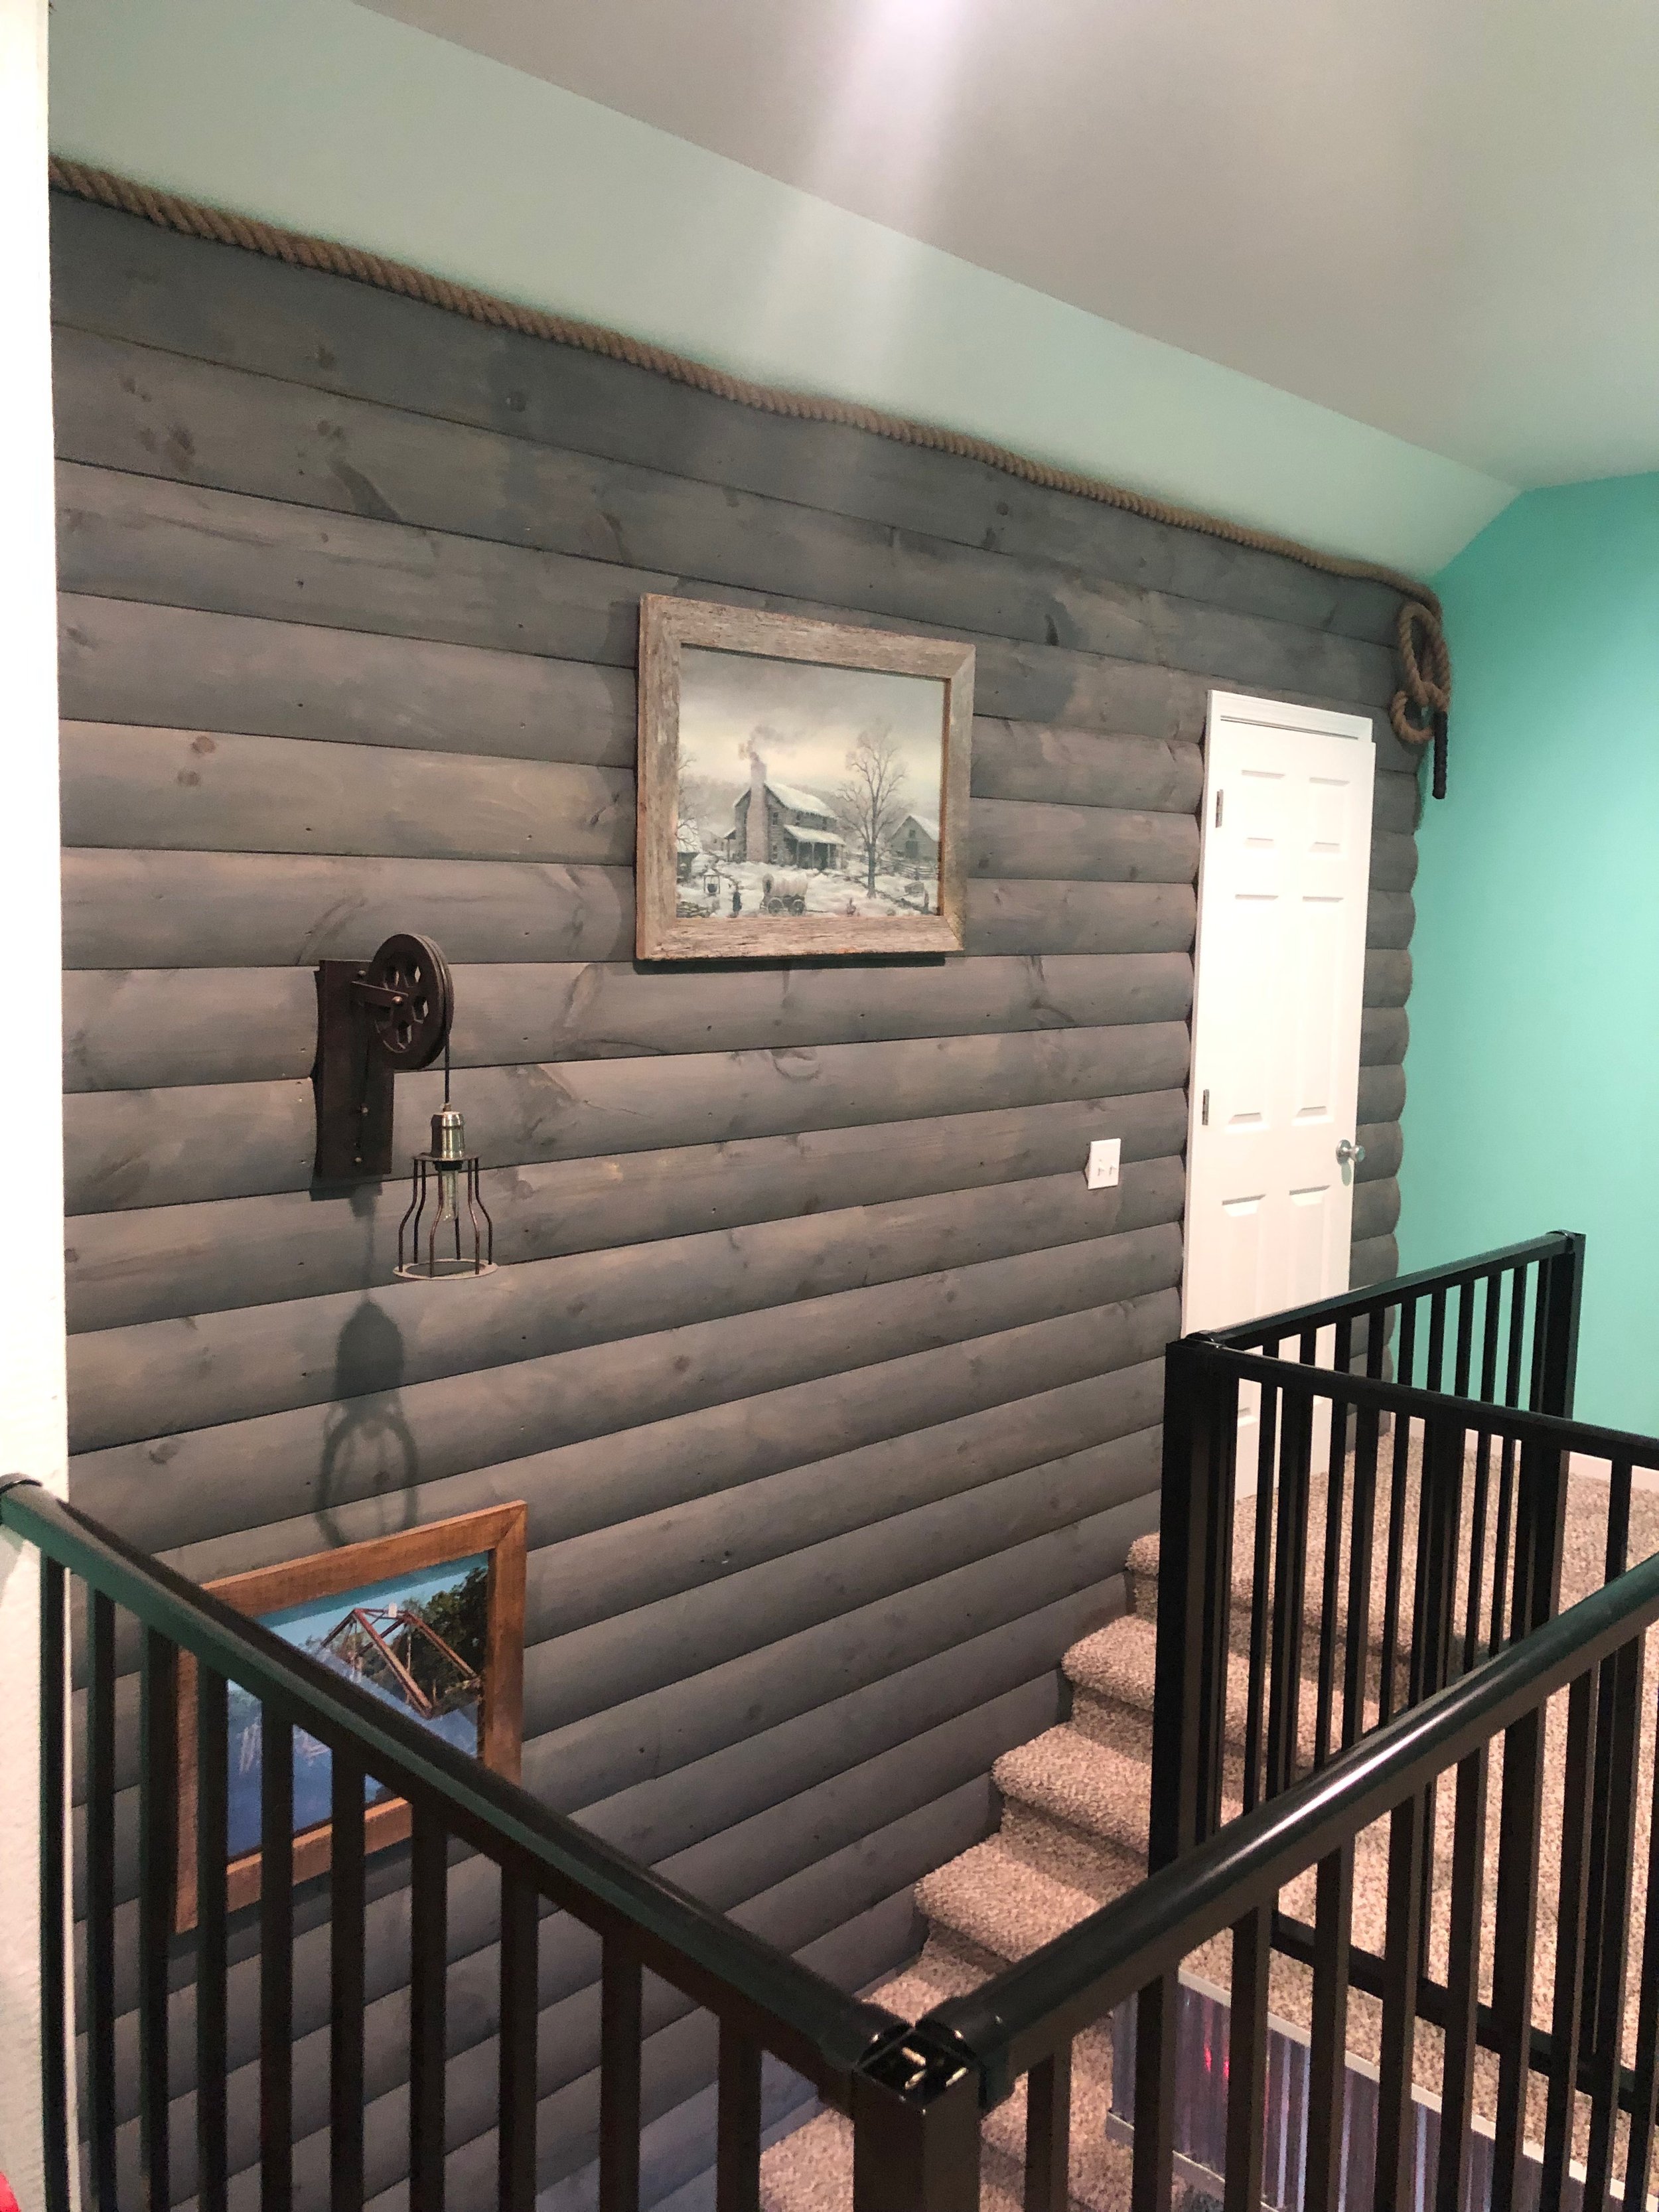
Installing Kentucky Lumber reclaimed barn wood shiplap for a rustic accent wall
The common alternative to face nailing would be toe-nailing, or “nailing through the joint”. This is where the nail is shot through the joint so that when the next board is installed, the nail hole is hidden. This method is most frequently used in hardwood flooring installations , since a nail, screw, or staple in the face of the board is rarely something that you’d want on the face of your lumber, but this method can cause problems with your wood when used on any other surface but the floor.
Wood likes to move. It’s a natural, fibrous material made of a complex organic polymer called lignin, which is what provides structure to the tree. Lignin easily absorbs and releases water molecules, making it swell and shrink as it changes moisture content. This means that even after you install the lumber, it will always be “moving” as the humidity in your home changes. Pine’s lignin structure is very loosely constructed, which allows it to bend and move very easily compared to oak, which has a very tight lignin structure. The more force you can apply to the wood towards the surface to which it is attached, the less chance you run of the board warping, cracking, and cupping over the years.
When you toe nail tongue and groove, you shoot the nail through the tongue at a 45 degree angle, and allow the joints to hold the board in place. This works well on flooring because floor boards are typically narrow and have gravity to help hold them down. However, with shiplap, the joints do not automatically stay together, meaning that if you were to only nail the rabbet joint on one side of the board, the other side would fall down. To install shiplap correctly, it must be face nailed.
Step Four: Nickel Gapping
After you have the first row installed the rest of the process is fairly simple. You will just cut and nail each board one on top of the other and make sure that the joints slide together. This is where you should begin nickel gapping your shiplap if that’s a look you’re going for in your home.
Step Five: Handling Receptacle Boxes
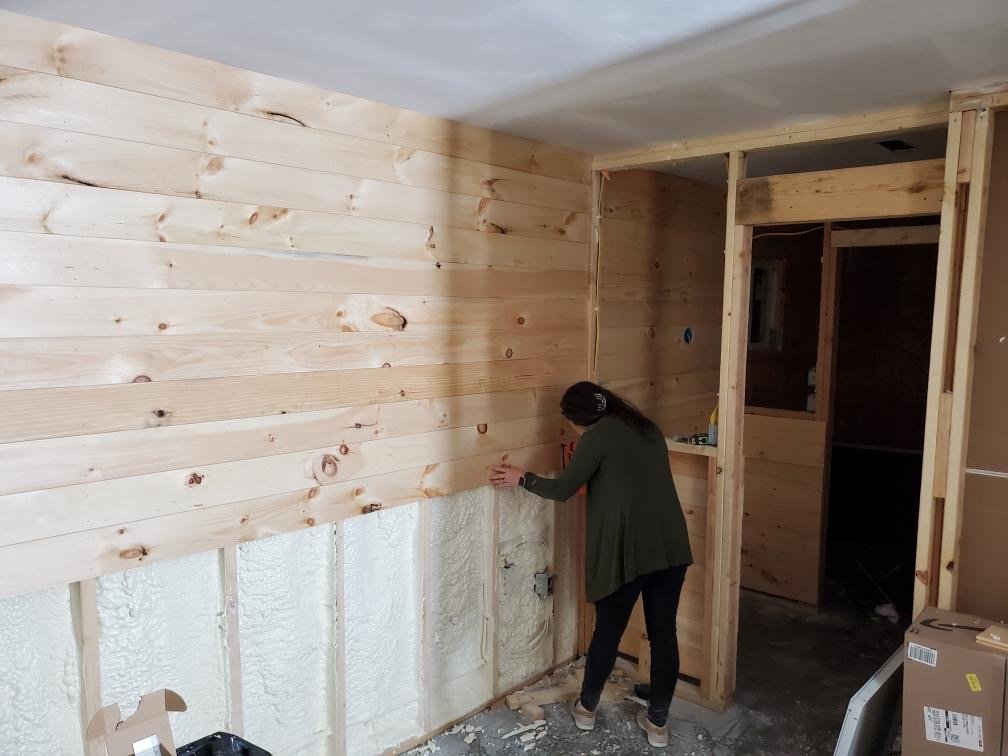
When you come to an electrical outlet or light switch you will cut your board down to the desired width then mark with your pencil the section that will need to be cut out. After you have marked where you need to cut you will take your jigsaw and cut out the section. After it is cut out you can simply put up the board, fit it around the receptacle box, and nail it up like usual.

Installing Shiplap and Tongue and Groove Through Drywall:
Installing lumber on top of drywall can be a little bit more complicated, but is still fairly easy once you know what you need to do. This process will require a slightly longer nail than you need when just installing straight to the studs.
The first thing you need to do is figure out where your studs are with a stud finder and make two clear marks - one near the ceiling and one near the floor. Next you will take a chalk line and snap a line all the way up the wall where you have found the stud perpendicular to the floor. This will give you a guide for where you can shoot the nails into the lumber. Once you’ve made your marks on every stud along the wall, you can install the lumber as if it were straight to the studs.

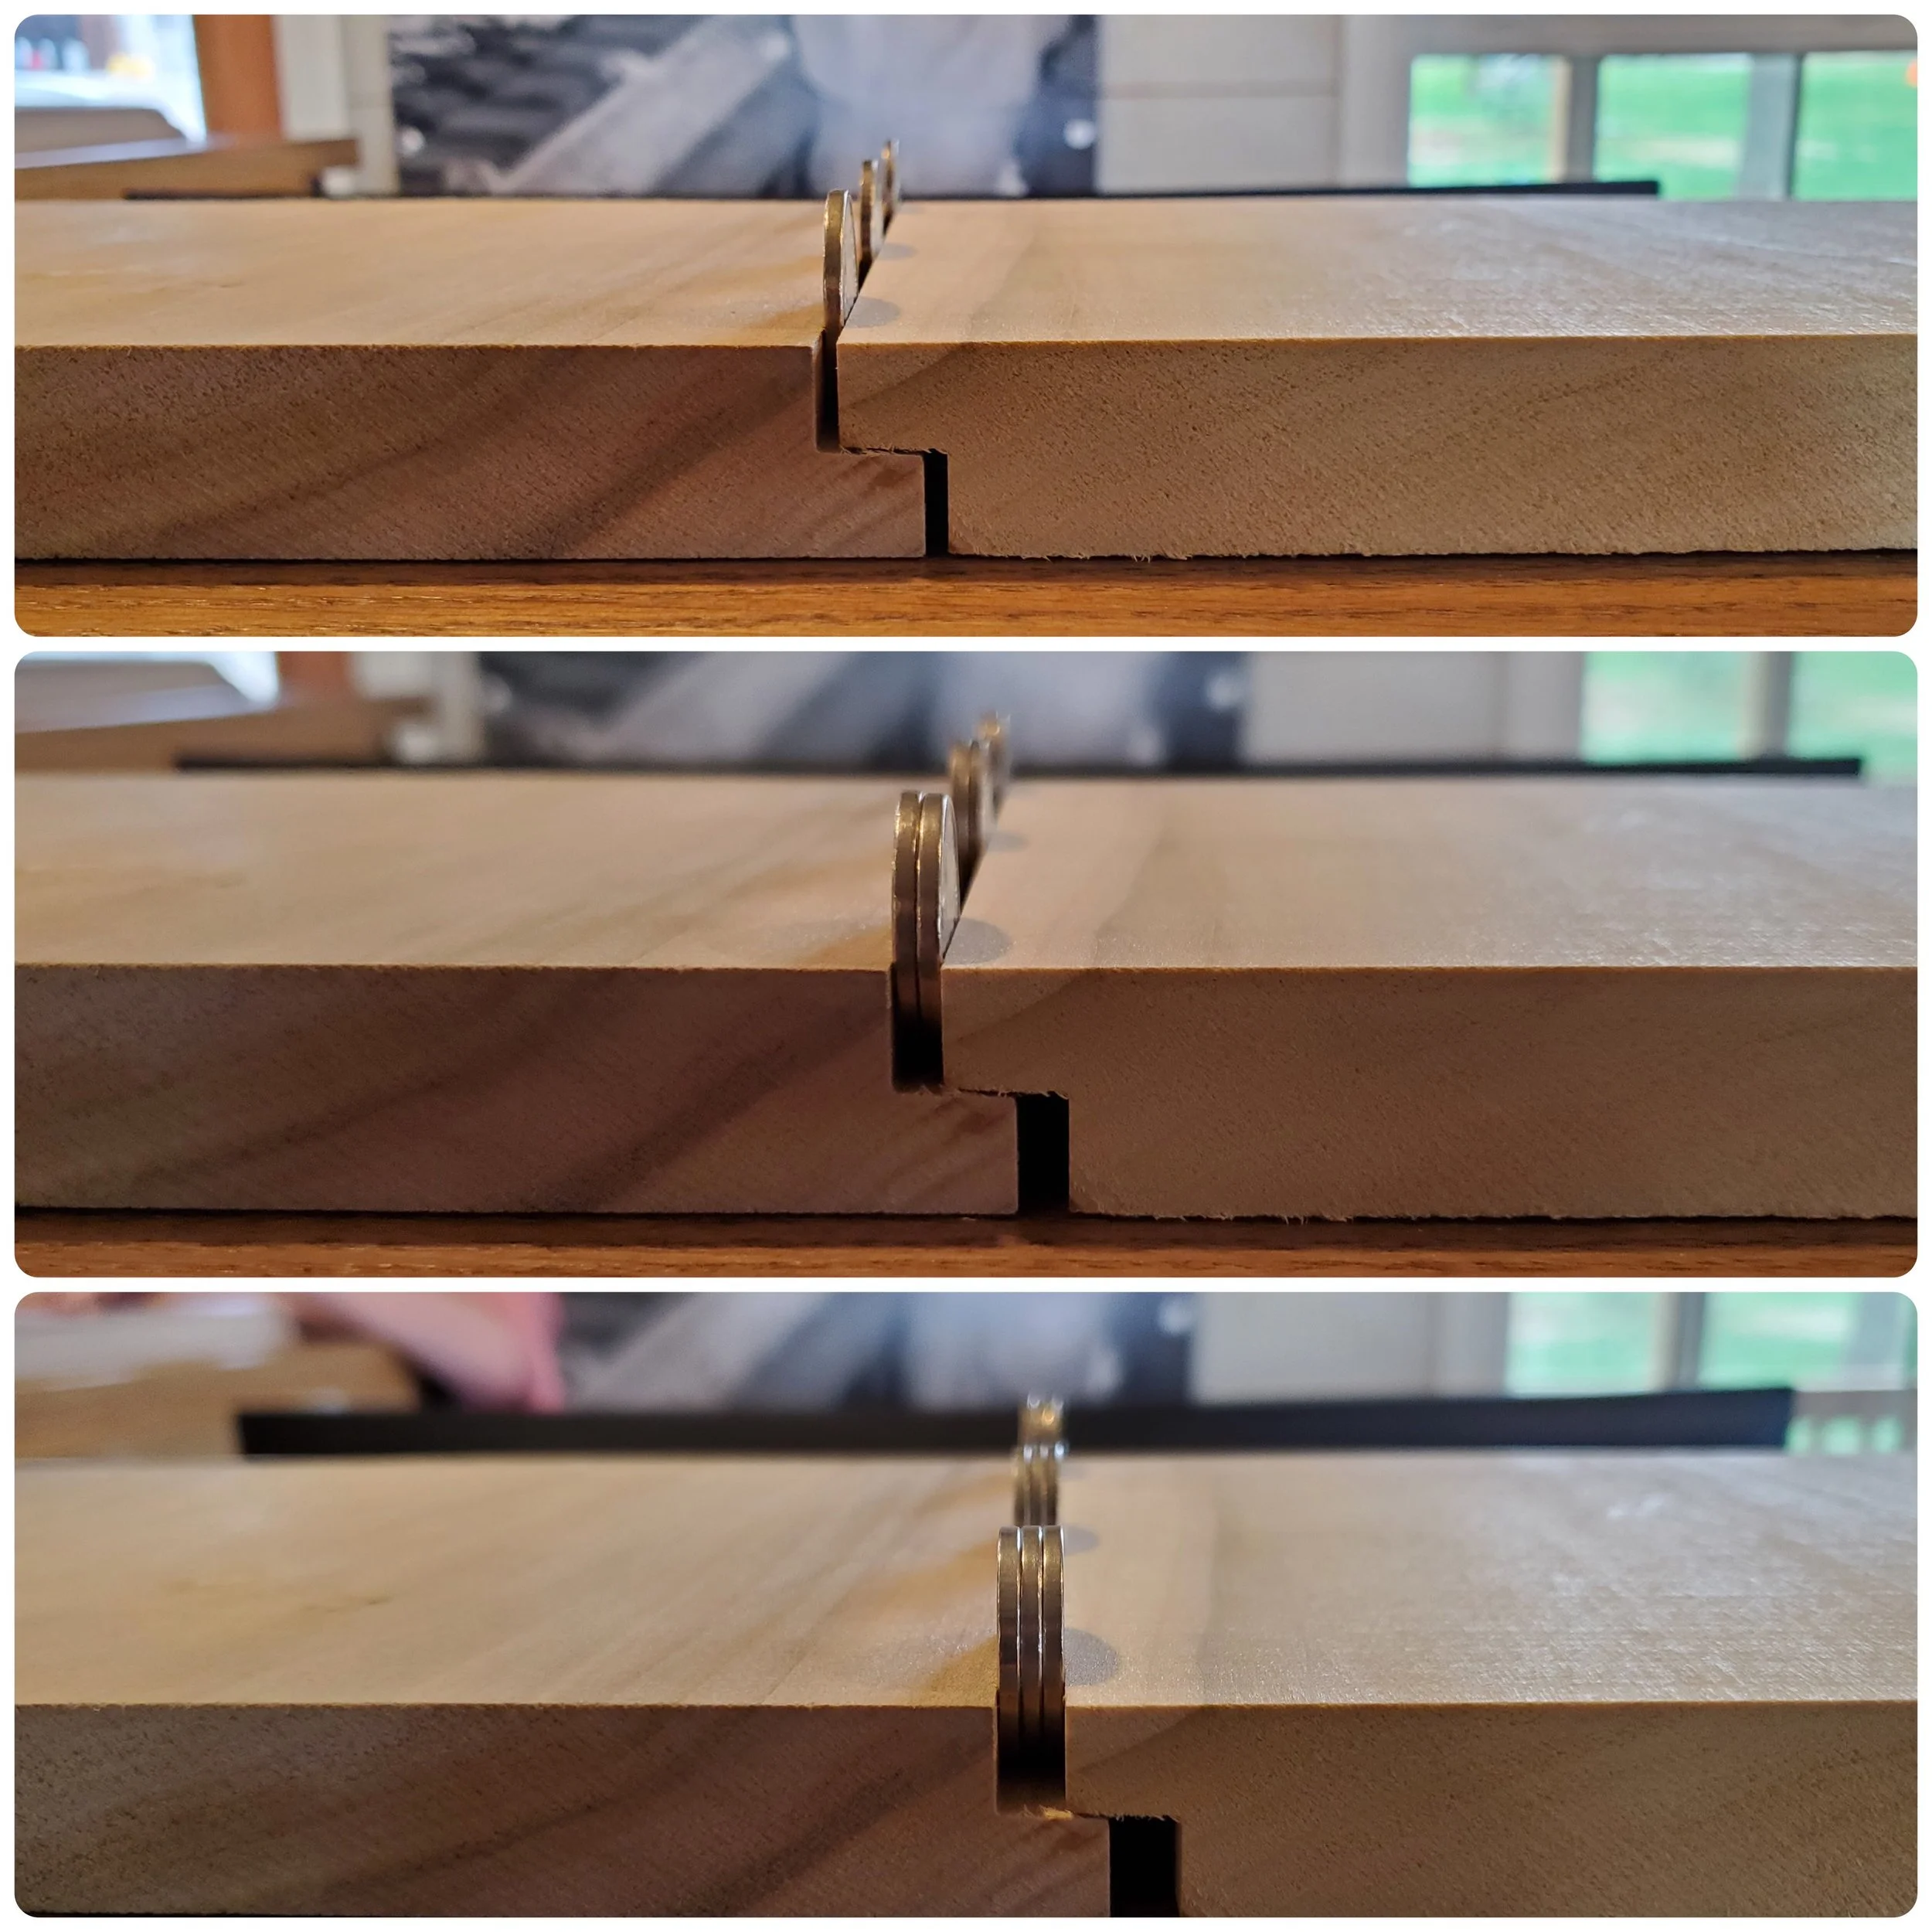
Nickel Gapping Your Shiplap Lumber:
While almost all shiplap is milled to sit flush at the joint, a very popular method when installing shiplap on walls and even ceilings is to manually gap the boards, leaving what is referred to as a nickel gap. It is a very popular look with shiplap.
While you don’t have to nickel gap your shiplap, we DO recommend gapping your shiplap if your walls aren’t square or your foundation is not level. These inconsistencies can create uneven gaps in your shiplap and make it look sloppy. You can get ahead of this by nickel gapping your shiplap.
Nickel gapping your boards is super easy. You just need an item that will give you consistent spacing between the boards as you install your shiplap on the wall.
Some simple spacing tools that you probably already have laying around are:
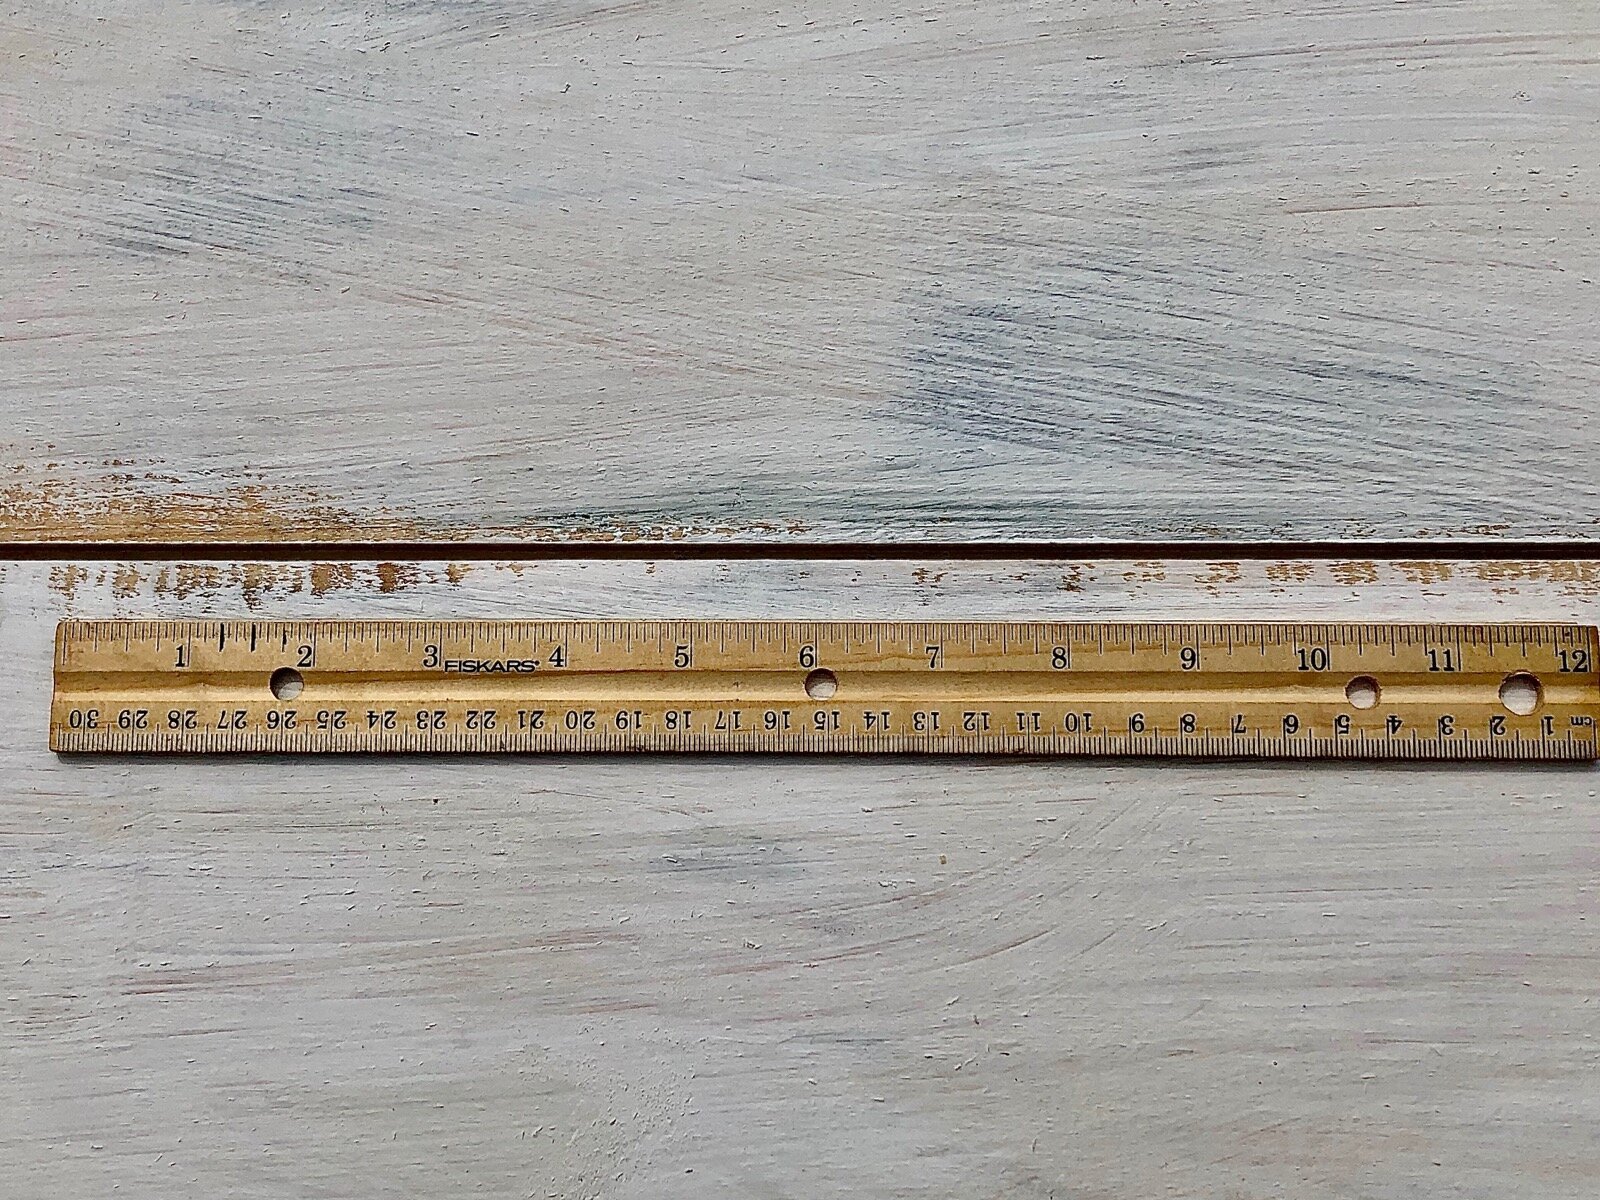
A ruler, yard stick, or paint stir stick
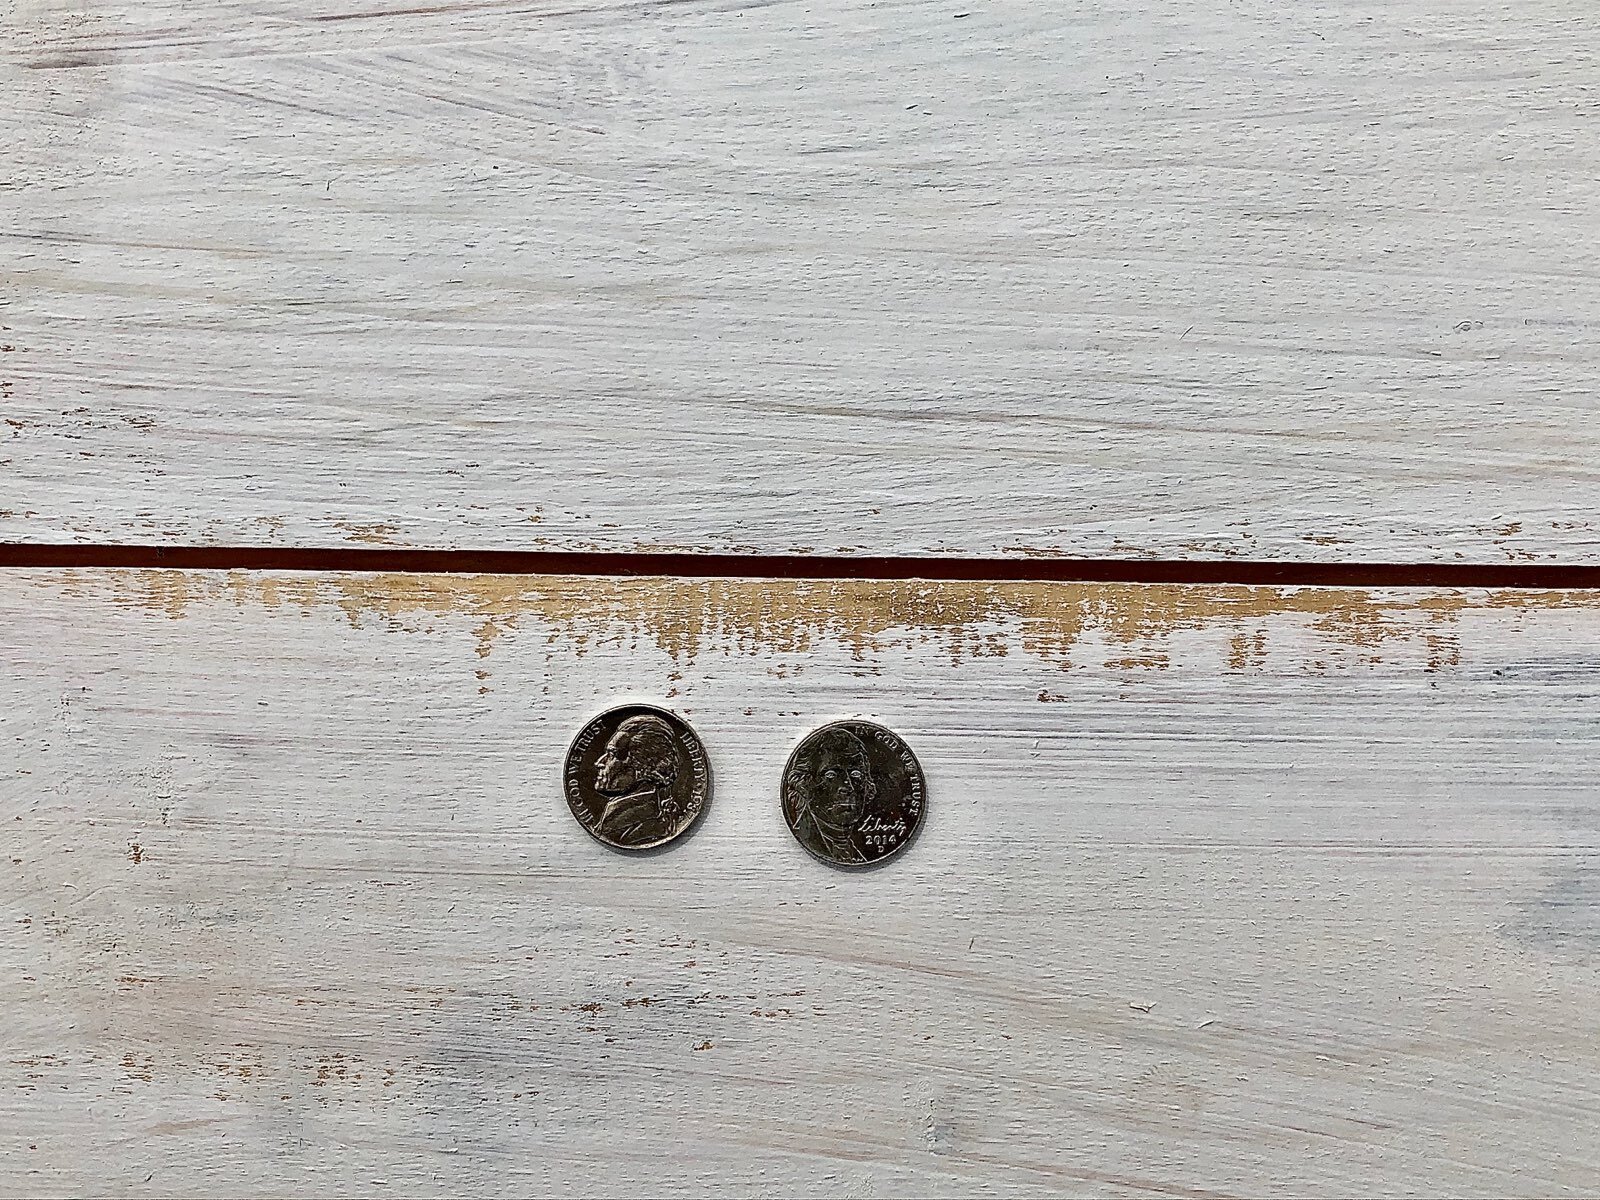
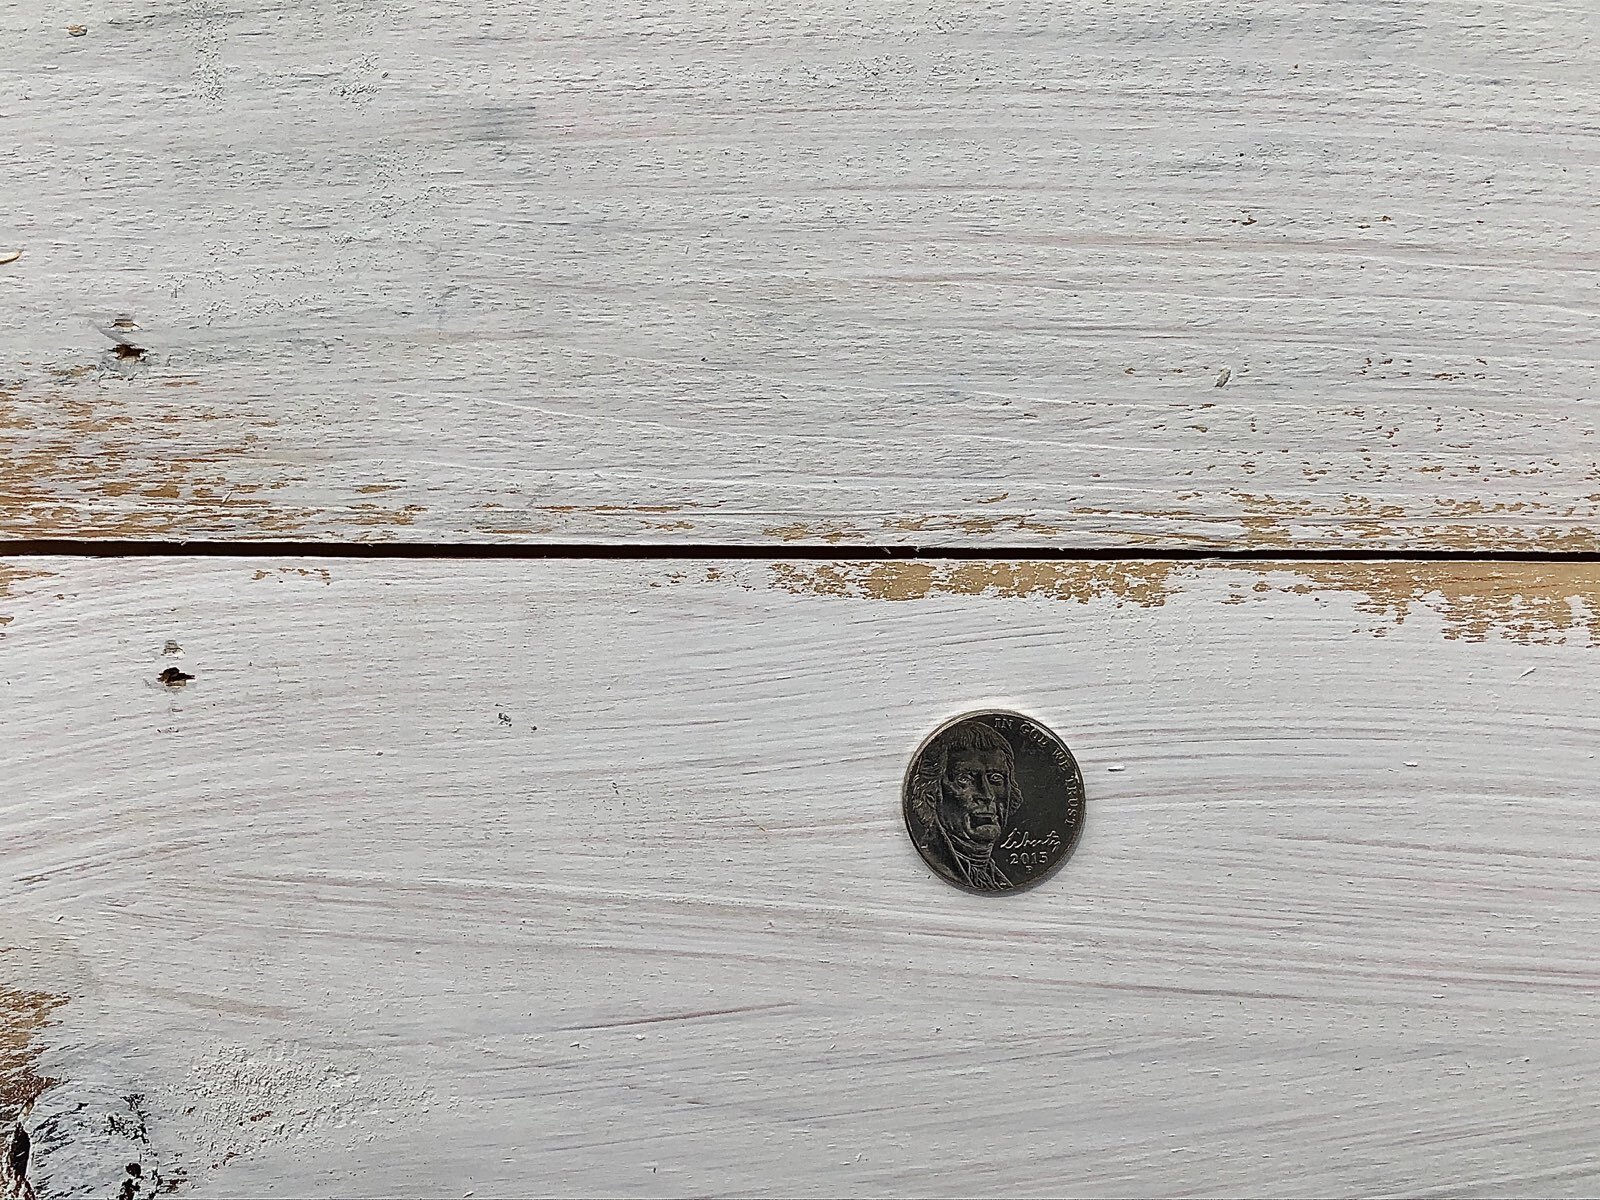
A nickel, quarter, or half dollar (how much do you want your nickel-gap to cost?)
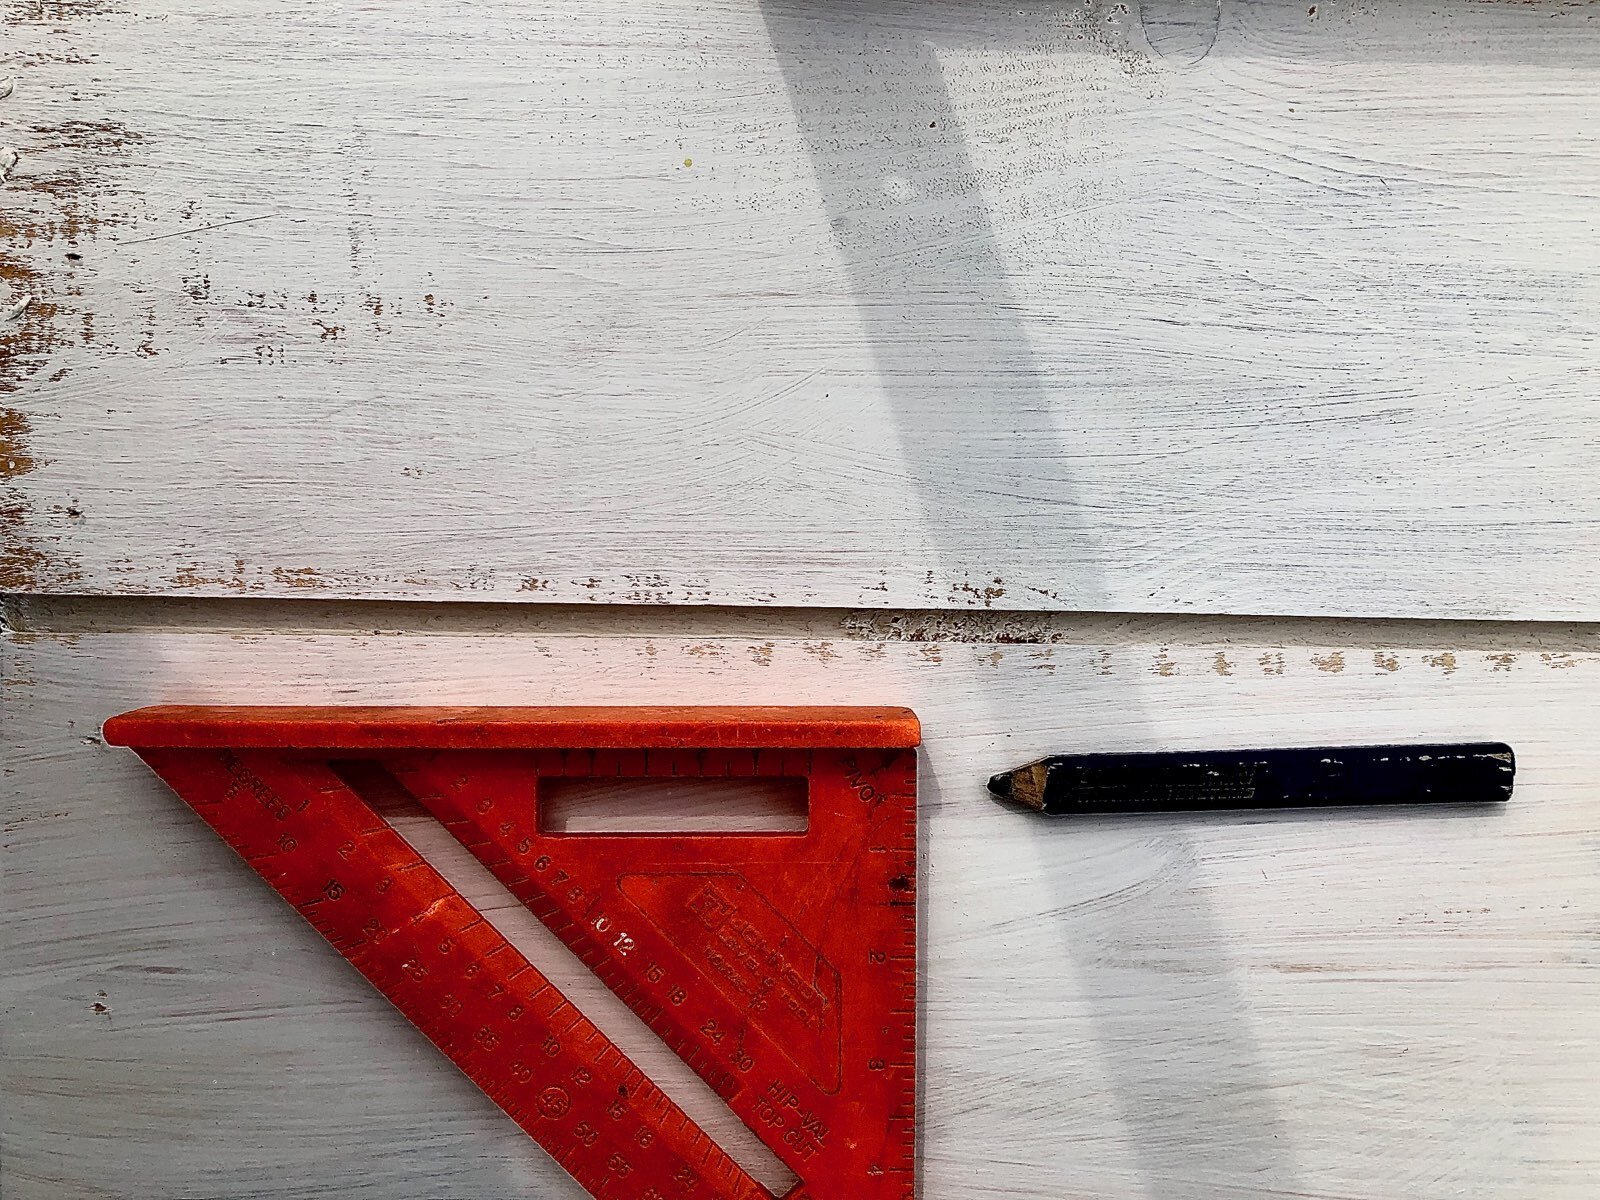
Speed square or framing square
Carpenter’s square-sided pencil
Start with your first run flush against the floor or ceiling, and with every new board, use your spacing tool to set the same gap every time. With the help of a friend or two, it goes faster than you’d think!
If you are painting your shiplap and plan to gap your boards, we recommend painting the lumber before you install it. If you paint after, the paint can fill in the gaps and make those nice clean lines look messy.
Check out the examples below to see how these tools work to create the perfect nickel-gap, and then let us know which one you might use, or have used, on your project!

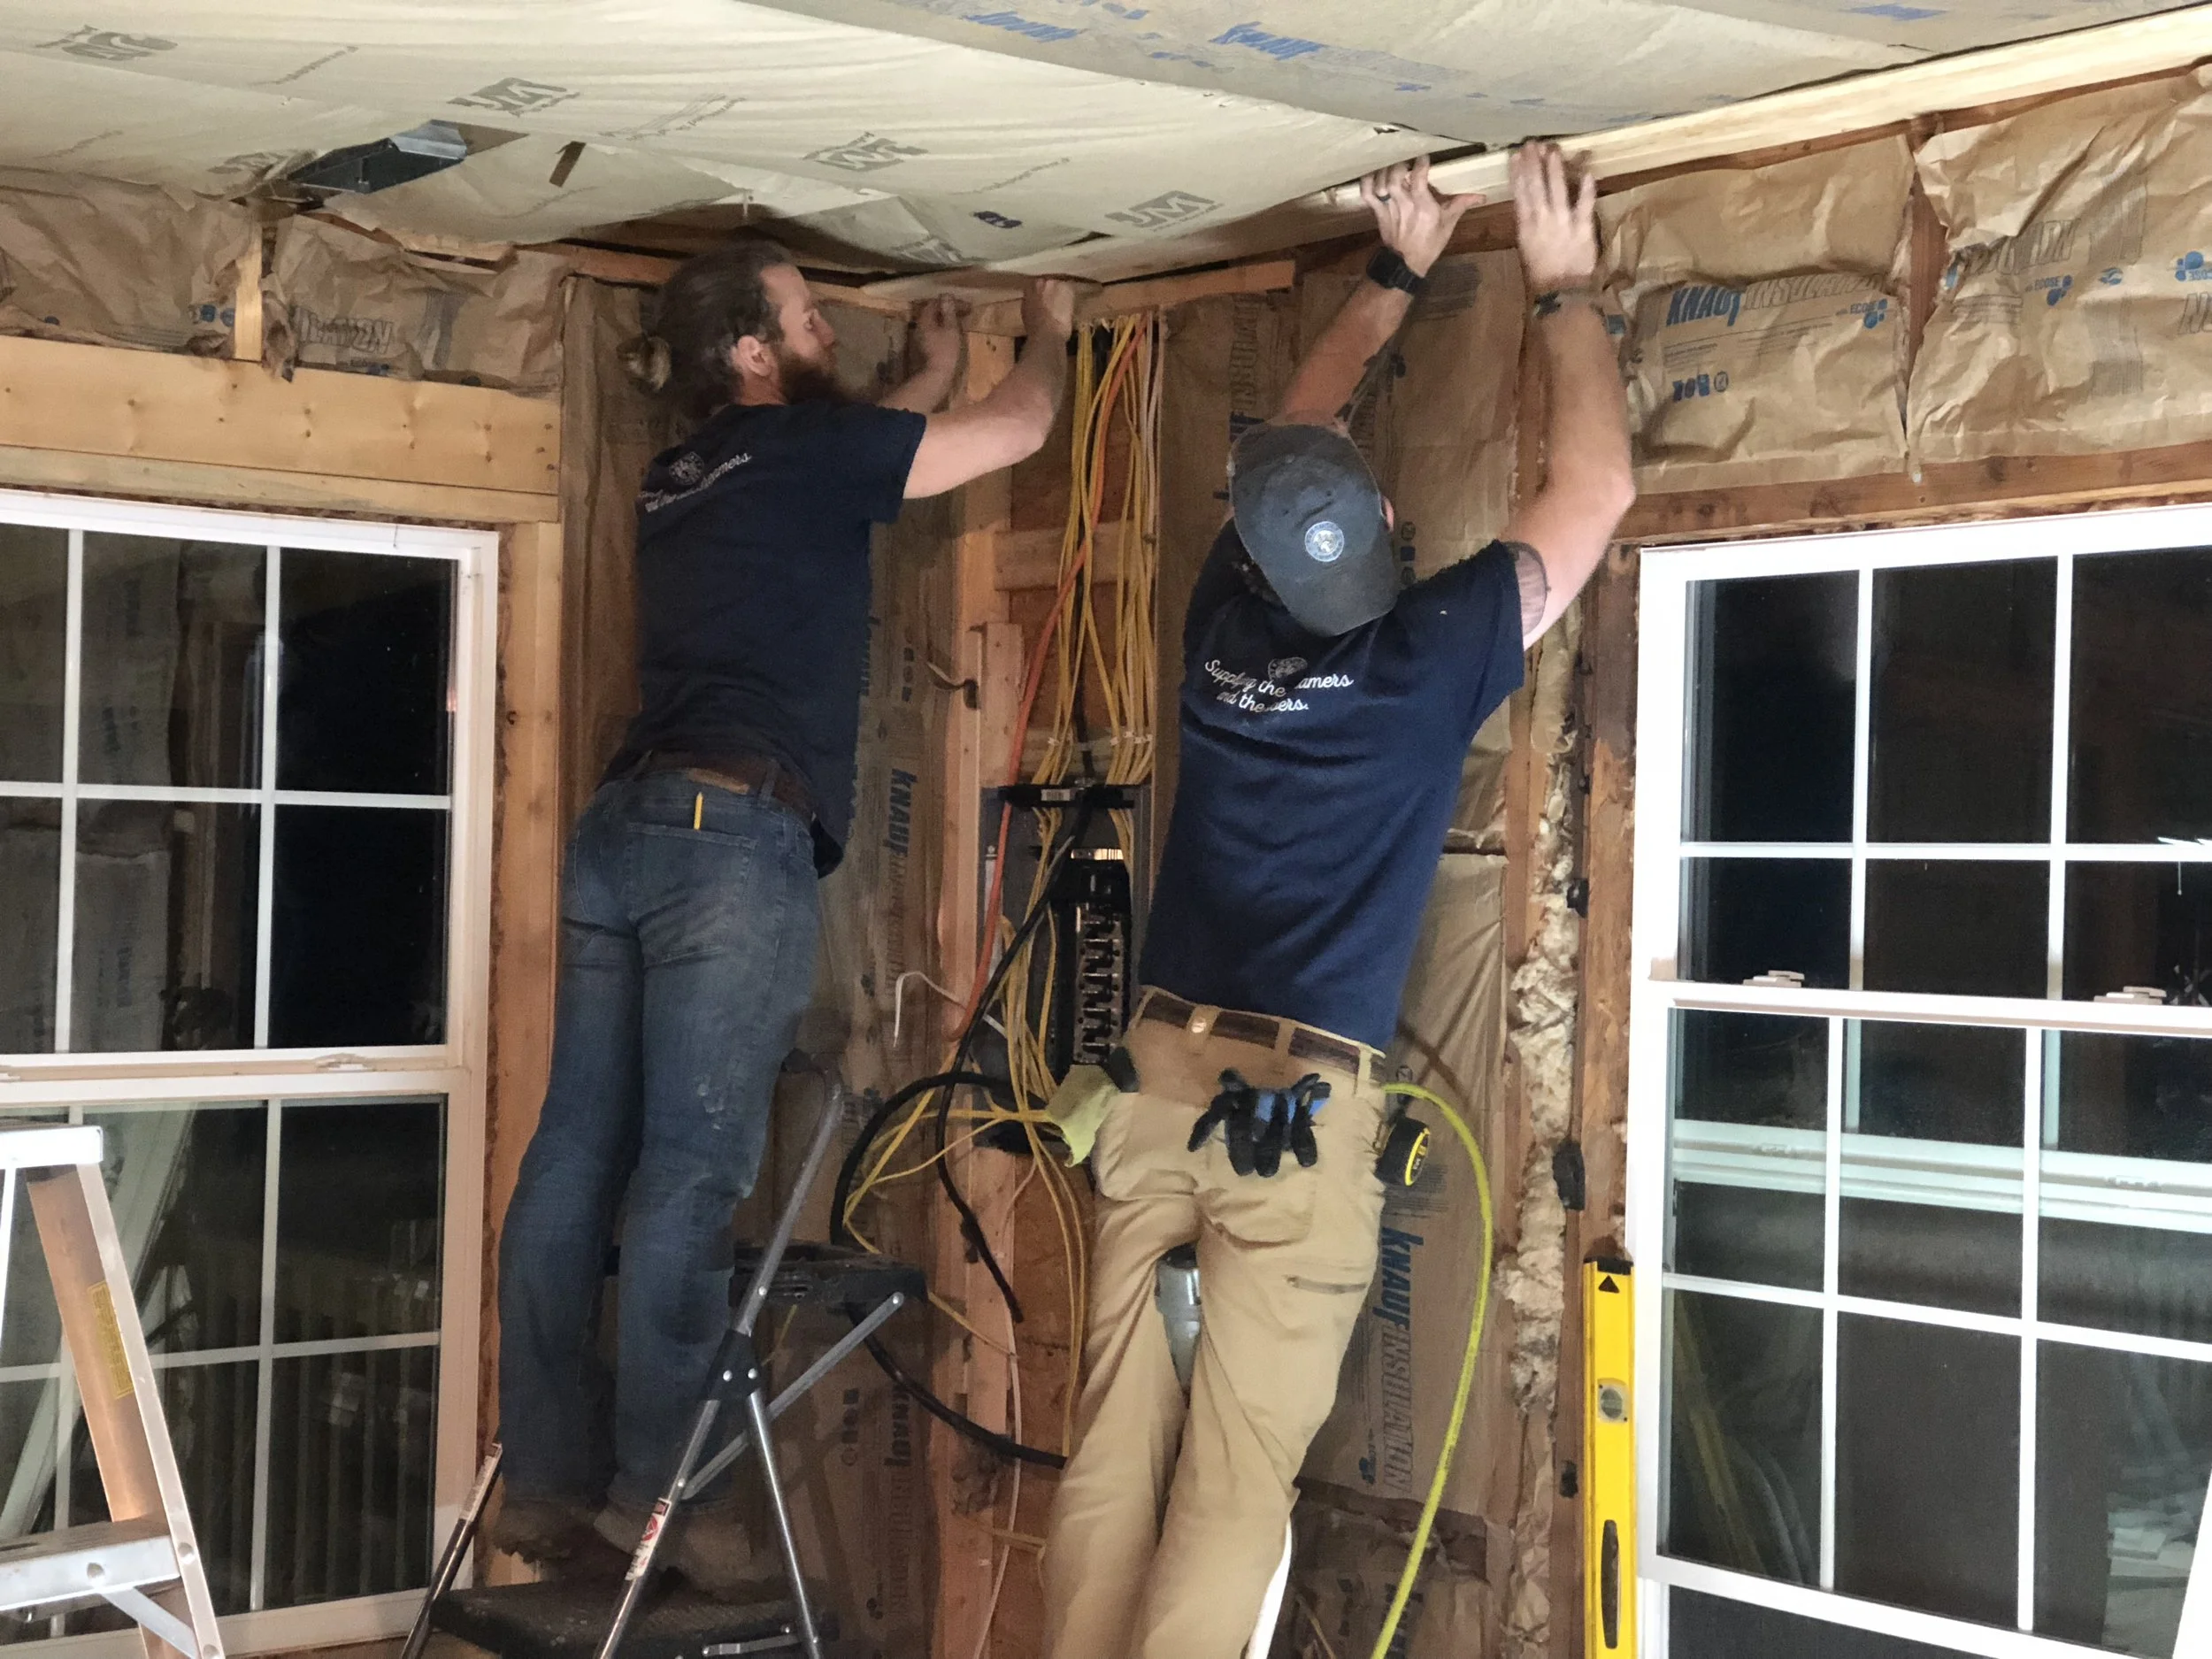
Installing Tongue and Groove On Your Ceilings:
Many of our customers prefer to use tongue and groove lumber on their ceiling projects. Tongue and groove has an interlocking joint pattern that makes installing it overhead much simpler than lumber with a shiplap joint. Because the boards are often much longer than one person can efficiently handle on their own - especially while also juggling a nail gun - installing lumber on your ceilings is a two-person job.
Step One: The First Board
To begin, you will measure and cut your first board. When measuring between studs you should always make your measurement come to the middle of the stud you are planning to end the board at.
Step Two: Finishing The Wall
From there the whole process is pretty straightforward. You will just continue to lock each board into the one before it and nail it as you go. We always recommend face nailing tongue and groove on your ceiling. As a reminder: Face nailing means that you shoot your nail at a 90 degree angle to the board through the flat (or face) of the board. For 6” and 8” boards, we shoot three nails into every stud/rafter, and for 10” and 12” boards, we use 4 nails.
The other option for nailing 6” T&G is to toenail it. This is when, you shoot the nail through the tongue at a 45 degree angle, and allow the joints to hold the board in place. For pine T&G, you can get away with nailing at the joint for 6” widths, but for anything wider, we highly suggest face nailing the boards for a long-lasting and reliable installation
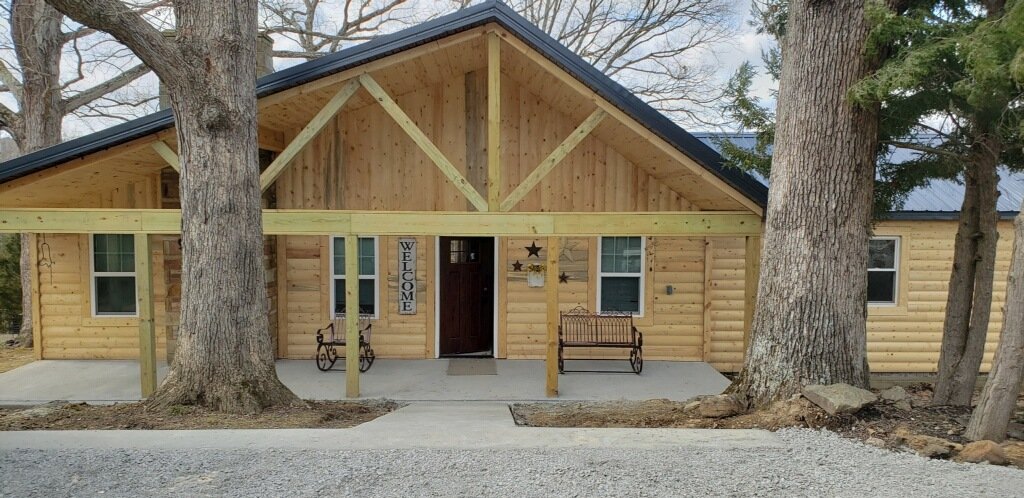
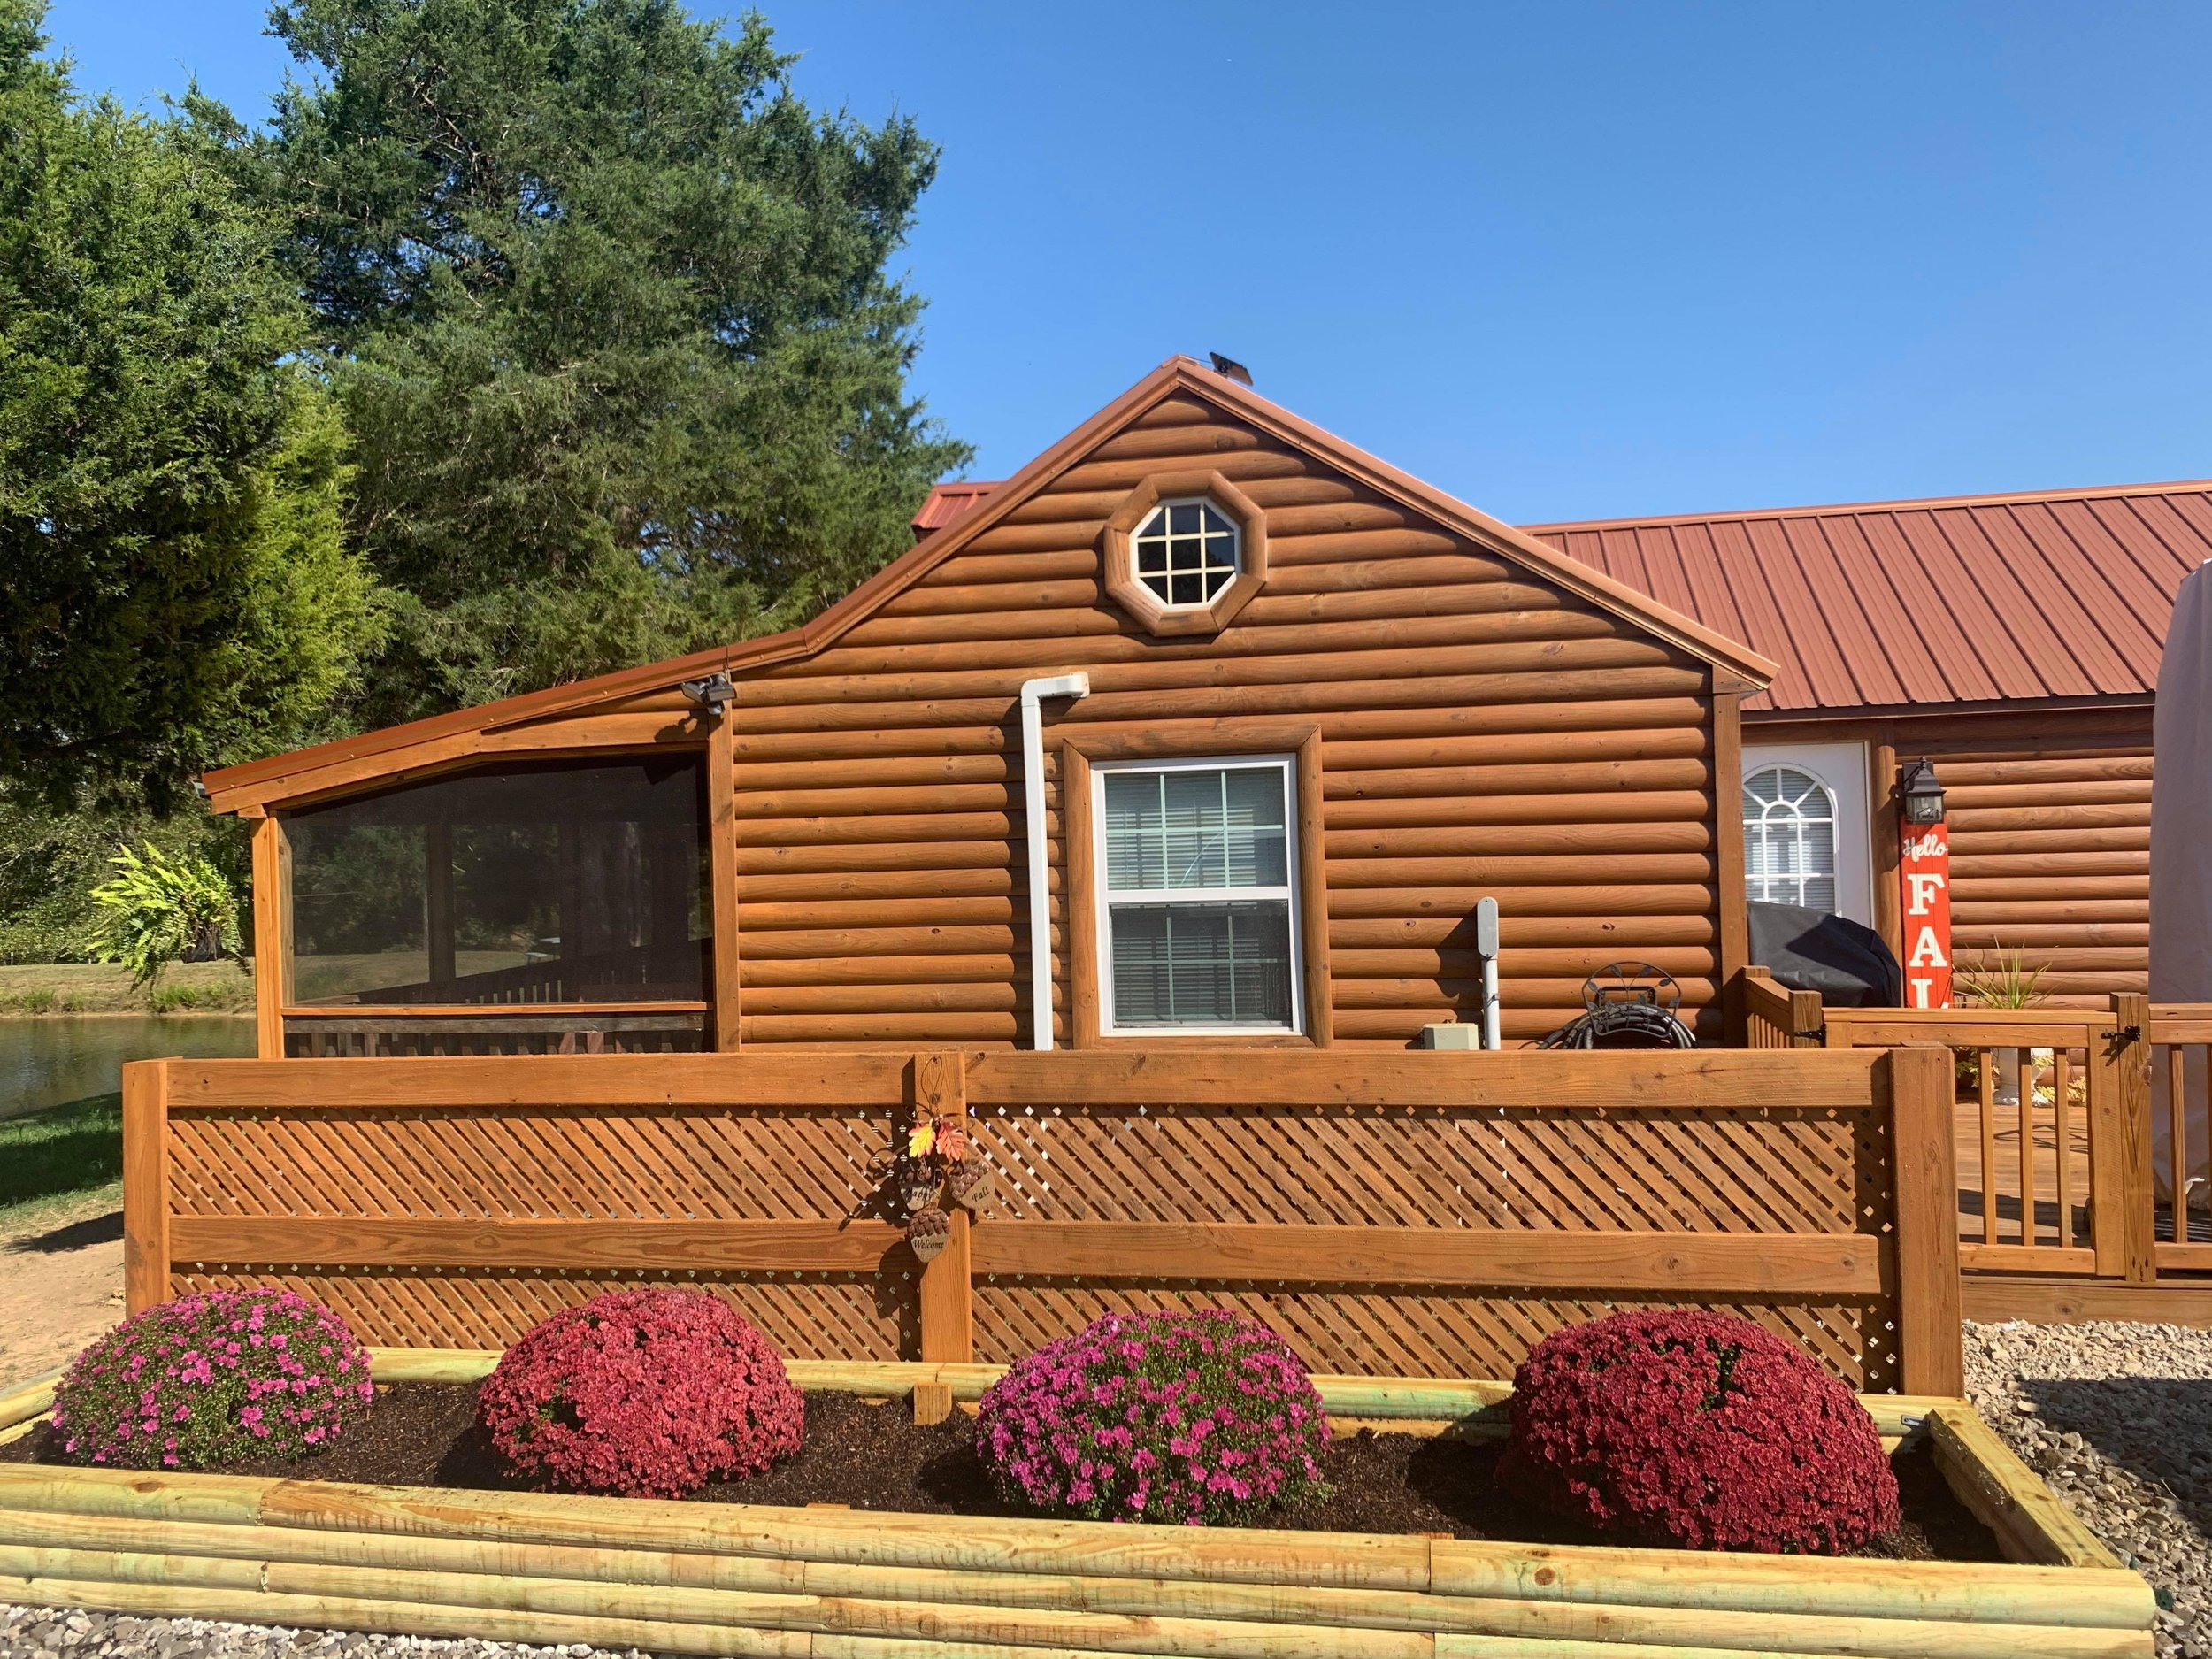
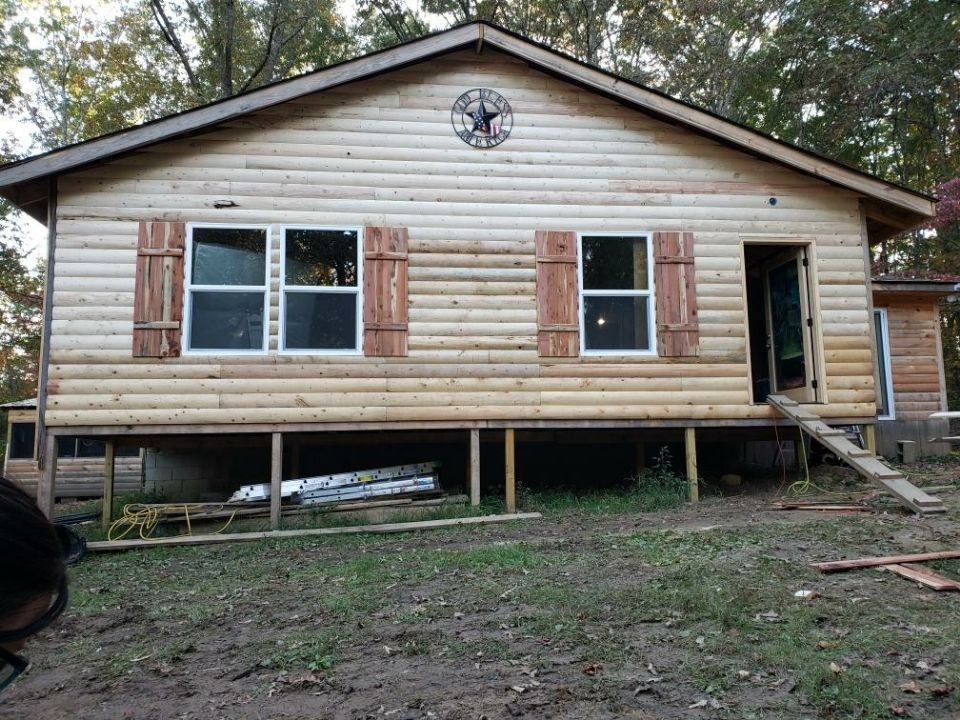
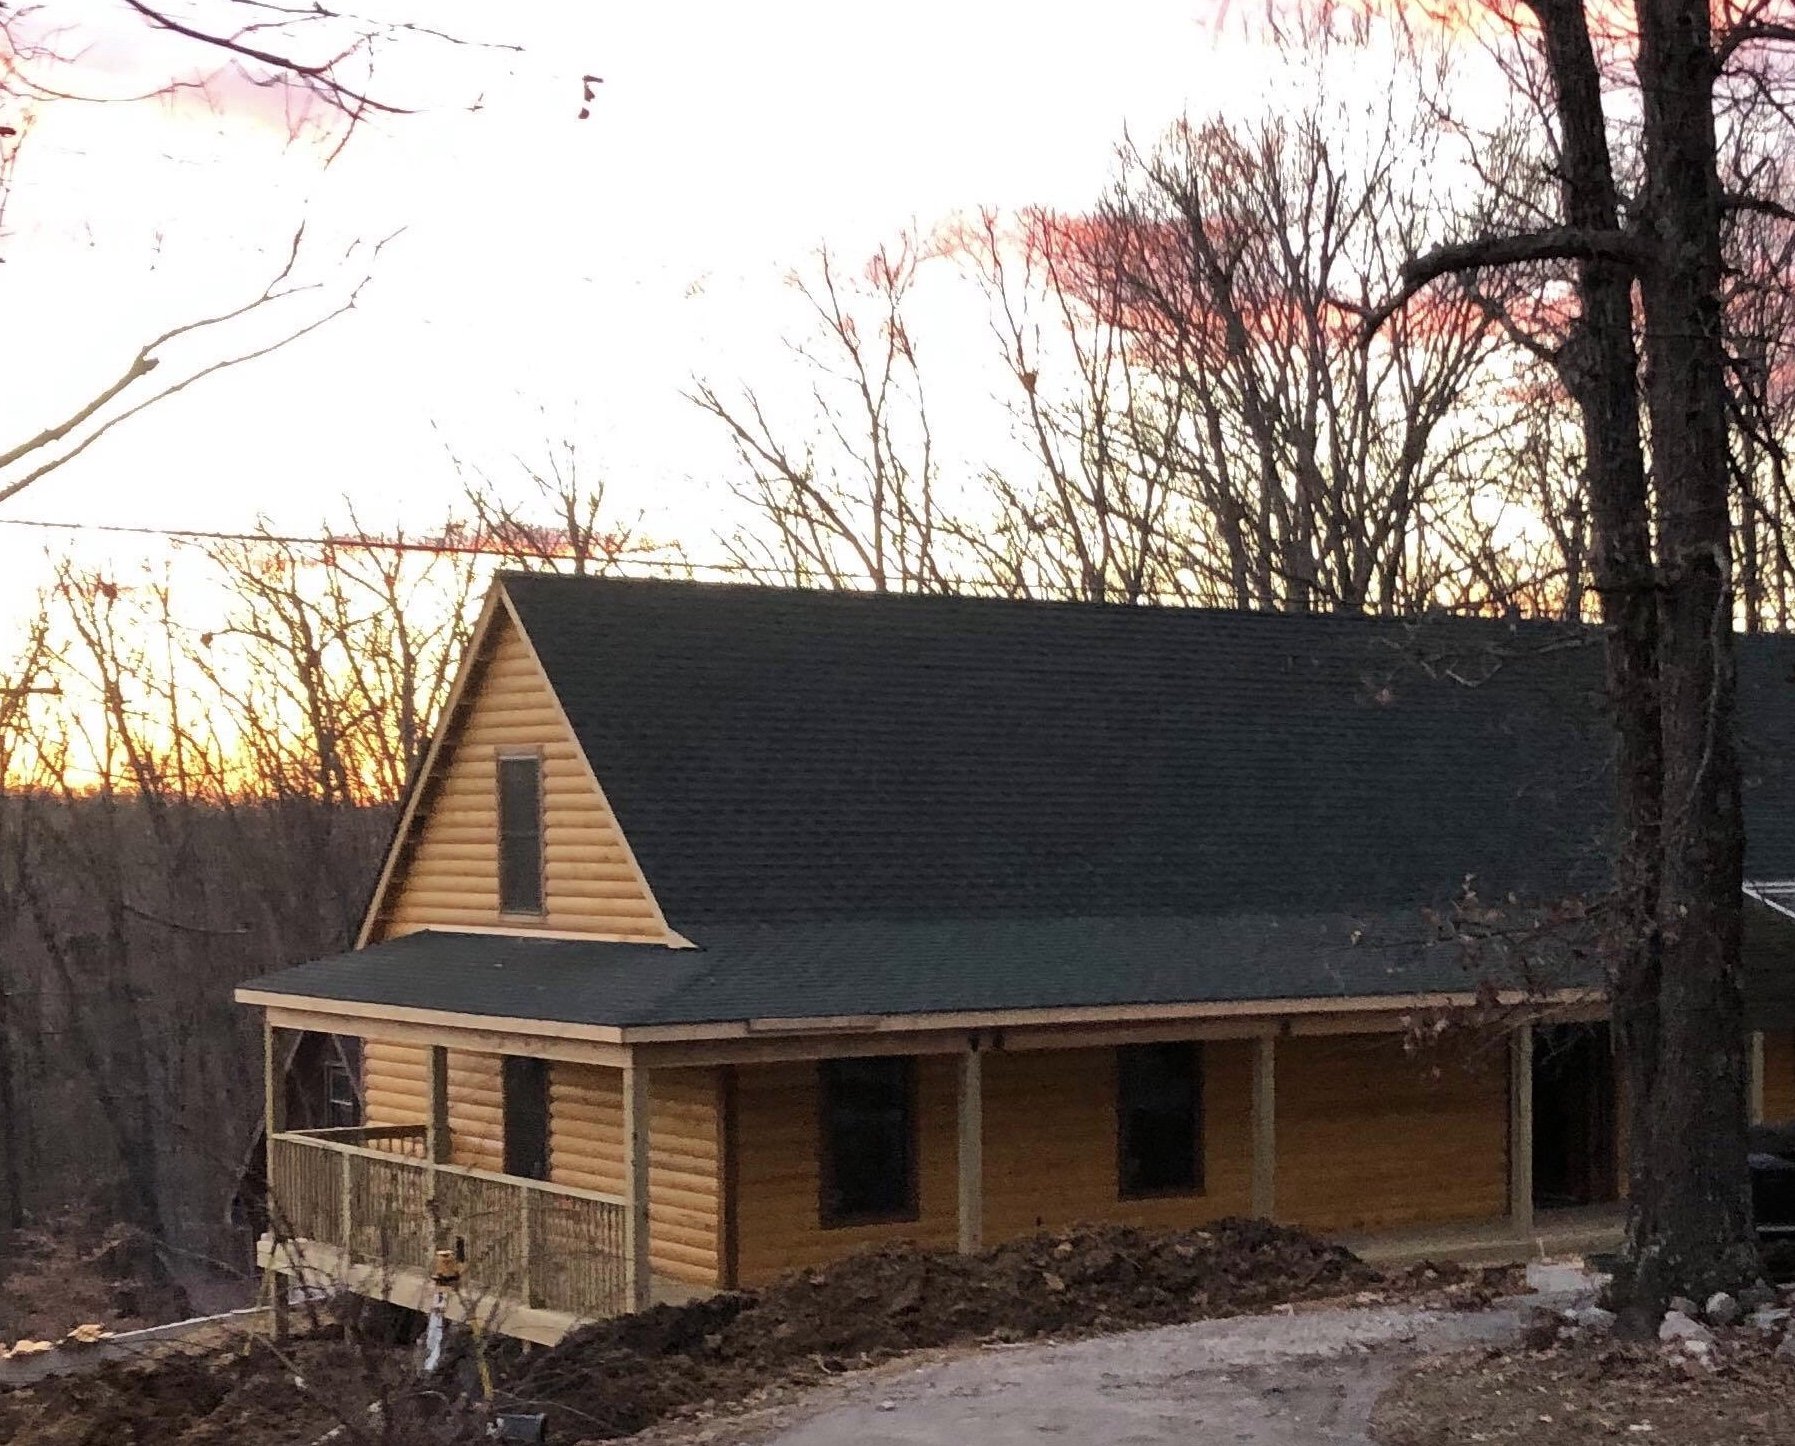
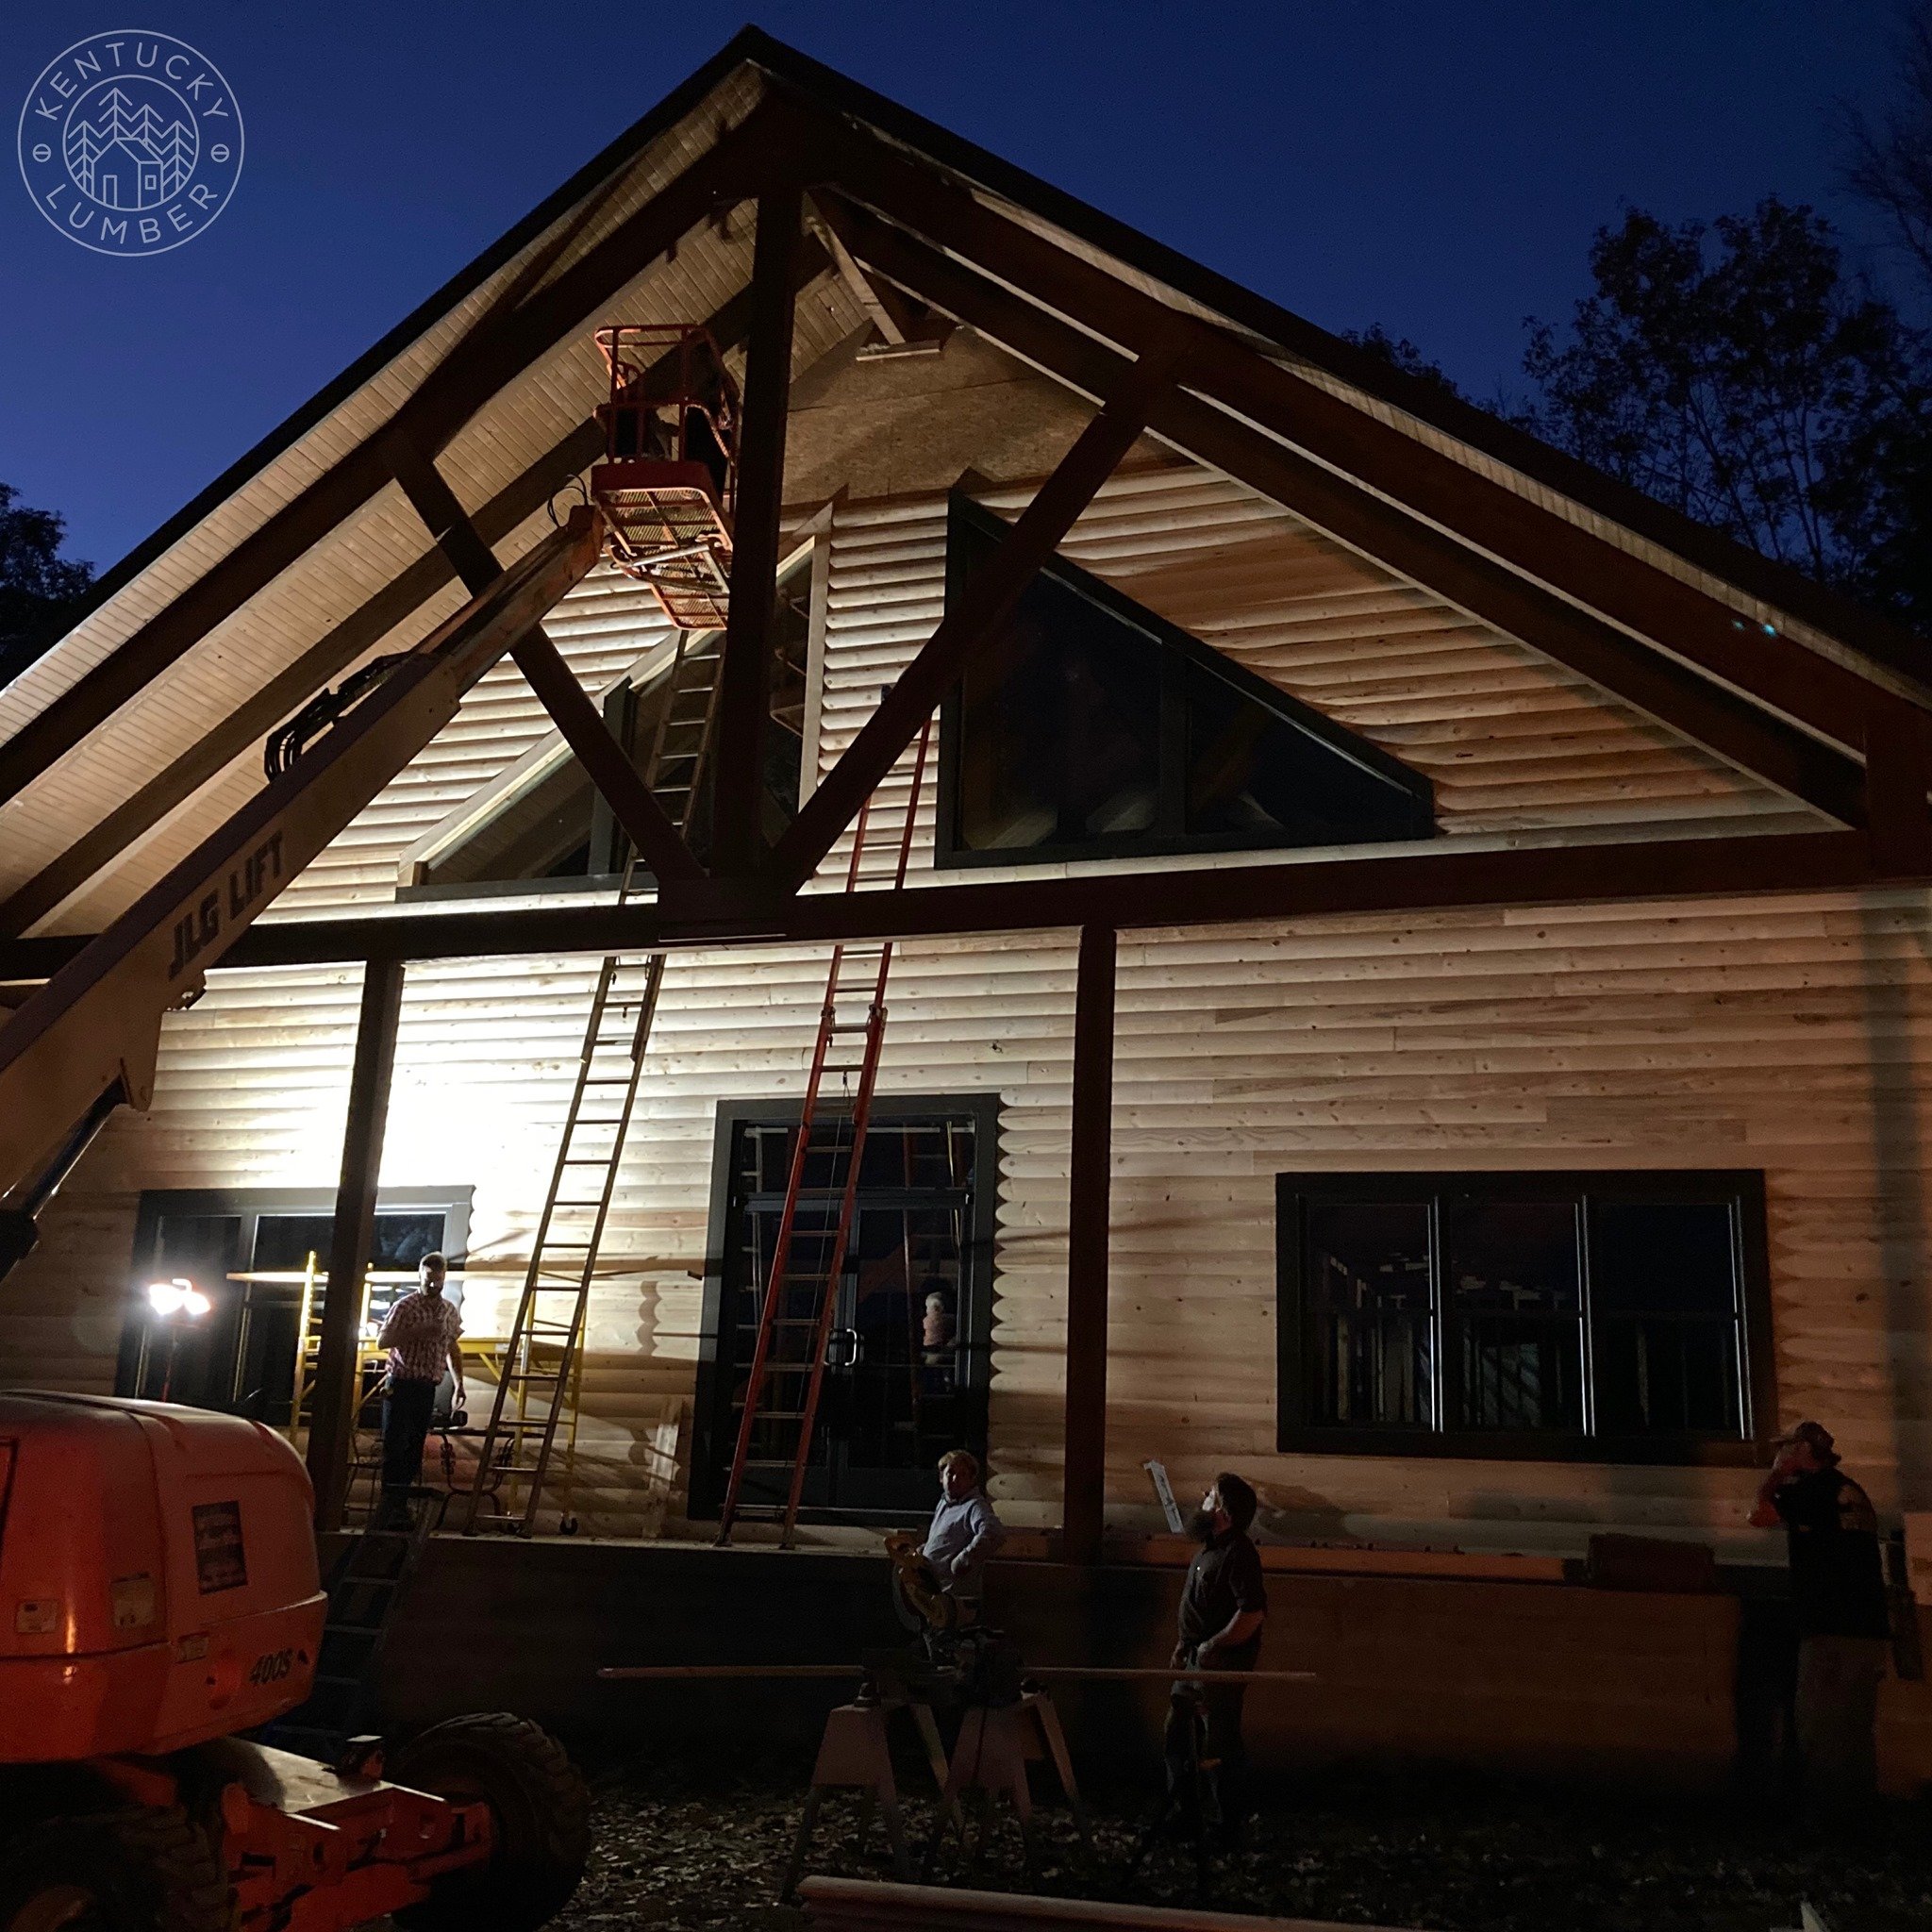
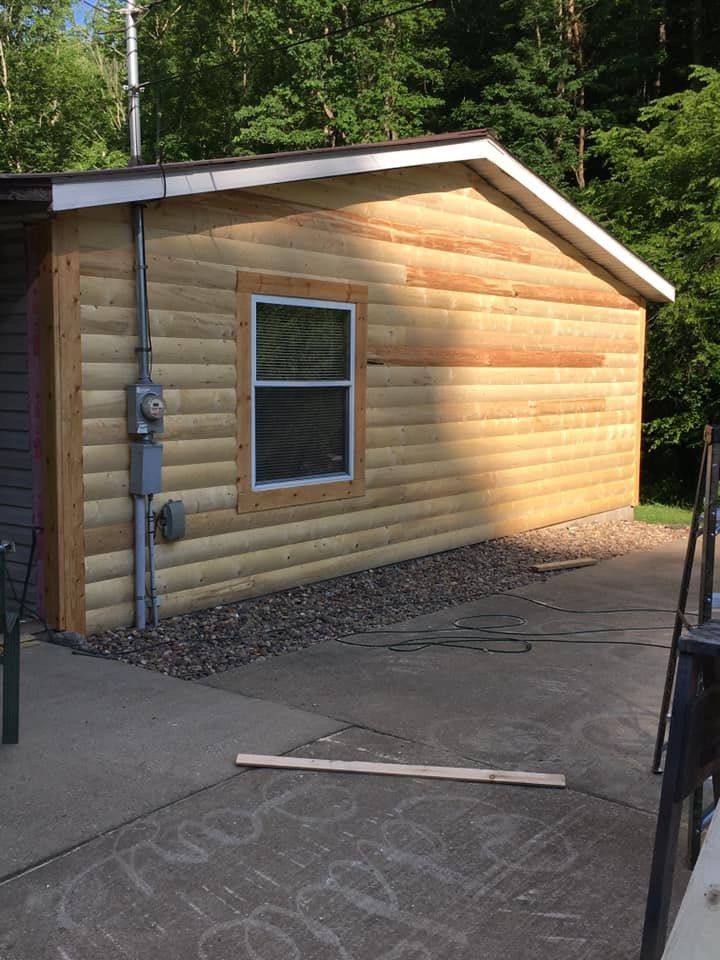
Installing Dutch Lap Siding:
Step One: Sealant First
When installing most real wood siding you need to finish the wood before you begin the installation process. So first, you’ll need to stain or paint your lumber if you’re going for a different look than natural wood, and then apply the waterproofing finish layer to the face side of your boards. This could be as simple as a 2 or 3 coats of a clear Thompson’s Water Seal or 1-2 coats of an Olympic Stain+Sealer product.
Step Two: A Water Barrier
To install this siding, you’ll first need to wrap your building in a vapor-permeable water barrier, which helps prevent water from entering your home through the sheathing, but allows any trapped moisture to escape.
Good options for this are:
Plastic polymer materials like Tyvek House Wrap from DuPont
Tar-coated “builder’s paper”
Or rigid foam insulation.
Treated OSB from companies like Huber Wood are becoming increasingly popular too, but come at a higher cost. Regardless of what you use, it’s crucial that you seal all seams, around windows and doors, and at the top of the wall, while leaving the bottom edge open. This will allow any moisture stuck underneath to drain out and away from your walls.

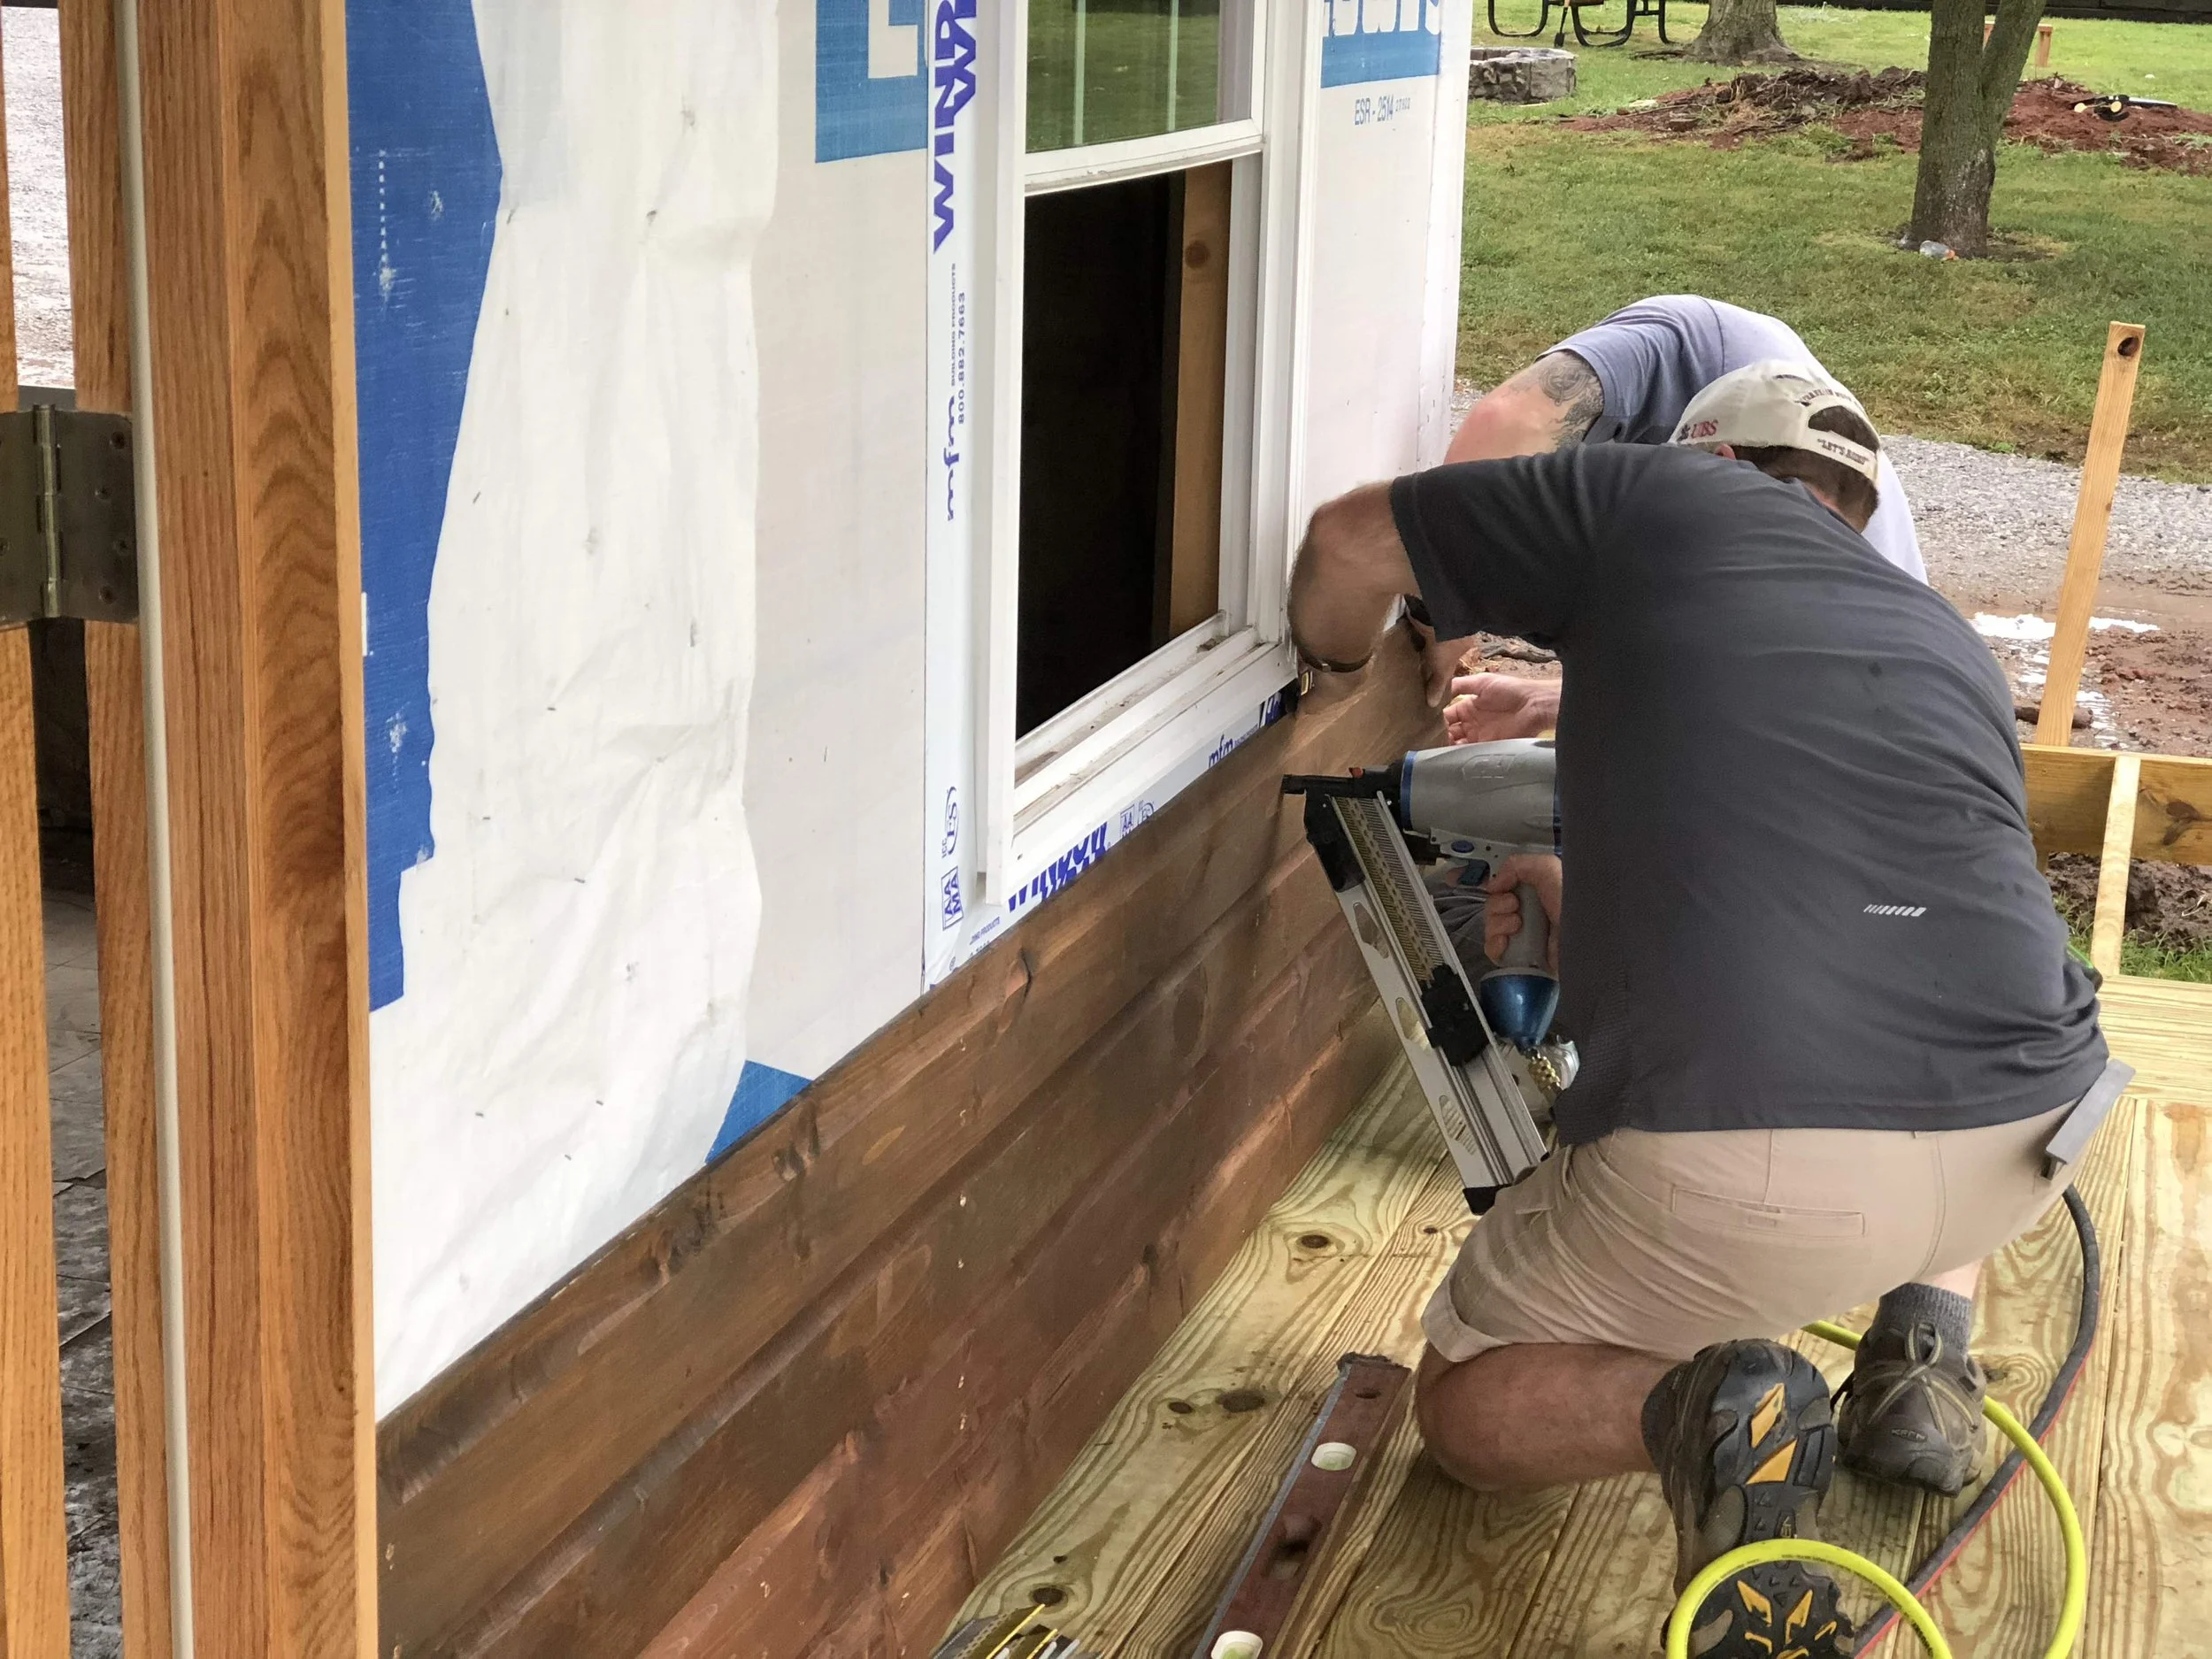
Step Three: Hanging the Dutch Lap Siding
You’ll start installing your siding at the bottom of the wall. Use your level to make sure that your first run is placed perfectly. You’ll want to check the level of your runs every few boards, as small imperfections in your stud wall and foundation can throw it off.
To attach the lumber to the wall, run two nails or screws every 24” or less (16” is preferred) through the face of the board ¾” in from the top and bottom edge to fasten it securely.
Work from one side to the other, installing one row at a time. Take your time making your cut-outs for around windows and door frames, and use a scrap piece first if necessary to make sure you’re not accidentally making your cut upside down on the board.
Many clients have recommend using caulk between butt-joints of their boards, but if you have installed a vapor barrier first and have it taped or caulked well at the top of the wall, at the seams, and around windows and doors, then this step may not be necessary (though there’s definitely no one preventing you from taking this extra step to make quadruple sure your lumber lasts).
Continue up the wall until you get to the last run, and stop to measure the distance to the top so that you can cut the boards to fit perfectly.
Step Four: Trim
To finish, trim around your windows, doors, and anywhere else you want to set off your beautiful work. The trim can go right on top of the Dutch Lap siding.
And that’s it; you’re finished! It’s so easy that we’ve known 12 year old kids to install this siding! Be sure to drop your own tricks and tips for installing siding into the comments below so that we can help more DIY-ers complete their projects like a professional!

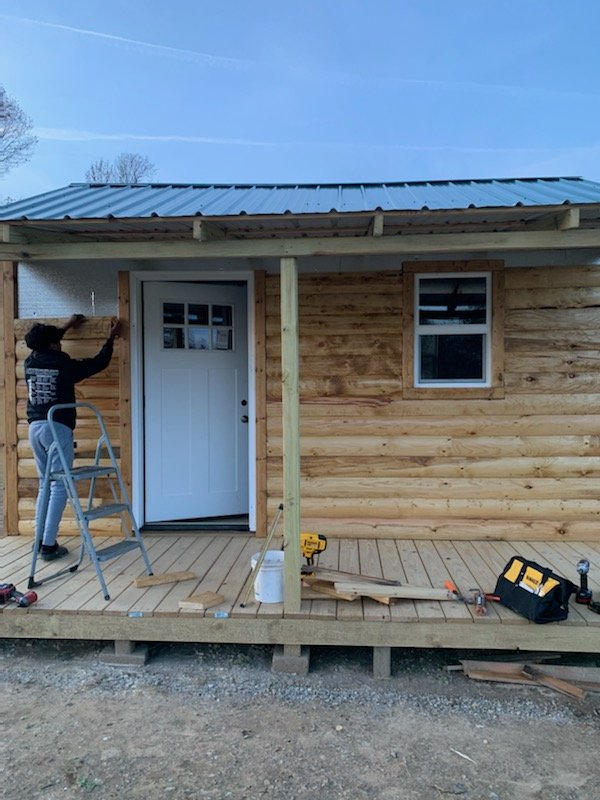
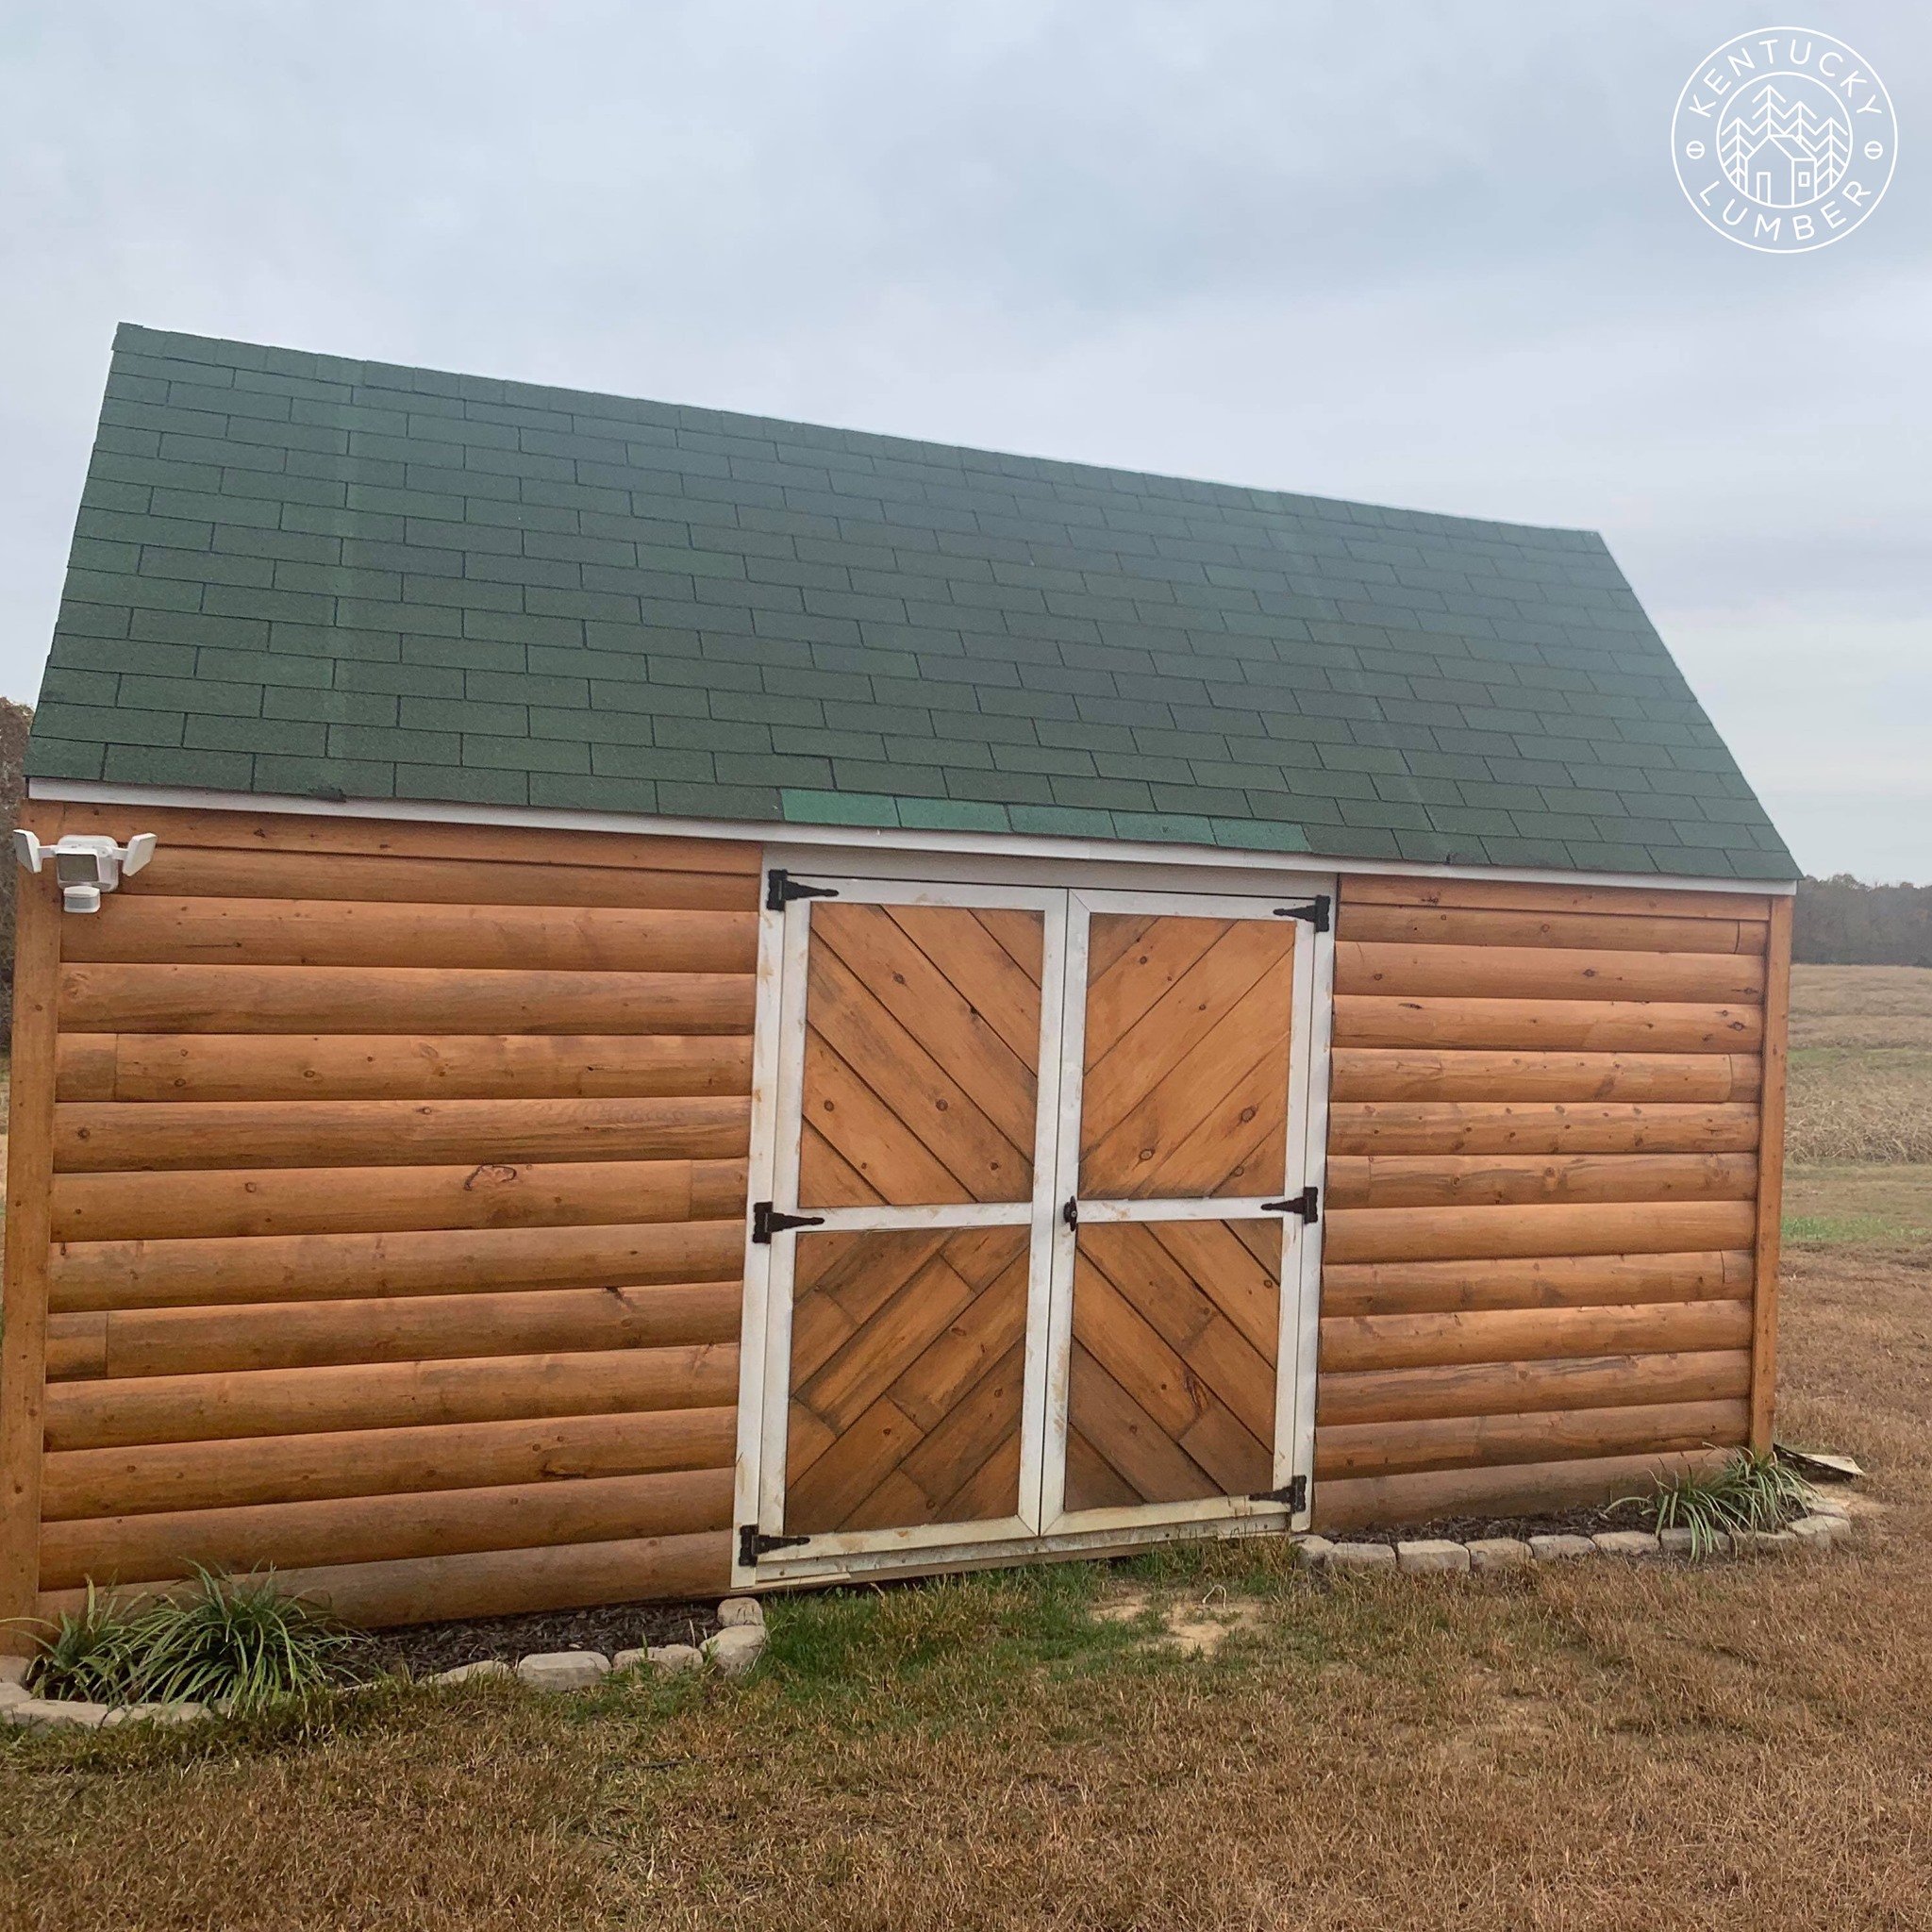
Installing Half Log siding:
Step One: A Water Barrier
To install this siding, you’ll first need to wrap your building in a vapor-permeable water barrier, which helps prevent water from entering your home through the sheathing, but allows any trapped moisture to escape.
Good options for this are:
Plastic polymer materials like Tyvek House Wrap from DuPont
Tar-coated “builder’s paper”
Or rigid foam insulation.
Again, it’s vital that you seal all seams, around windows and doors, and at the top of the wall, while leaving the bottom edge open to allow any moisture stuck underneath to drain out and away from your walls.
Step Two: Trim
Once you’ve finished wrapping your building, you can start to install your trim. Yes, we know…who puts up trim FIRST?!? Well, many of our clients have discovered that the trim installs easiest over the flat surface of the sheathing, rather than over the uneven surface of the installed siding. Instead of covering the siding with trim, you butt the siding up to the trim. This makes for a very clean, professional look, and is best at keeping out insects, dirt, debris, and moisture.
We suggest using a 2x board to match the thickness of the siding. Around windows and doors, most of our customers opt for the look that 2x6s give, while at corners, a combination of 2x4s and 2x6s seem to be another go-to look. The overlap at the corner gives you about a 5” reveal on both sides. If you want a beefier look, you can easily size up to 2x8s or even a 2x10!
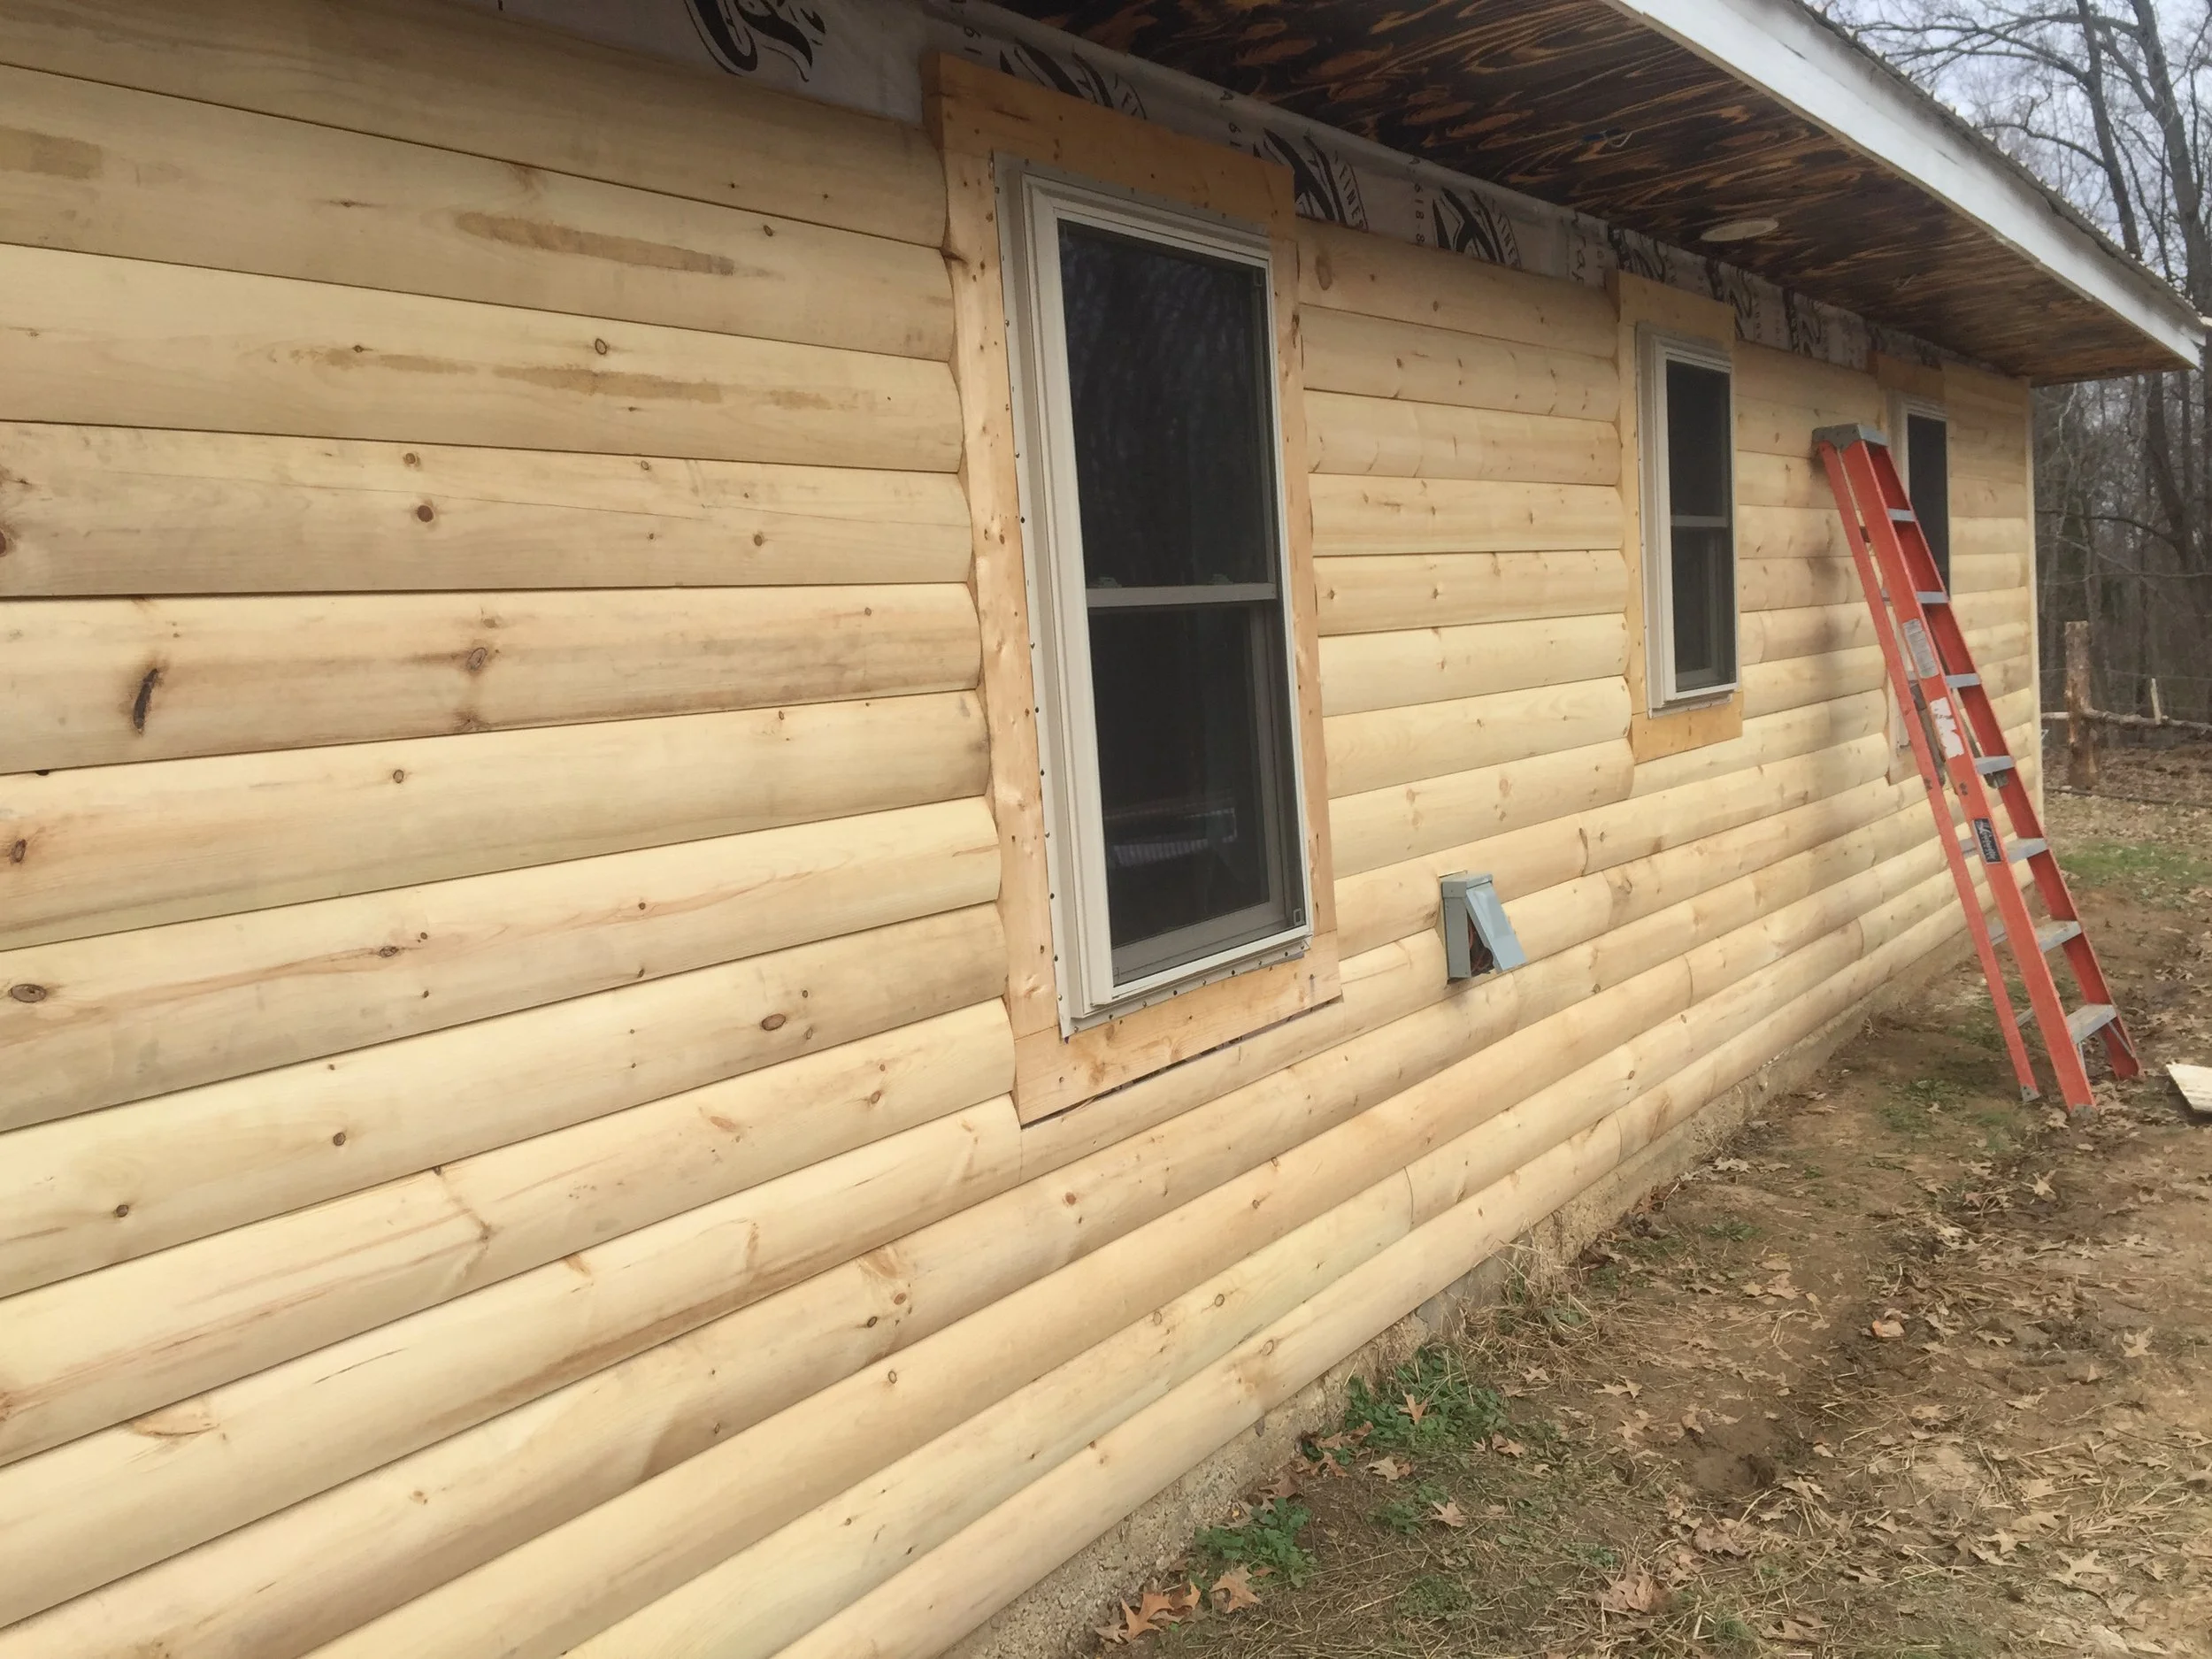
Step Three: Hanging the Half Log Siding
To start installing, snap a chalk line level against the bottom of your wall as a reference for your first row of boards. Check the level of every run, making sure you stay consistent. A 4’ or longer level is best for accuracy. Small inconsistencies at the bottom make for big problems at the top! Ensure your ends are cut square and sit tight against each other. There’s no need to leave a gap, as the lumber is kiln dried and heat treated. When you get to a trim piece, first caulk the end of the board before nailing it to keep water out.
10d galvanized ring shank nails or 2.5” - 3” coated deck screws are recommended for installing your siding. When placing your fasteners, the best practice is to try to hit your studs whenever possible. You should strive to have a pair of fasteners every 12” - 16” for maximum security. Because this lumber has a shiplap joint, it is necessary to face-nail the boards near the top and bottom edge.
Once you reach your last row at the top of your wall, you will likely need to rip your boards down so that they will fit snugly up against your soffit (or ceiling, if installed inside). Once done, your last step here is to run a bead of caulk across the top to keep moisture out. Brush any dirt and sawdust off your wall with a hand-brush, broom, or vacuum, and you’re ready to complete your project with a sealer!
Step Four: Finishing and Sealing
Your last step is very important to the life of your new siding. A good finish will last up to 10 years, while a cheaply done job might not get you past a few months. The purpose of the finish is to stop water from soaking the wood, be it driving rain, or fog that likes to hang around. Choose wisely when you select the right product for the job and your hard work will not go to waste!
Depending on the look you prefer, you can leave the lumber with its natural color, stain your siding, or even paint the wood.
If Installed Indoors
Half log siding can also be installed inside your home! The same practices as above apply, with but a few minor differences:
- A finish is not required unless desired
- 13 gauge finish nails can be used instead of ring-shank nails or screws
- Caulking is not necessary
- Instead of 6” or wider trim, 2x2’s and 2x4’s are suggested to use on outside and inside corners. (You’ll still install the trim first, by the way.) Wider trim inside can sometimes be overwhelming according to some customers who have tried it, but it’s totally up to you!
Conclusion:
Hopefully this guide has been helpful as you prepare to install your finishing lumber! Feel free to send us a message if you have any questions.
Leave a comment below describing your own experience with installing lumber - we would love to hear any tips or tricks you have used during your own installation process!